I, like so many people, feel put together and more like myself when my nails are done. But, due to the likelihood that my polish will chip or a nail will break, I started doing my nails at home in 2023!
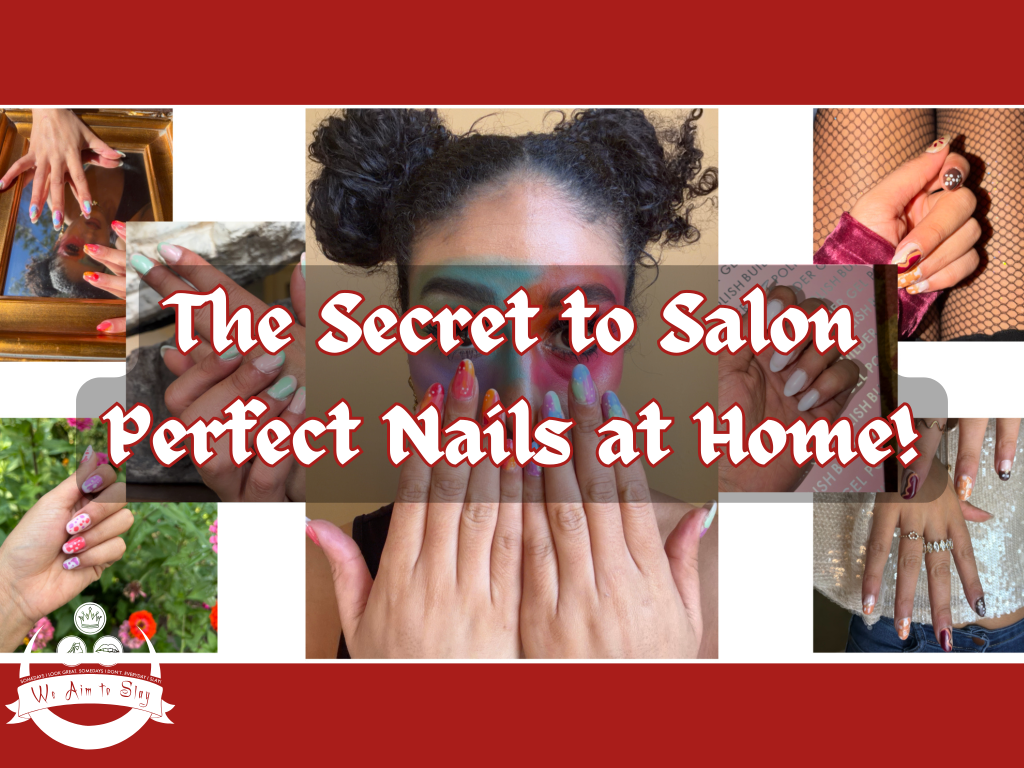
In that time I’ve tested a lot of products and techniques but I kept running into the same problems: chipping polish and broken nails. In the last year or so I’ve perfected my manicure and nail care routines, but most importantly, I’ve learned how to patch and fix the breaks!
So let’s get into it!
Let Me Set the Scene…
You may or may not know that I’ve spent the last twenty years in the pageant industry, or that I grew up on a horse farm in Connecticut. Those two facts may seem unrelated, but they’re what set this journey into motion. As a “barn rat” I didn’t pay any attention to my nails, but when I started competing on stage the problem became obvious: my nails are brittle and I’m extremely clumsy with my hands!
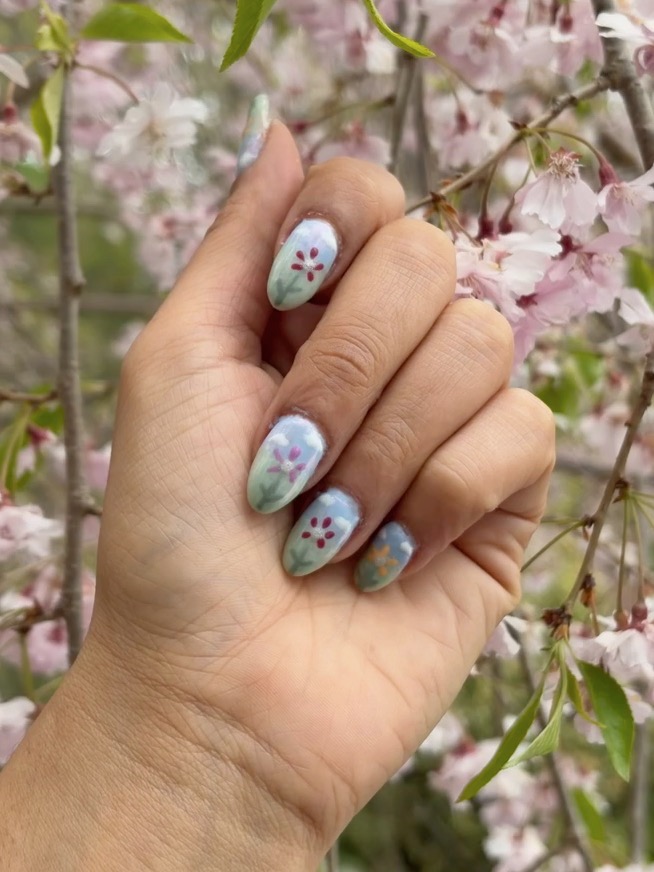
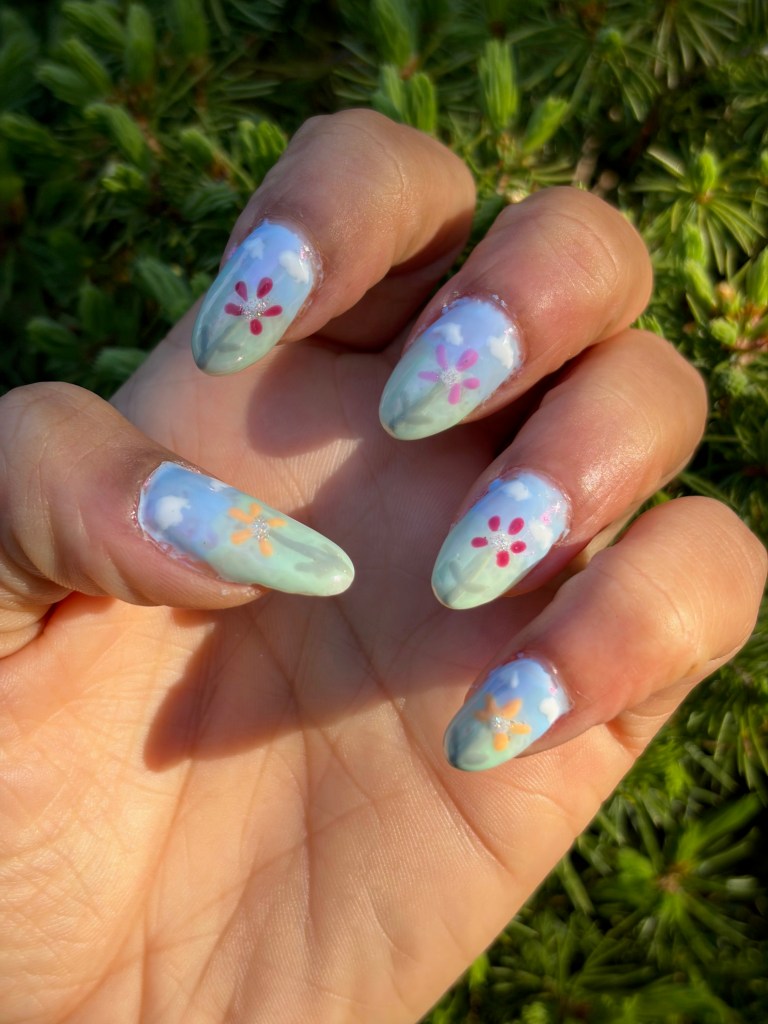
After years of trial and error, I had finally grown my nails out to my ideal length and shape – medium almond. I was so proud of then that earlier this year I shared a Spring inspired nail art tutorial and excitedly flaunted the length I had painstakingly achieved!
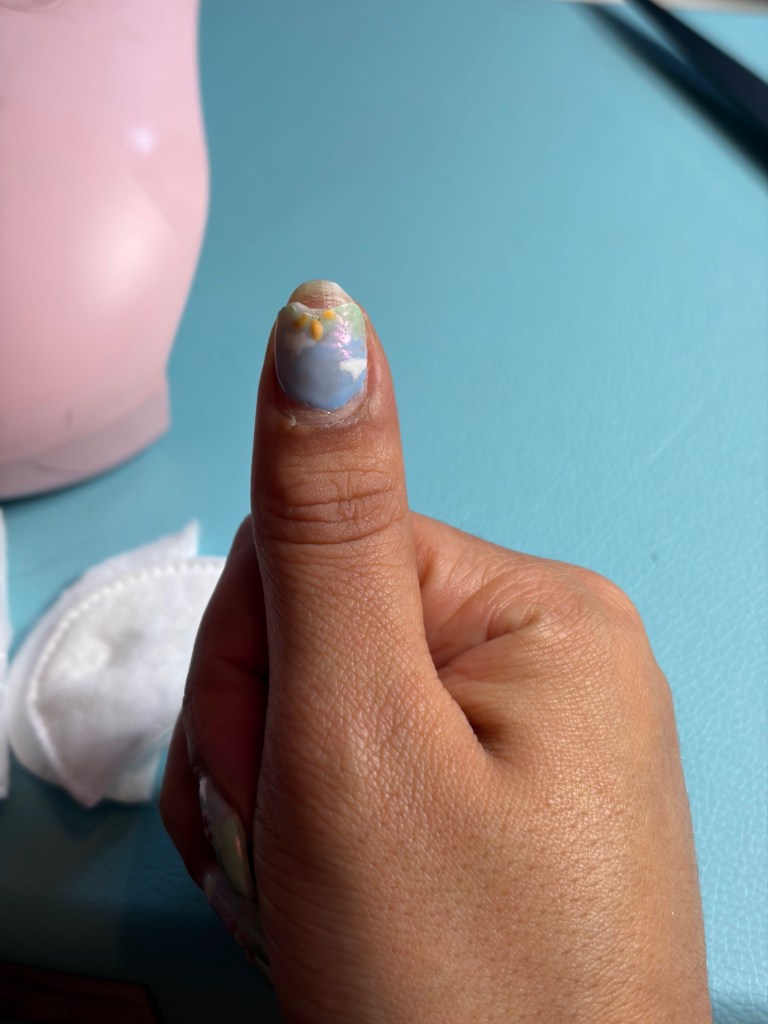
So I’m sure you can imagine my surprise and horror when standing backstage at Middlesex Fashion Week this May, I discovered that one of my nails had broken in half!
After two weeks of back and forth, I decided to cut all of my nails and grow out a fresh set. But I had clearly forgotten how difficult that task has always been!
The Products I’m Using: Nail Care
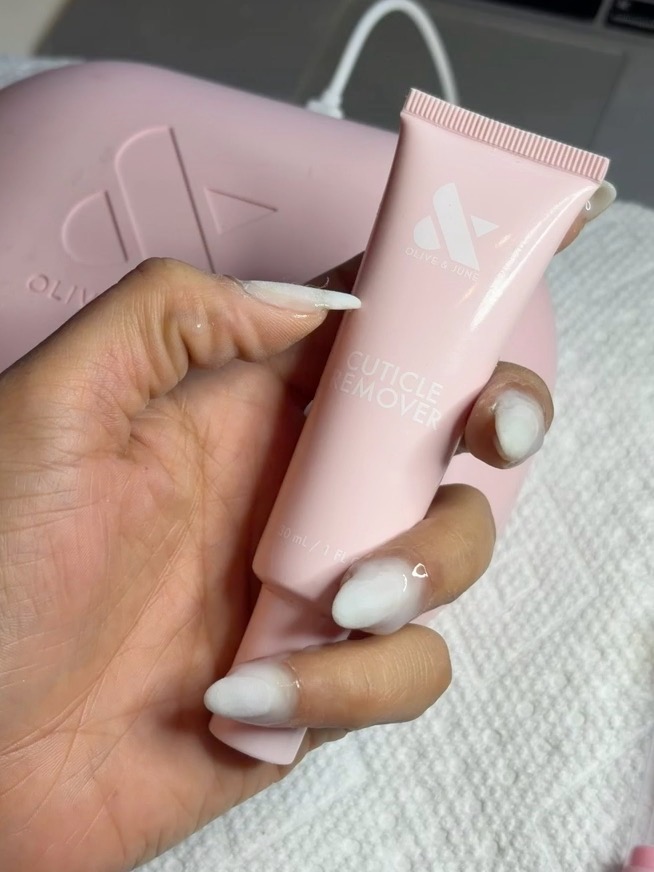
As the saying goes, “what happens at the root determines the fruit.” I’ve shared my cuticle care routine in the past – which is truly the corner stone of working with gel polish – but today I want to take this concept a step further.
I am a big proponent of taking a nail growth supplement, such as a standard Biotin (vitamin B7) or a “Hair, Skin & Nails” option. I’ve found that they help to reduce my natural brittleness, and I’ve recently been taking Nutrafol (a hair growth supplement) which I’ve also found has helped strengthen my nails. Let me also remind you that I am not a medical professional, and you should always confer with your physician before taking any vitamin or supplement!
There are even measures I take in my day-to-day life to protect my nails, such as wearing rubber gloves when washing dishes or cleaning as overexposure to water can lead to lifted edges.
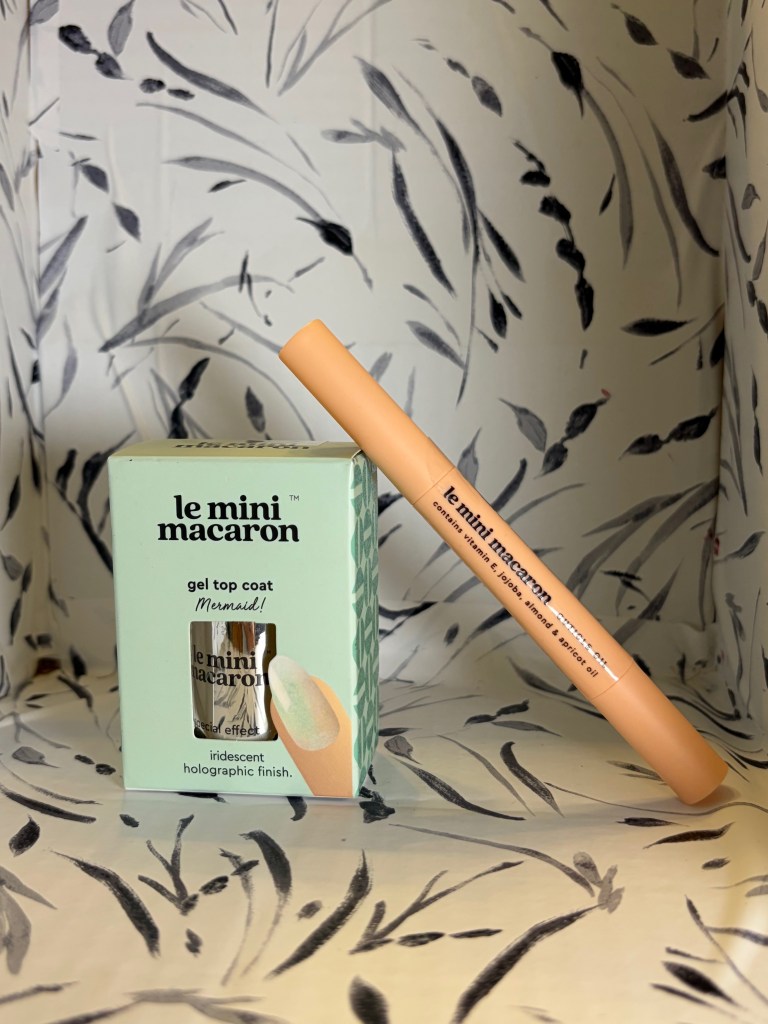
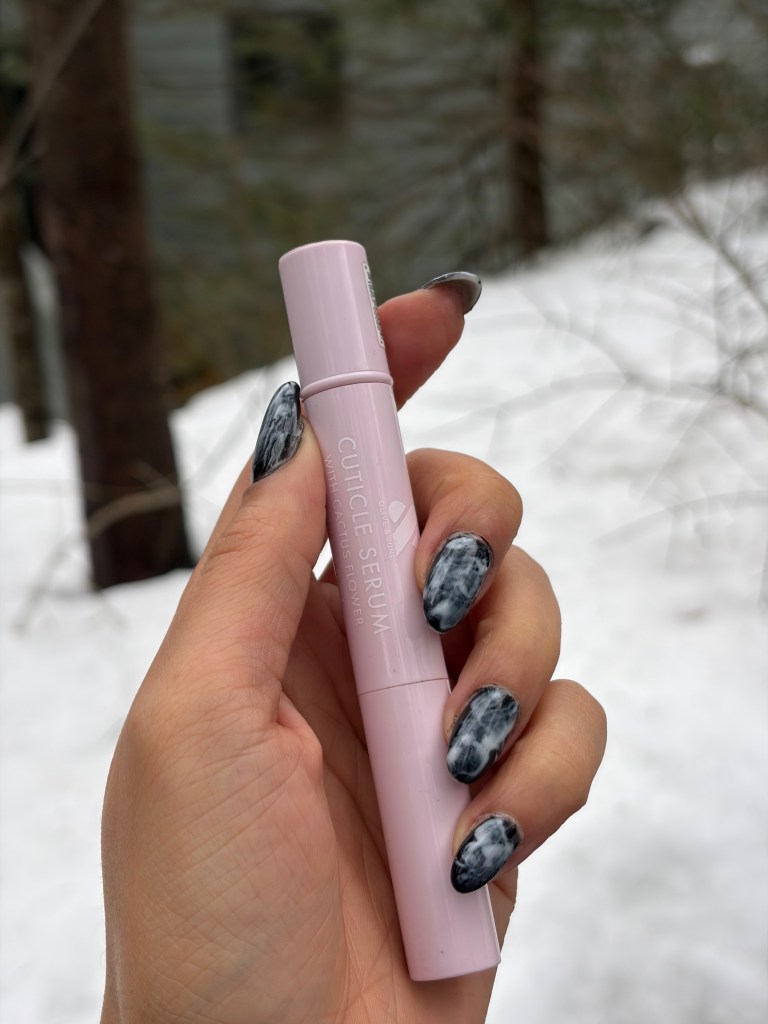
As part of my “24/7/365” approach to cuticle care, I always have some sort of cuticle treatment within reach! In the evenings I like to use the Sally Hansen Vitamin E Cuticle Oil, and throughout the day I go back and forth between the Le Mini Macaron Cuticle Oil Pen and the Olive + June Cactus Cuticle Serum; I truly can’t decide which I like better, but the O+J serum absorbs much faster than either of the oils.
HEADER – The Products I’m Using: Manicures & Pedicures
At this point in my life I have tried every iteration of “getting a manicure”: regular polish, powder & dip gel, acrylics, and even temporary glue-on nails. No matter the brand or the salon, I’ve always have the best luck with gel polish.
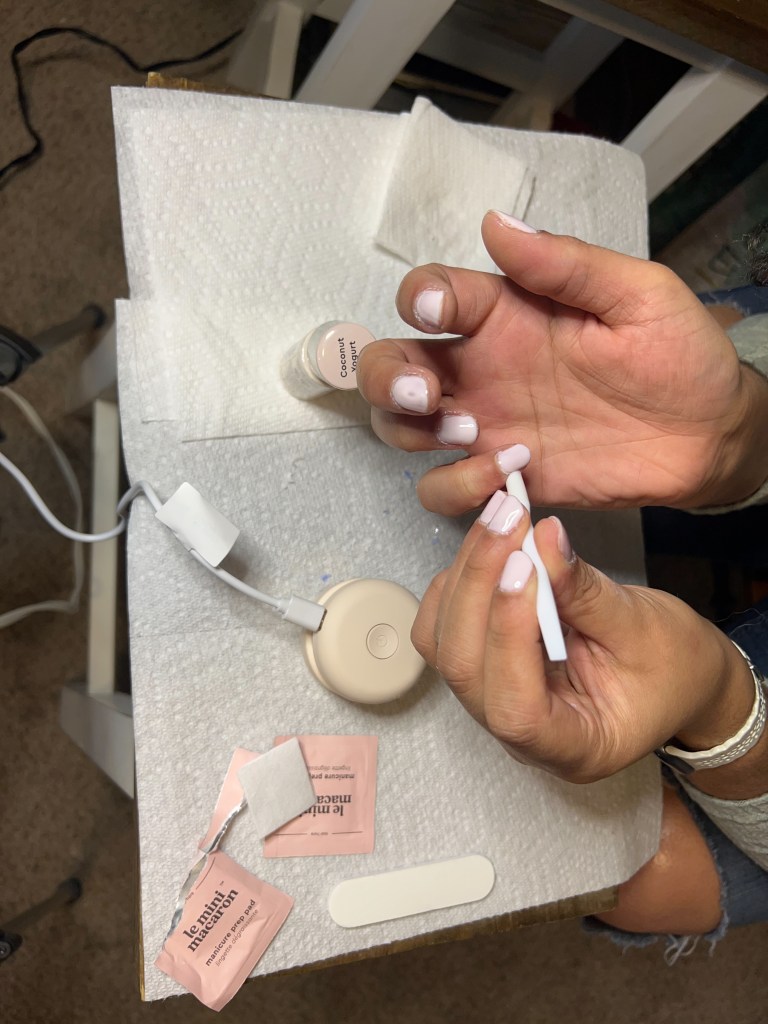
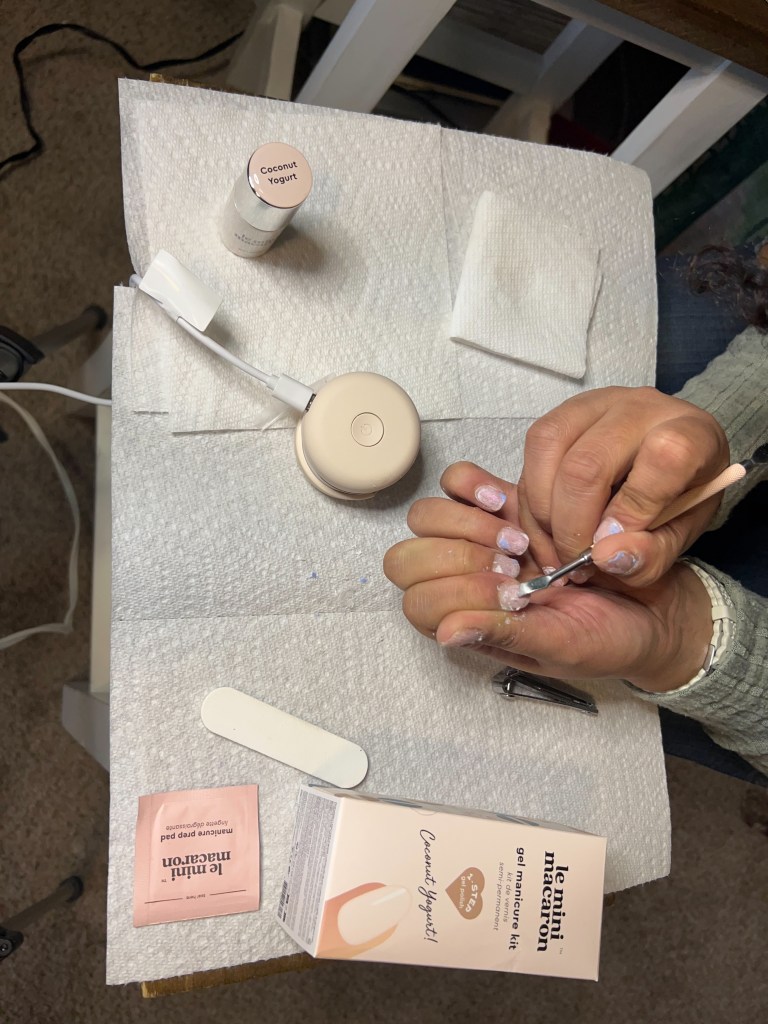
I mentioned above that I started painting my nails at home in 2023, which is due entirely to the brand Le Mini Macaron. I first learned about them through an ad featuring their token product: the mini lamp that makes fixing your nails on-the-go super simple! The kit that I bought (from Ulta!) came with a standard sized lamp, but I was later gifted a LMM kit that included their signature mini lamp. Both of these curing lamps work very well, but unless you plan on doing your nails while traveling I’d recommend the standard lamp size over the mini. Firstly, because you’re able to cure multiple nails at once which cuts down on time, it’s easier to use for pedicures!
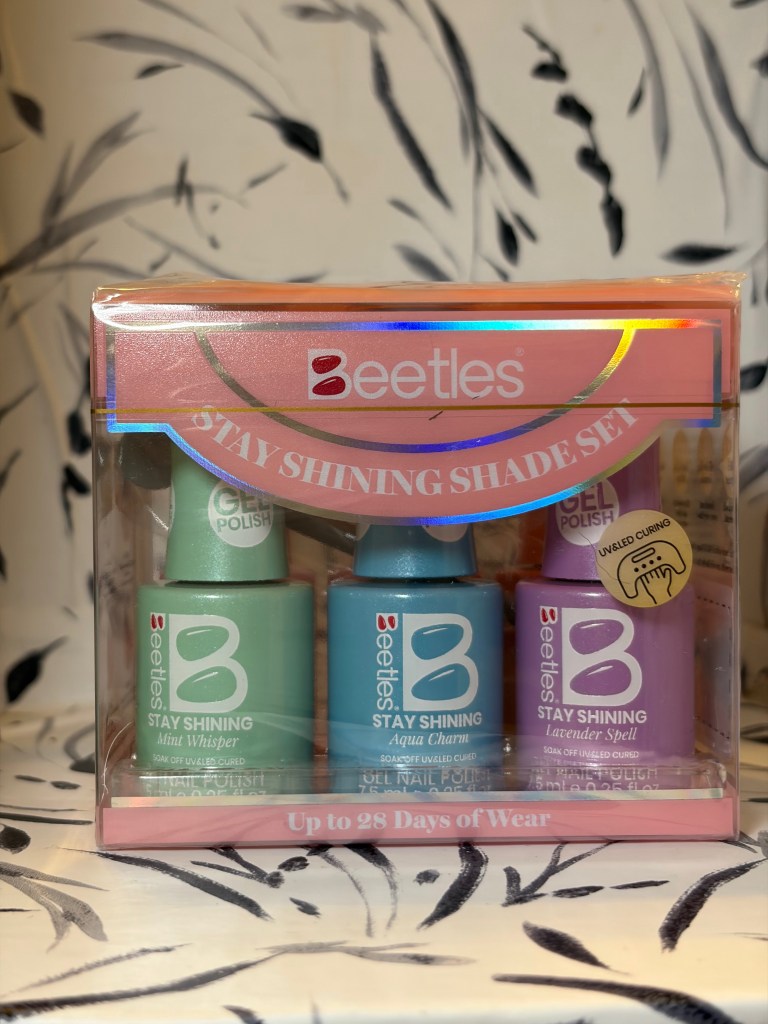
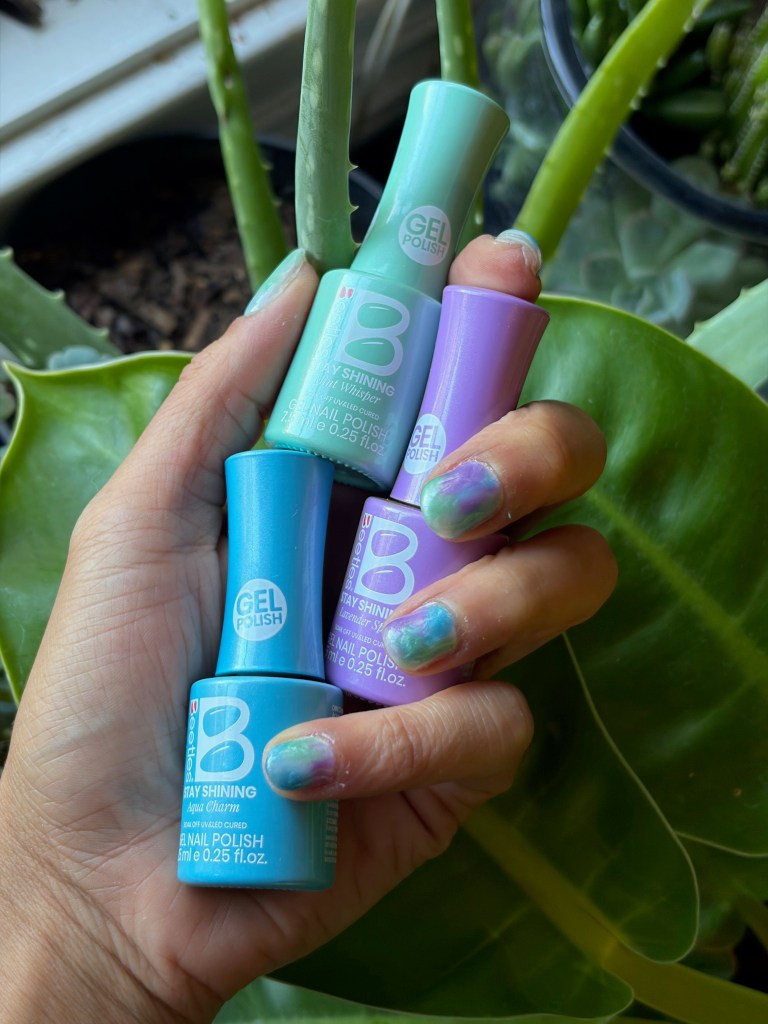
The more invested in my nails I became, the more products I wanted to try! That’s when my mom introduced me to Beetles Gel Polish; a brand I keep coming back to, thanks to their wide range of polish shades and finishes. In fact, their matte top coat is still my favorite on the market! On a recent trip to Target I bought a set of six new polishes, which I’ve used for two manicures so far!
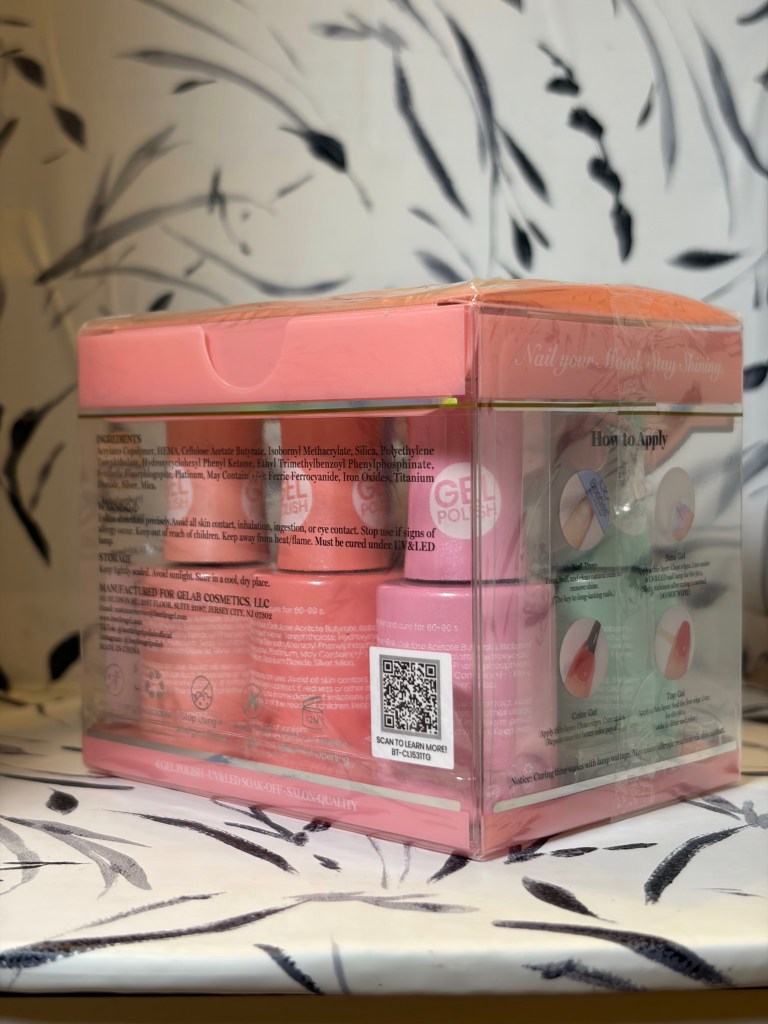
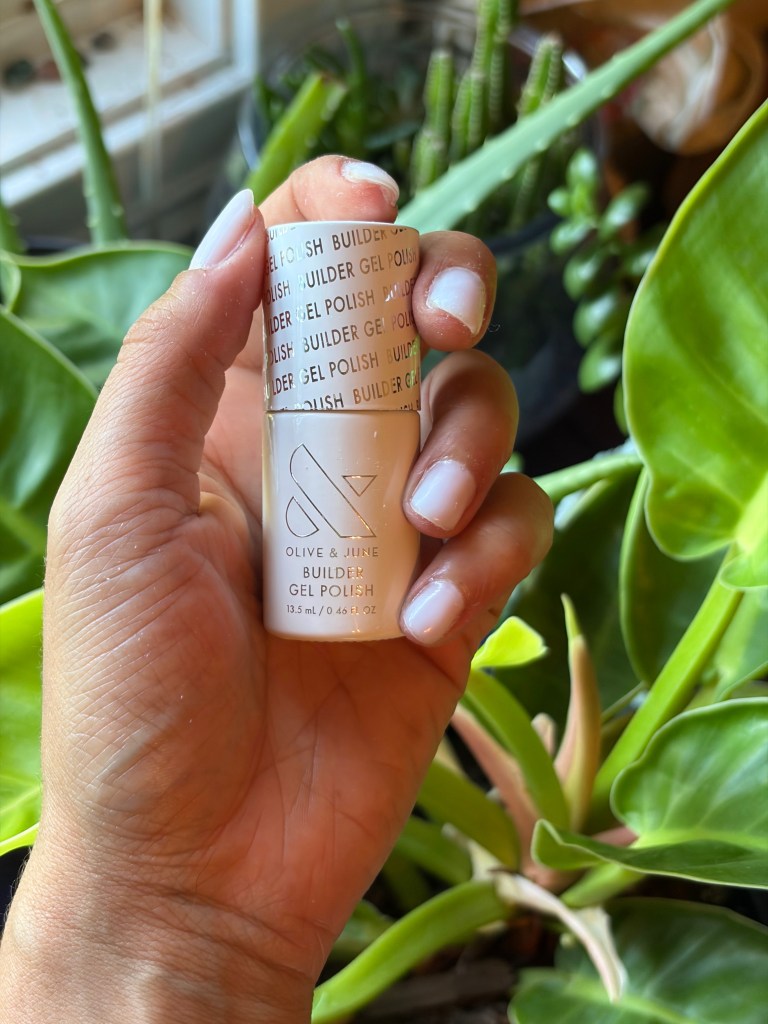
Since landing a sponsorship with the brand Olive + June in the Autumn of 2025, I’ve tried to use their gifted products exclusively. But I’m not someone who let’s spent money go to waste – I’ve invested too much in my manicure kit! Plus, at that time, O+J had not released the one product I swear by: builder gel – a thicker formulation than your standard gel polish.
Every since being introduced to builder gel through Le Mini Macaron it’s become a staple of my nail routine. Because of it’s thicker formula, it acts almost like a protective barrier for your nails. I use it in place of a gel base polish in every manicure! So I was supremely pleased when O+J released their builder gel collection last year, and fell in love with the shade Sugar Glow – it’s my ideal milky tone to use as a base when I build my nail extensions!
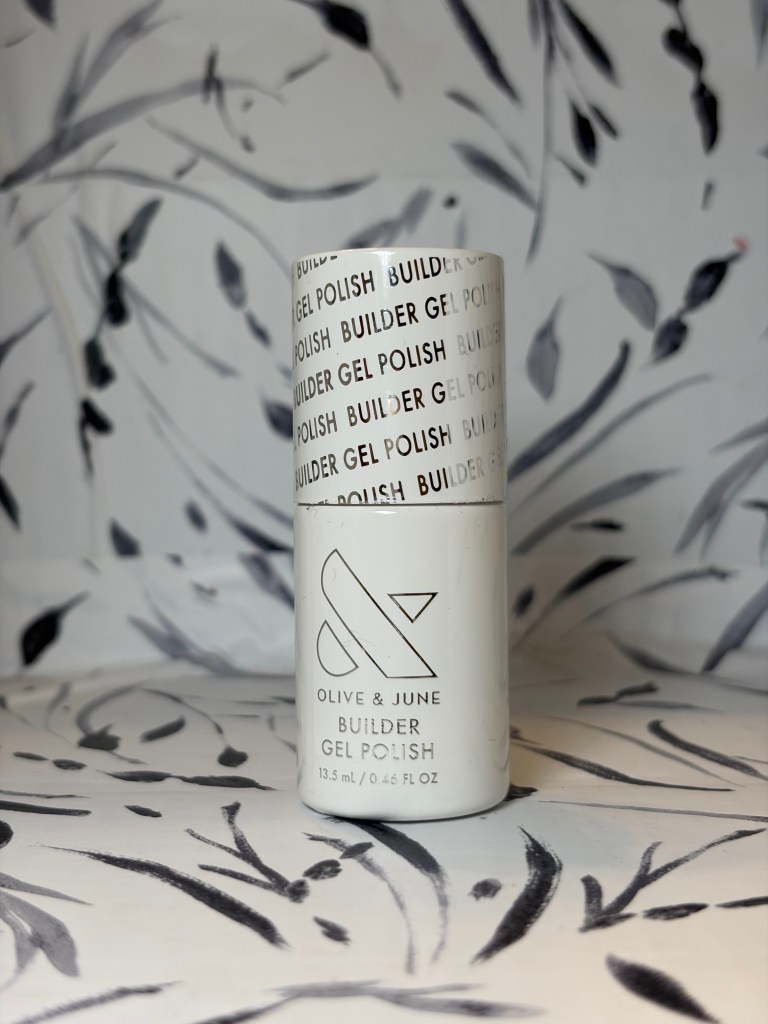
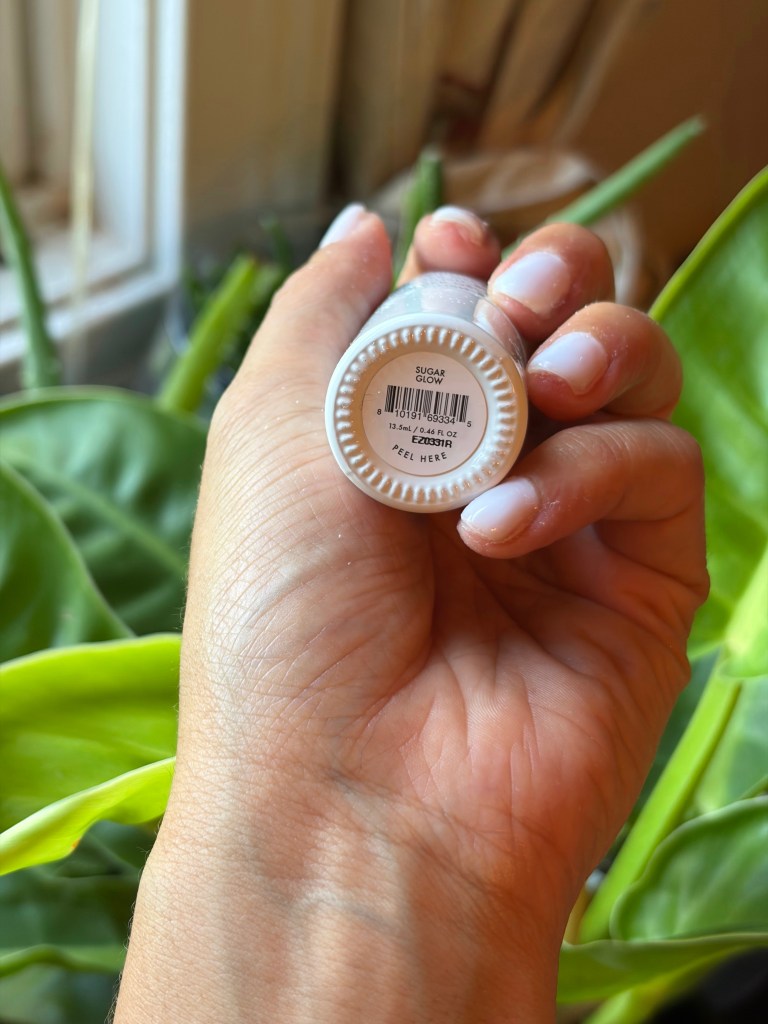
The Magical World of Builder Gel
Until I received my O+J Builder Gel kit, I was using it as I said above: as the base polish beneath my manicure and to reinforce the cracked edges on my natural nails. But included in the O+J kit was a set of nail forms and I set out on a new manicure quest!
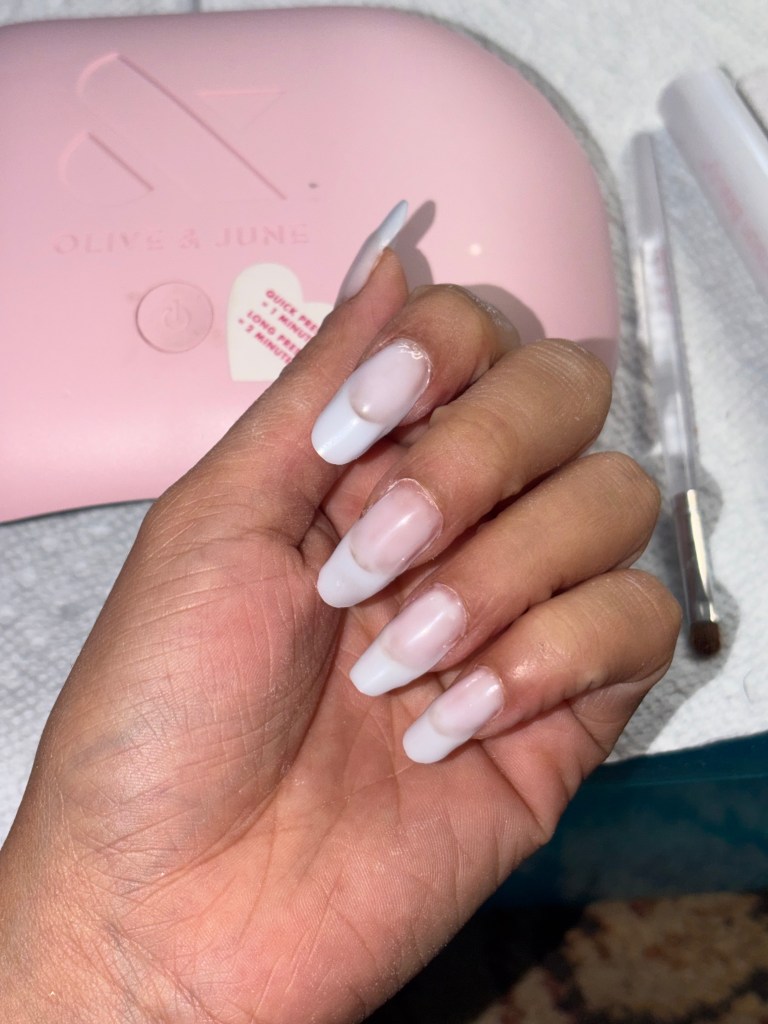
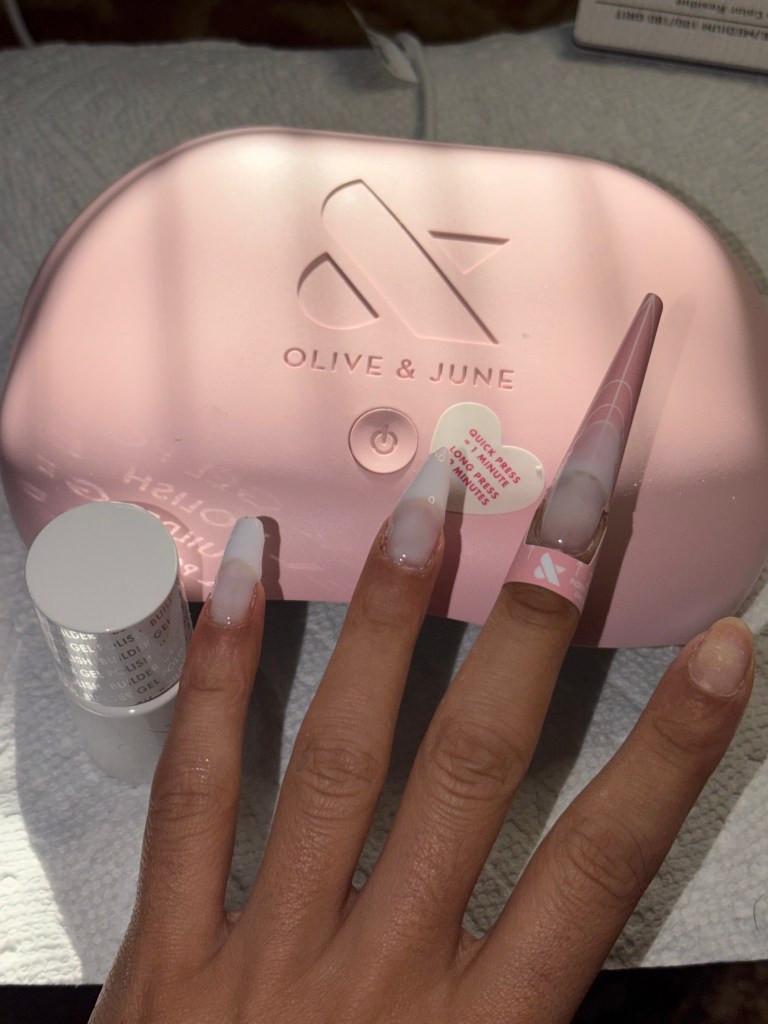
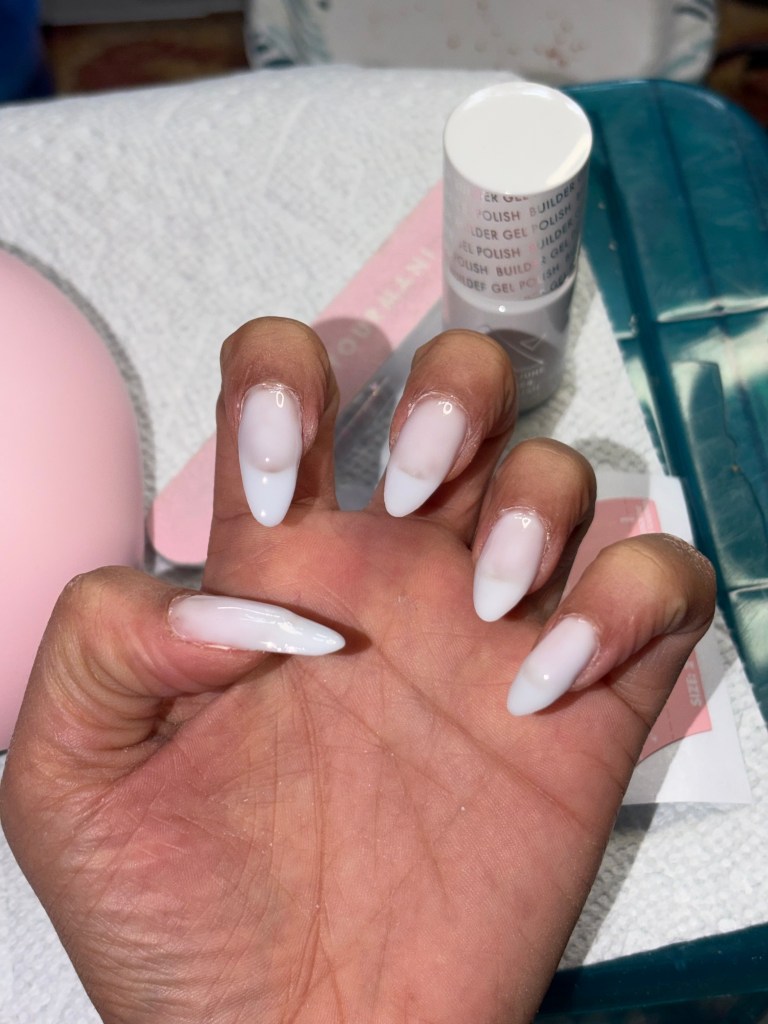
I’ll be honest, on my first two attempts I hated these nail forms. Unlike at a nail salon, these are a card stock sticker which I found difficult to get positioned on my finger, and difficult to get a uniform shape across all of the extensions. After a mild crash out, my mom got my several sets of the metal reusable forms you’d find at a salon and I found those quite a bit easier to use while I was learning! I’ve since gotten better at using nail forms overall and have had an easier time using the O+J sticker forms, but I’d still recommend the metal forms for beginners!
After the Middlesex Fashion Week nail fiasco I set out to create a fresh set of extensions, using the O+J clear builder gel (because I’d run out of Sugar Glow *sad face*) with two coats of the LMM shade Serpentine Sheer on top. They weren’t my best set, but they looked cute enough to help my grow out my nails!
Within two days half of them had broken or peeled off, so I cleaned those five nails and built new extensions – only for the same thing to occur! At that point I didn’t know what to do, and after sometime I reached out to my O+J representative to share my woes. After explaining the situation, the team kindly replaced my nail polish remover pot and clean up brush.
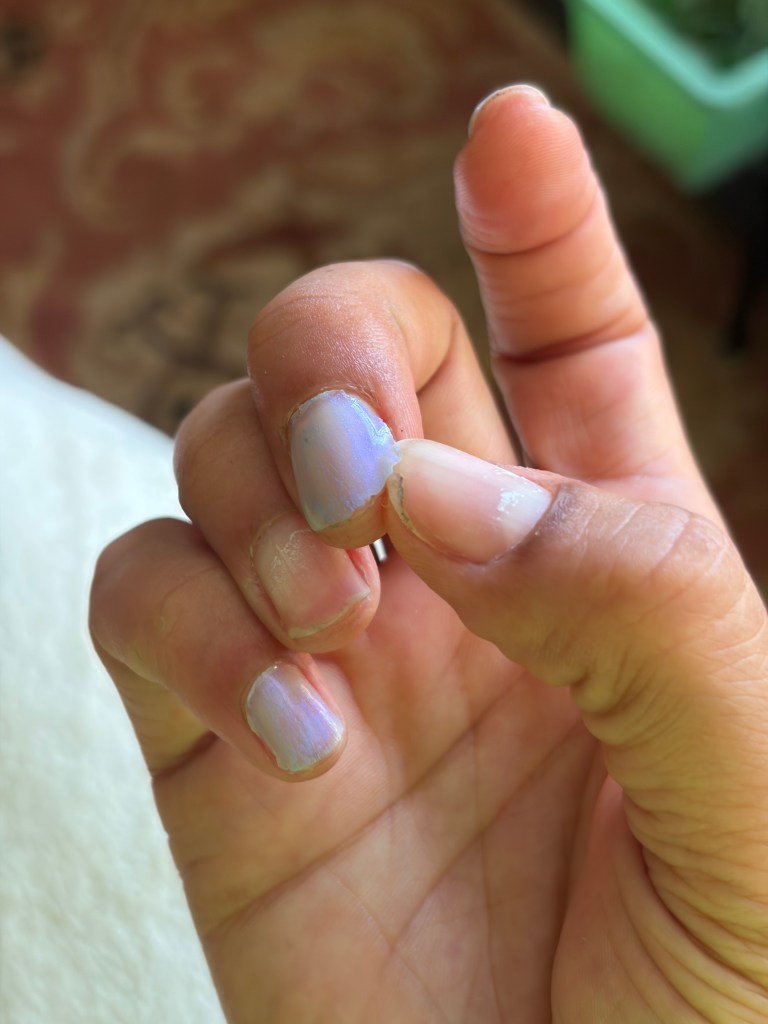
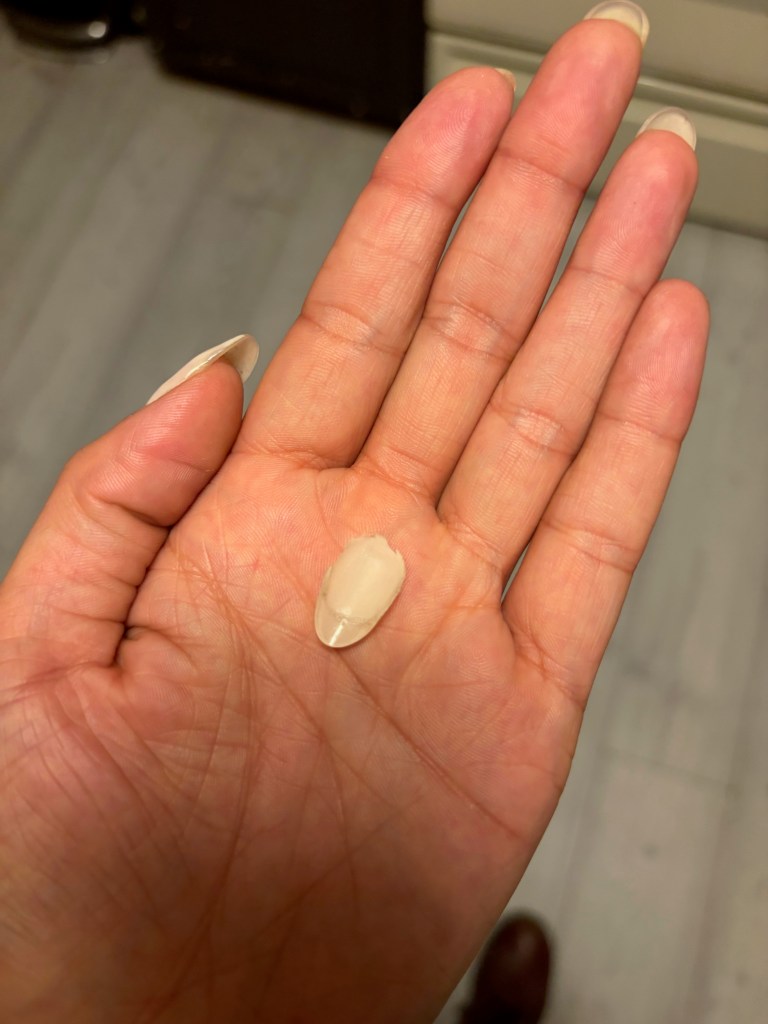
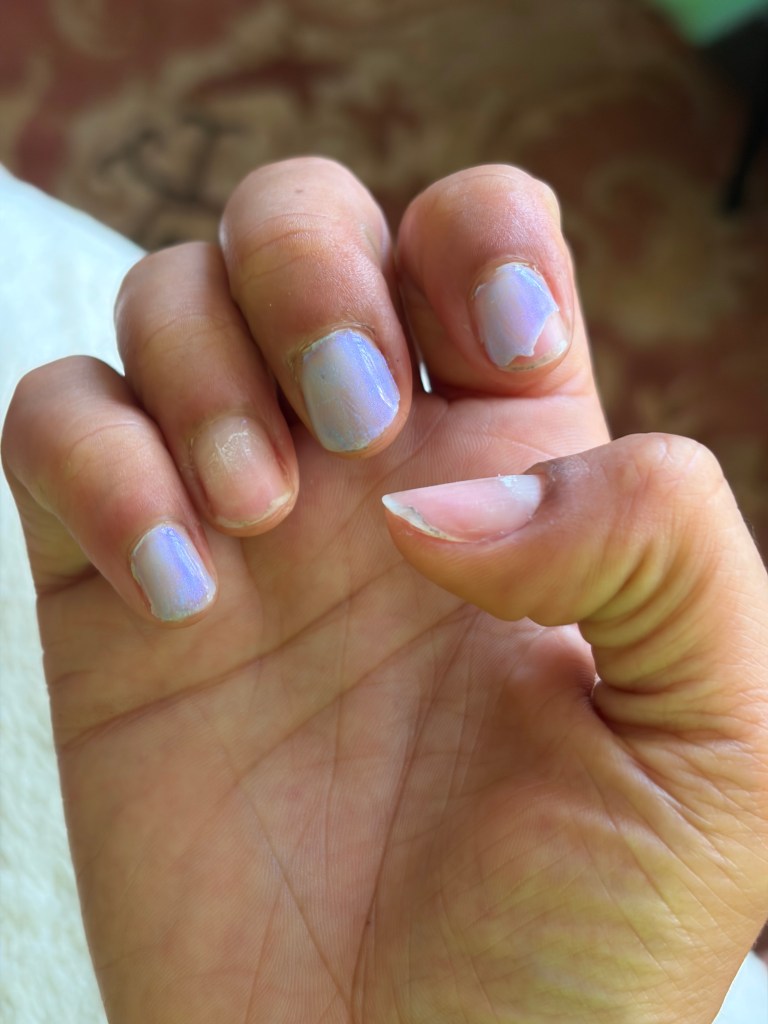
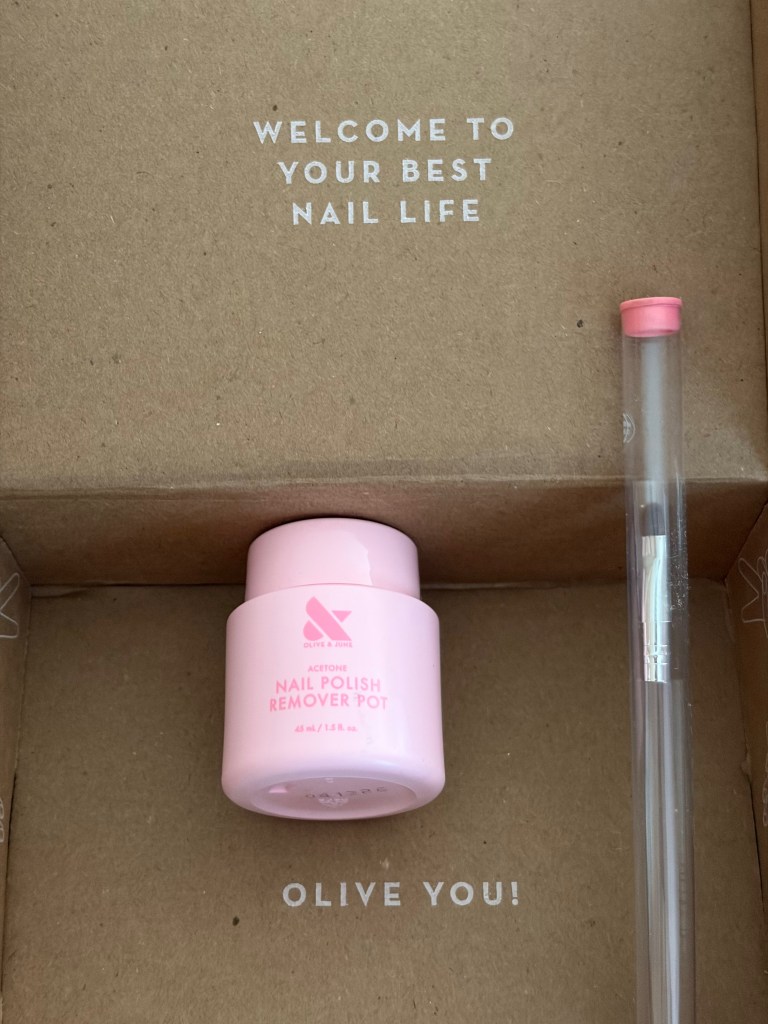
Because I’m so in love with the look of Sugar Glow, I bought myself a new bottle while I was at Target and have since been able to regrow my nails to a length more conducive to using the nail forms!
Help Me Decide!
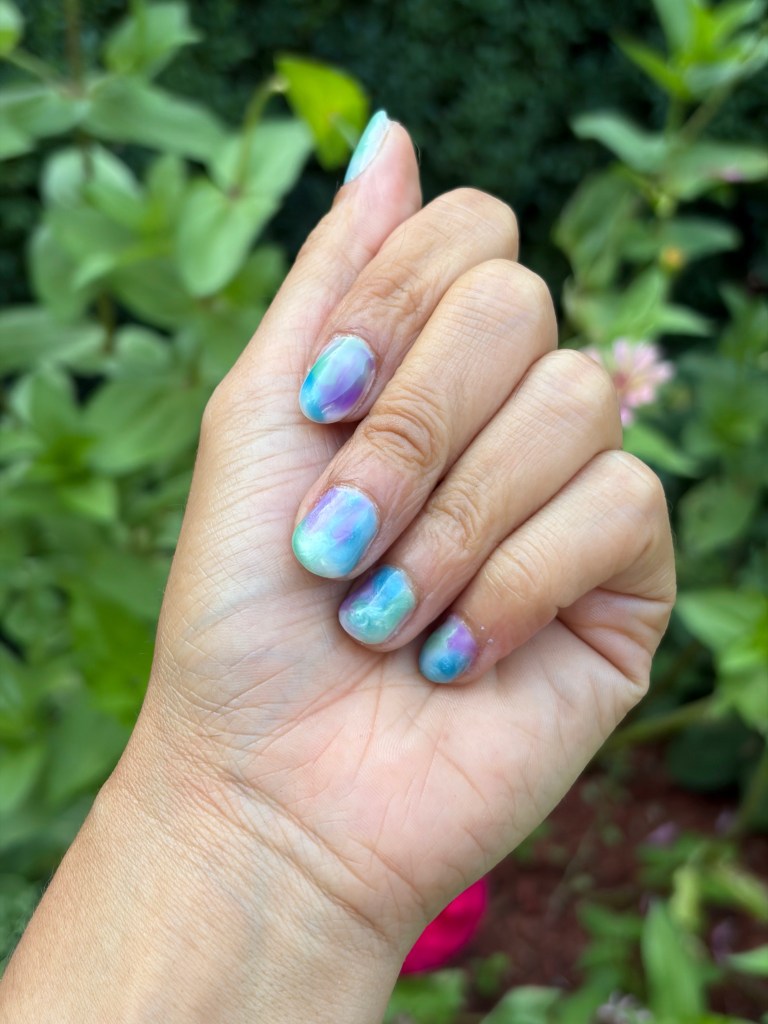
Now that I’m closer to my preferred length and shape, I’m itching to create my newest set – and I want your help! Help me decide if I should paint them a solid color, create a set with nail art, or attempt creating 3D nail art for the first time!
Place your votes in the comments below! Want to send a reference photo? You can share your recommendations via email – WeAimToSlay@gmail.com.
What Do You Think?
Where do you fall on the manicure spectrum – do you swear by regular polish? Do you live for your monthly salon visit? Do you prefer to do your nails at home? Share your thoughts in the comments below!
I’ll be back next week with a new edition of #SevenDaysOfSlay that will take a more granular look at the idea of dress codes!
Have a great rest of your week, and remember to SLAY!






 We Aim To Slay
Leave a comment