Welcome to March!
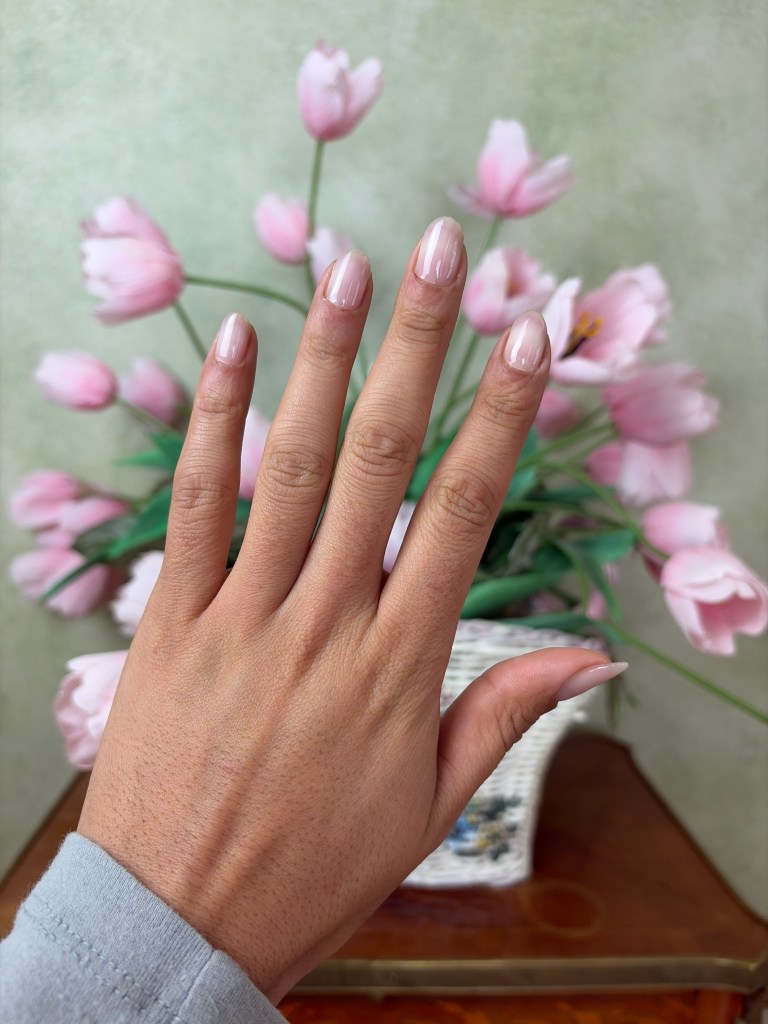
Even though New England is still covered in snow – and slated for more – there’s something about this time of year that reminds me that spring is right around the corner! I’ll be ushering a quick return of spring with my current manicure, and today I’m going to show you exactly how I created it!
The Tools I Use
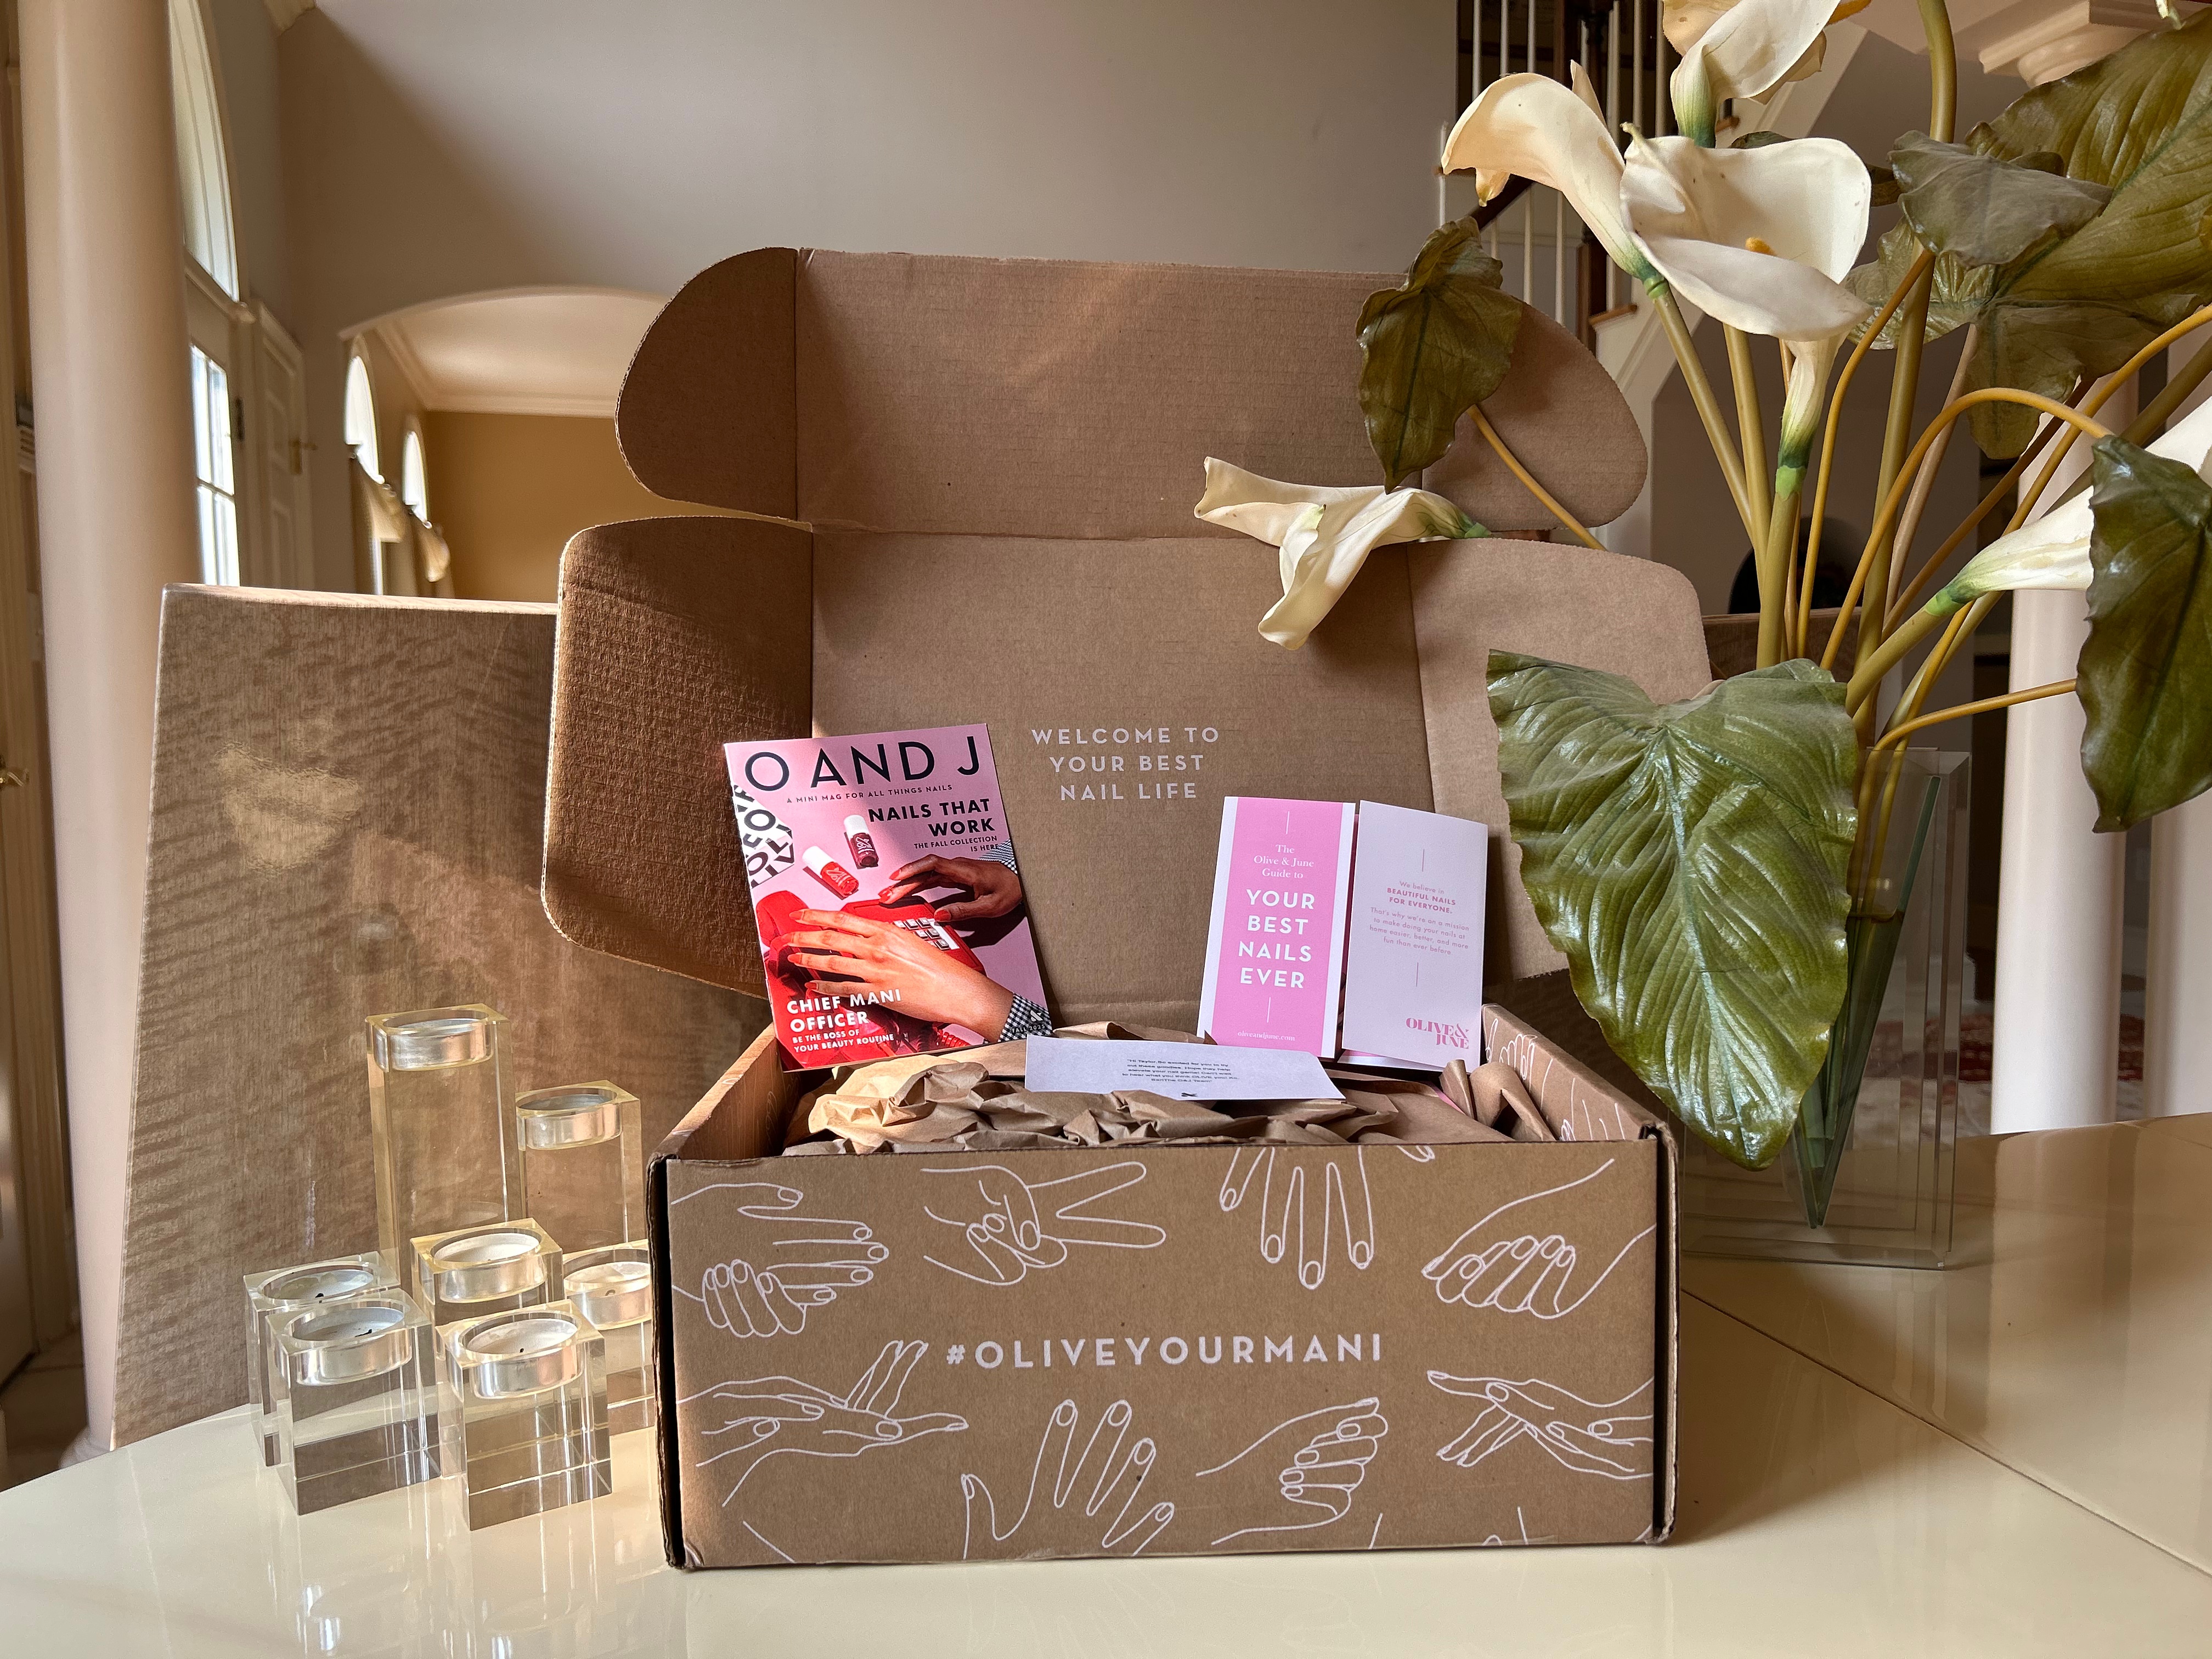
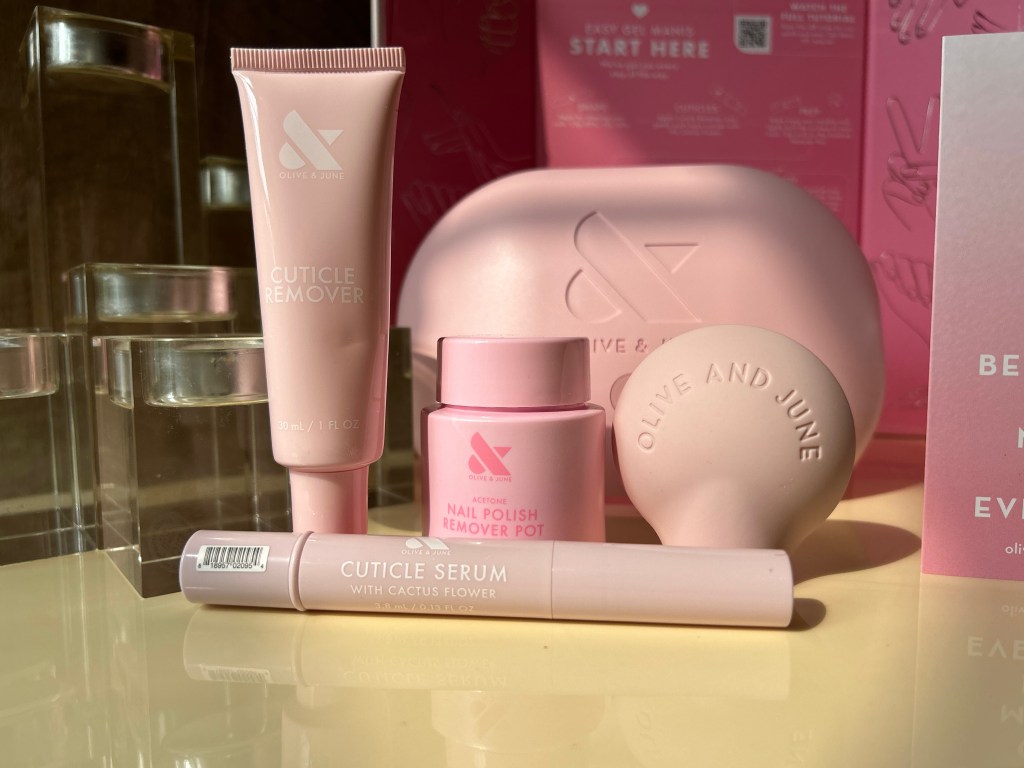
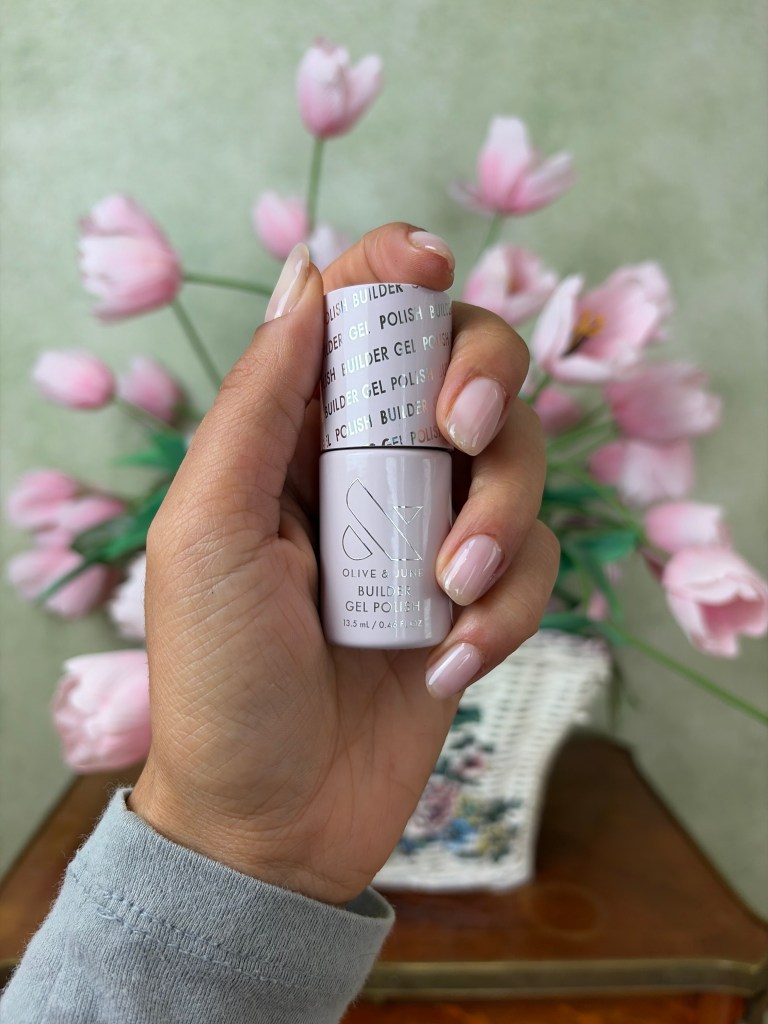
Since receiving my first Olive & June Gel Manicure Kit in the autumn, I’ve become addicted to their high quality products! And not too long ago I was honored to be sent their newly launched Builder Gel Collection!
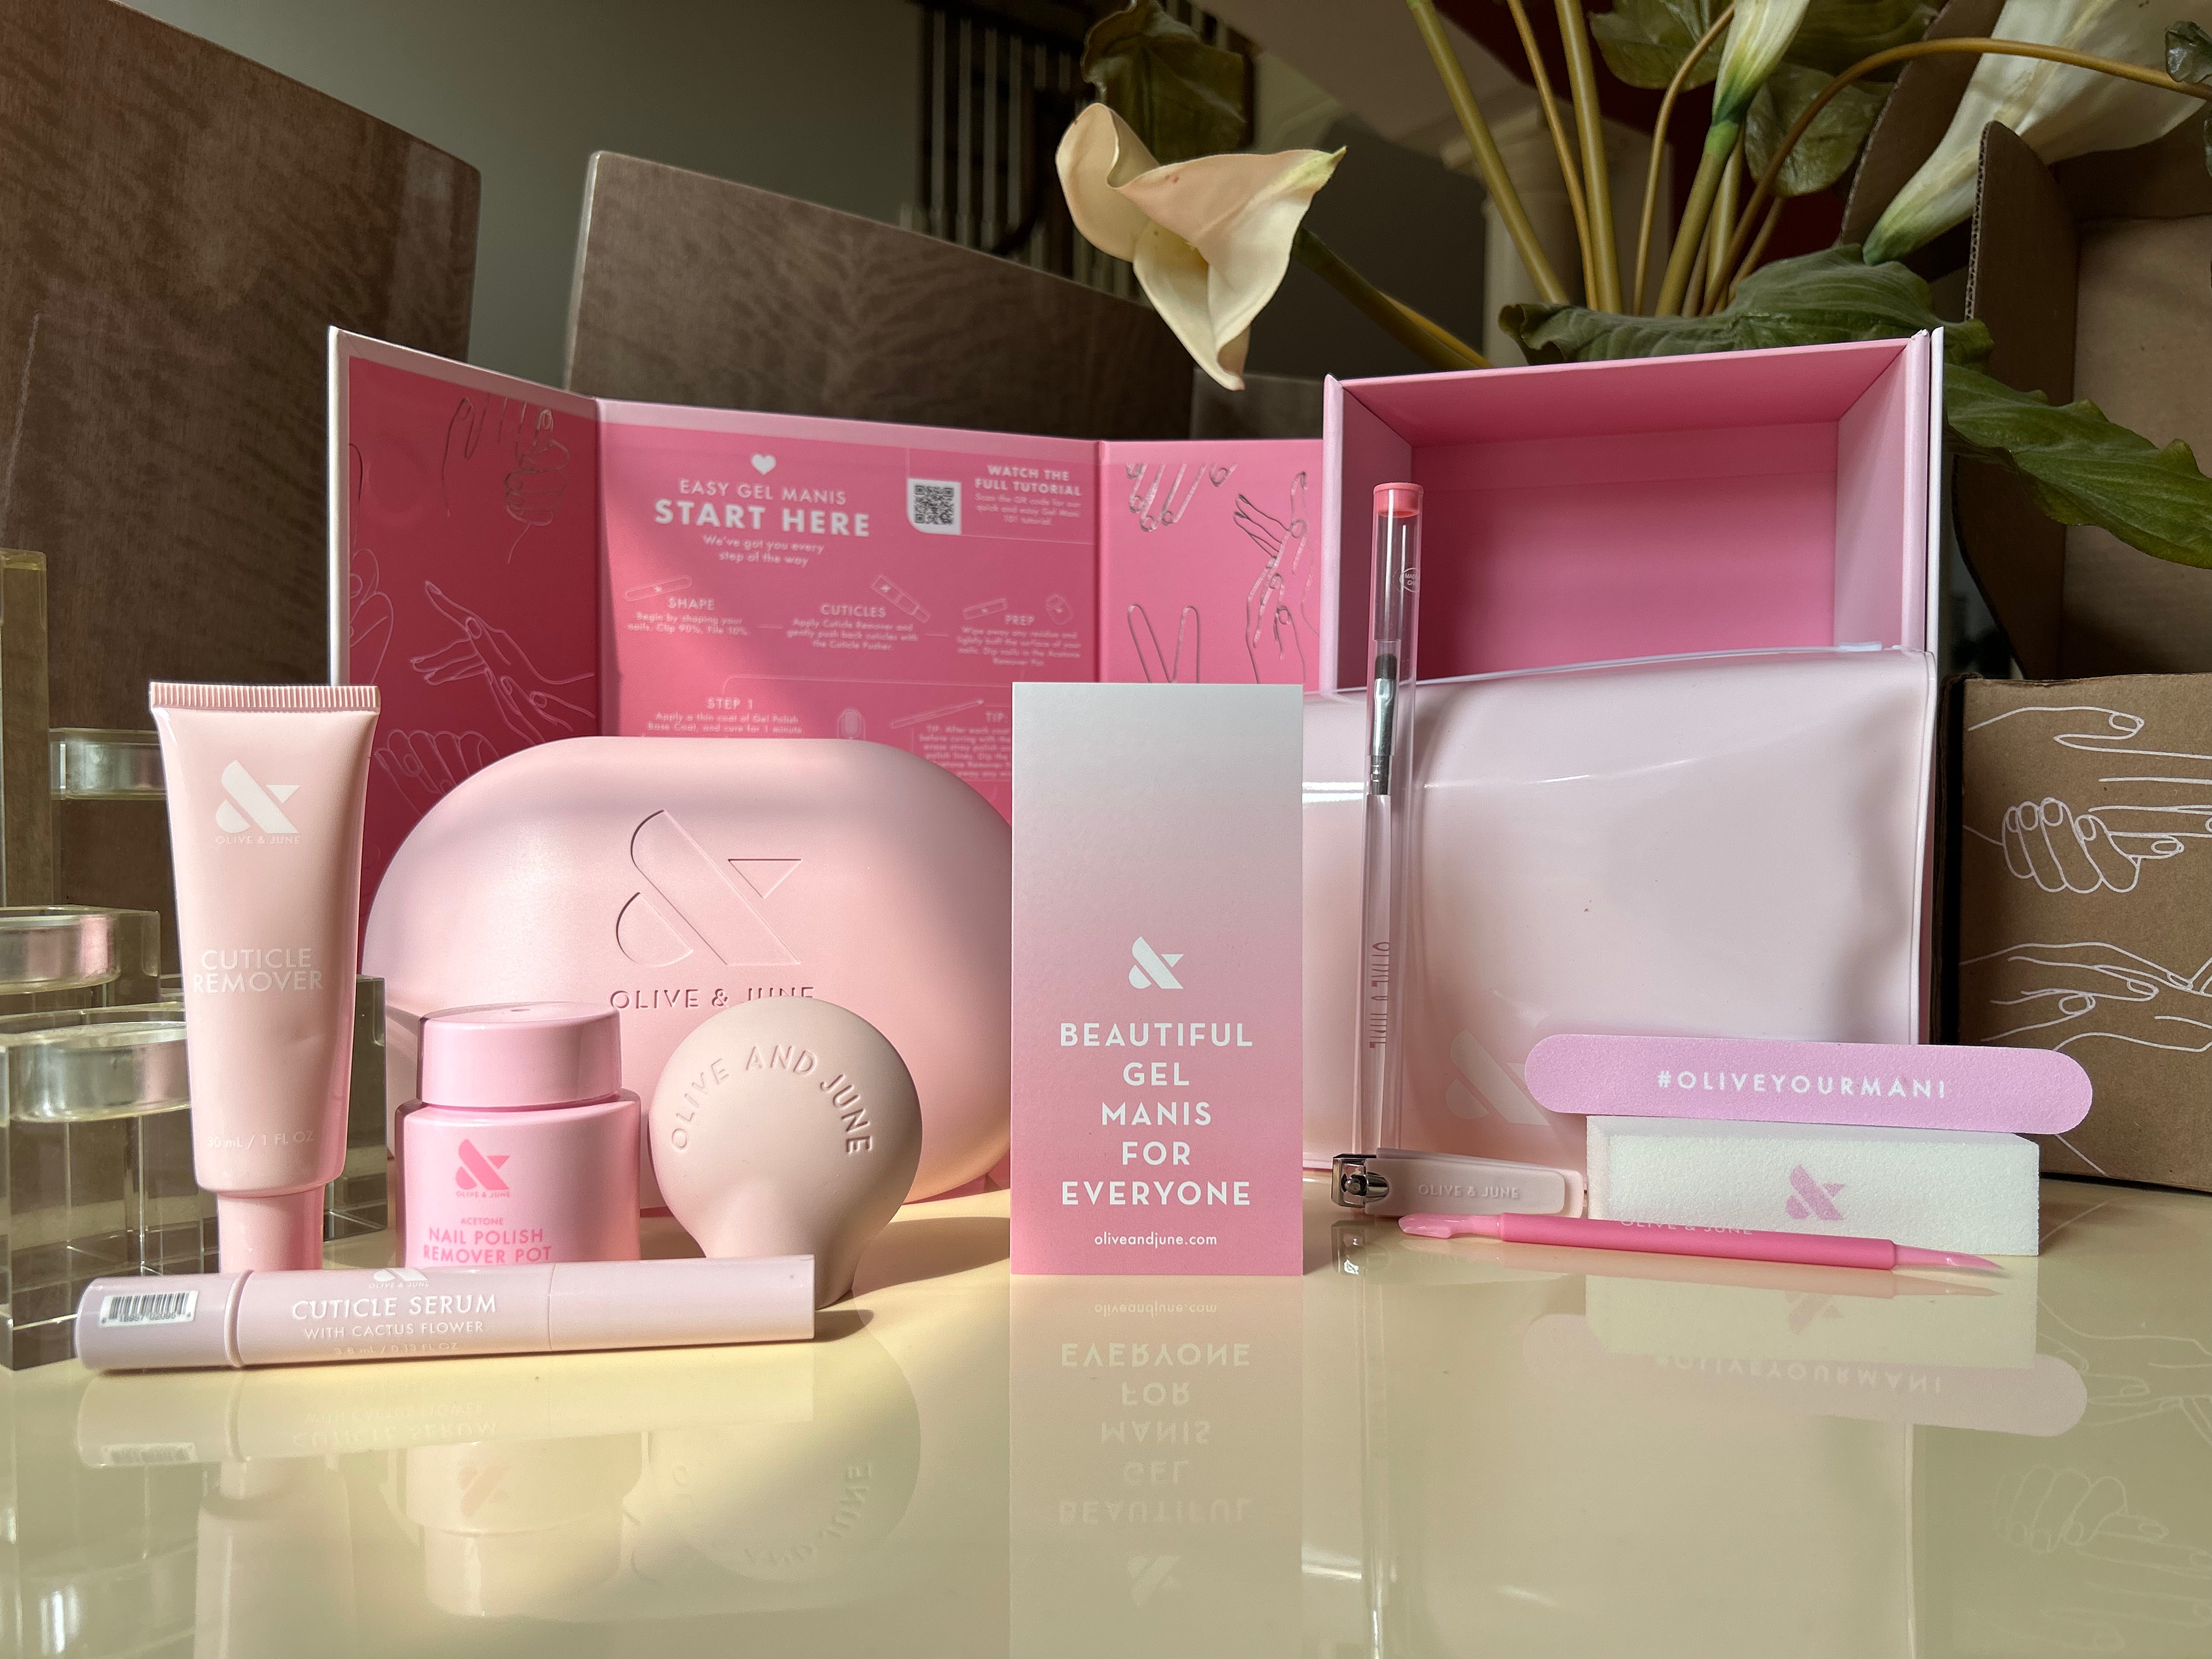
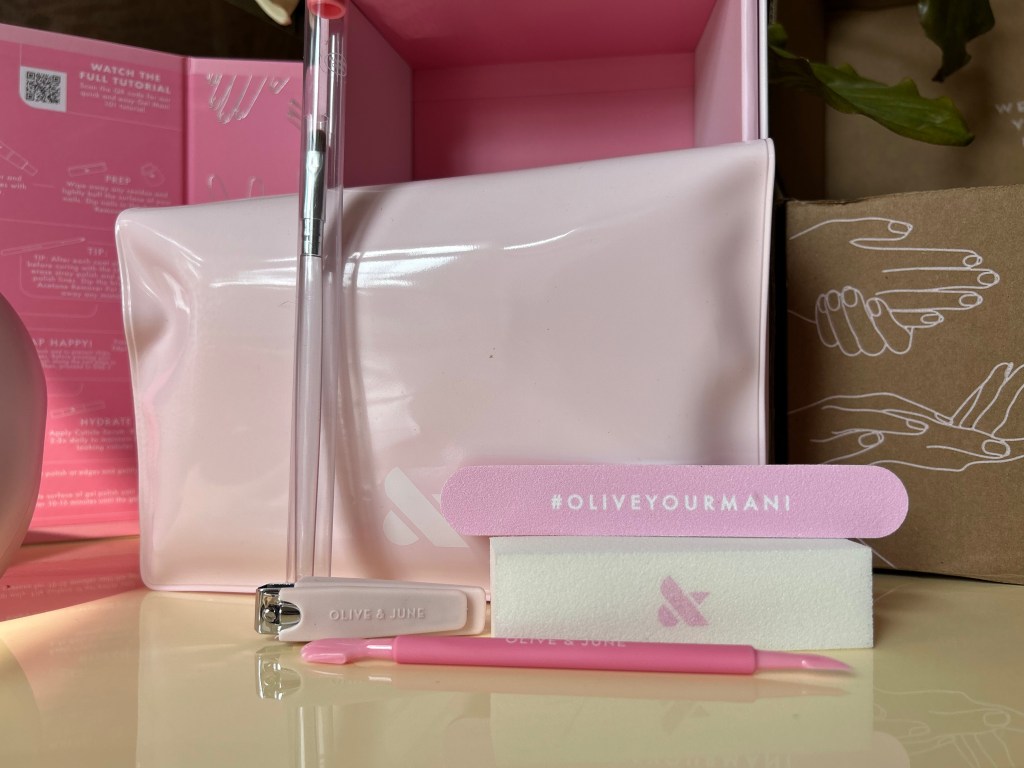
I became an at-home manicure enthusiast in 2023 when I bought my first manicure products, and during that time I’ve experimented with tools and techniques. Personally I prefer to work with gel polish, especially when creating intricate nail art, as I’m able to work quickly by curing each layer, but regular polish can be used as well. For today’s nail art – which consists mainly of dots and curved lines – we will need a few supplies! I used:
- Builder Gel Polish
- The Olive & June Curing Lamp
- Nail polish remover
- A manicure clean-up brush
- A dotting tool
- A liner brush
- A palette
- Polish colors of your choice
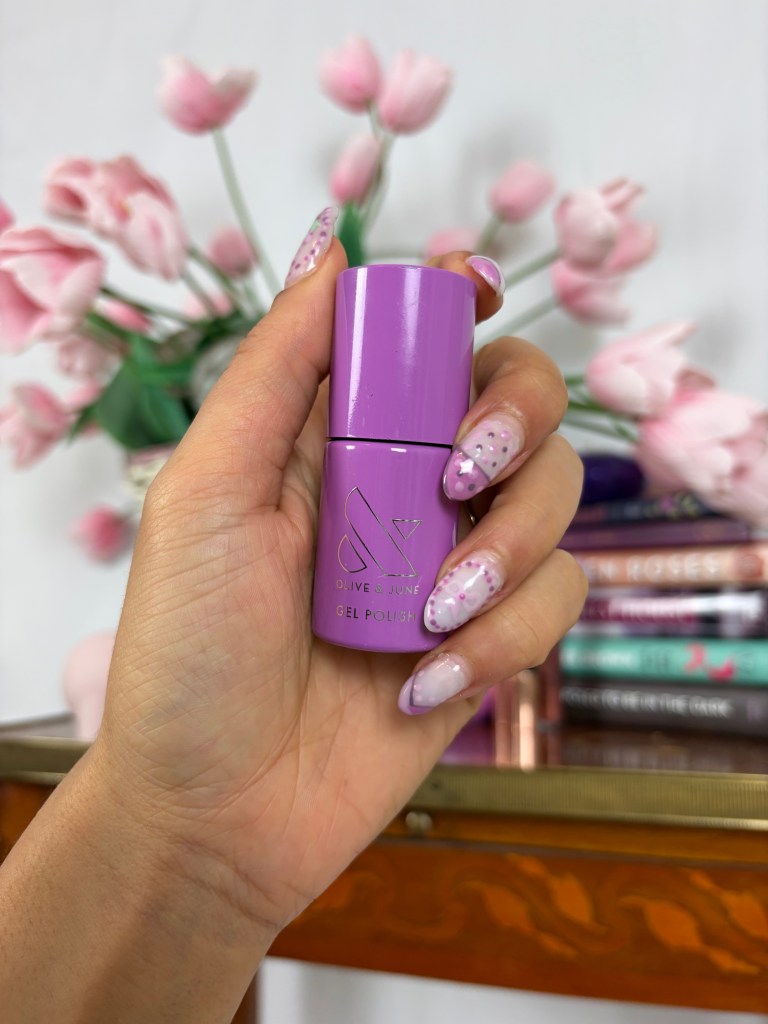
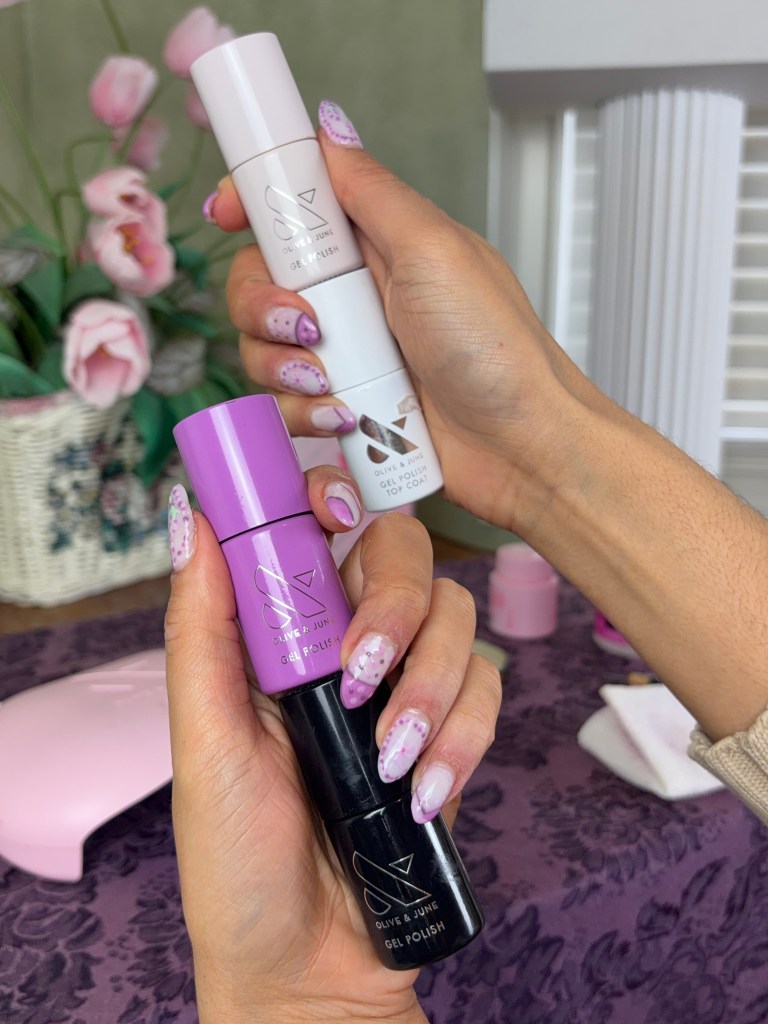
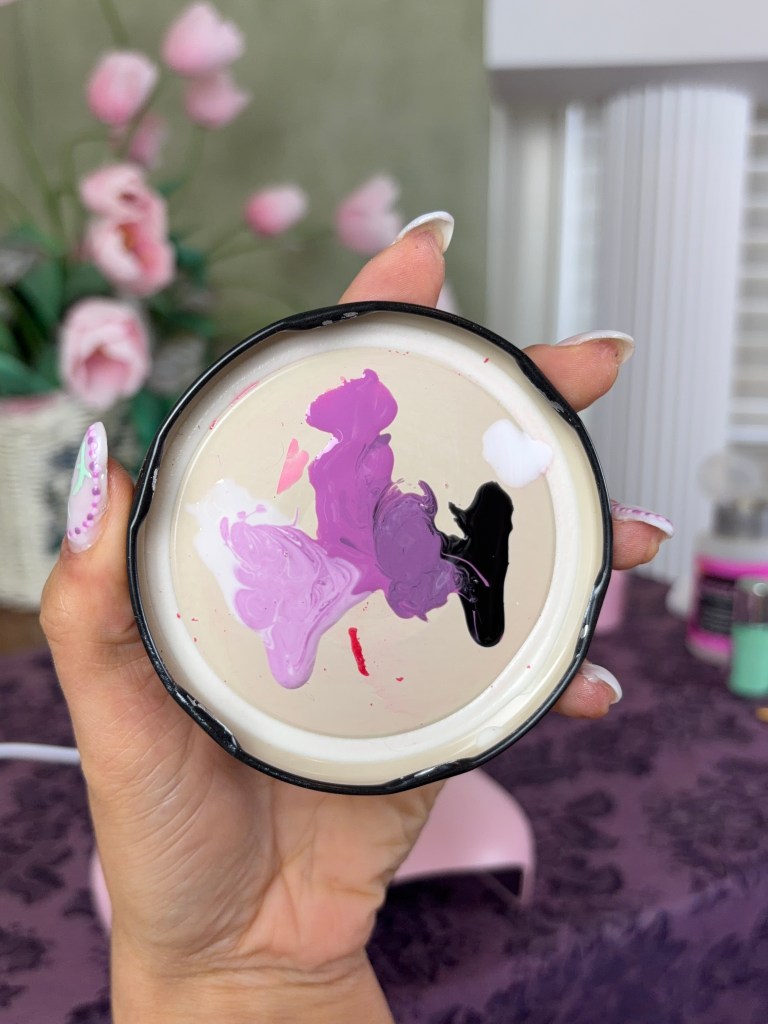
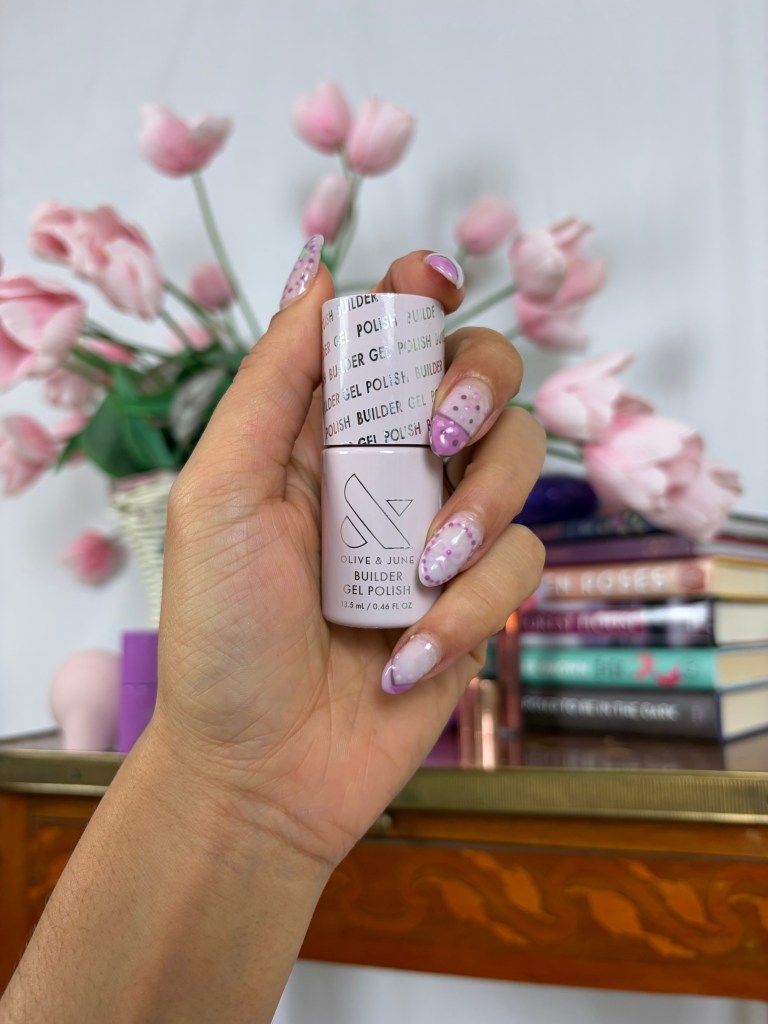
Today I’ll be working with a purple colorway, but you can recreate this same design with any color! The trick is to pick your main color (I’m using the O&J shade “Petal”), and mix it with a bit of white to create your highlight color, and a bit of black to create your lowlight color.
Manicure Prep!
If you’ve ever experienced chipping or polish peeling, then you’ll benefit from taking a more thorough approach to manicure prep! During my DIY journey I’ve learned that prepping my nails has more to do with my cuticles than anything else. In the past I have covered the various approaches to cuticle care, but I’ve come to rely on the Olive & June Cuticle Remover – a cream that you apply post-cuticle pusher, let sit for about five minutes, and then wipe away!
Once my cuticles are prepped I’ll move to the nail itself, filing them to my desired length and shape, and buffing the surface – which gives the product something to adhere to if you’re using gel! If you’re using regular polish you can get away with a smoother surface. And finally, I’ll use nail polish remover to cleanse the nail surface, and remove debris and excess oil; this step is especially crucial, as anything remaining on the nail surface can lead to polish bubbling, peeling, or chipping.
Techniques & Application Process
As soon as the Builder Gel Collection arrived I tried to make my first set of extensions and even though they looked good in photos, it was clear that I needed practice! So, I tried again, and that set worked out much better! As they grew longer I was able to try different shapes, and before long I had regrown my natural nails!
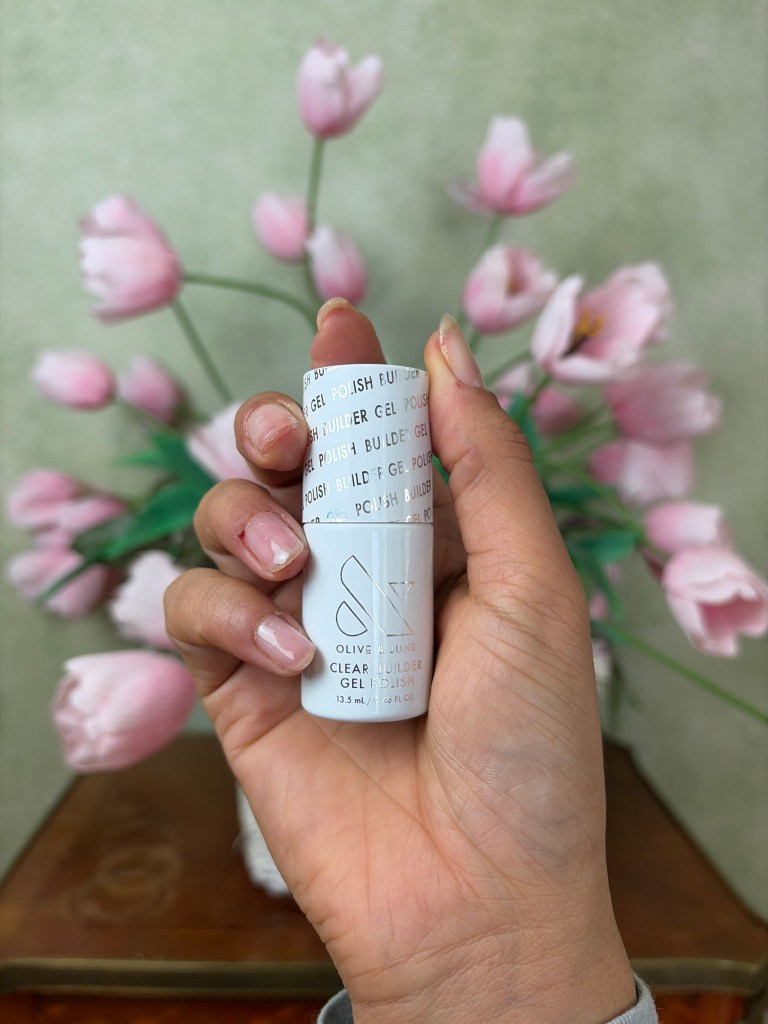
At that point in time, I had only been working with the builder gel shade Sugar Glow, as it gave the “milk nails” effect with only one product! The other two shades I received – Clear and Lavender Frost – I had only tried during my initial unboxing so I was excited to try a new look! I applied two coats of Lavender Frost to each nail, curing for two minutes between each, and making sure to clean the edges of the nail prior to curing.
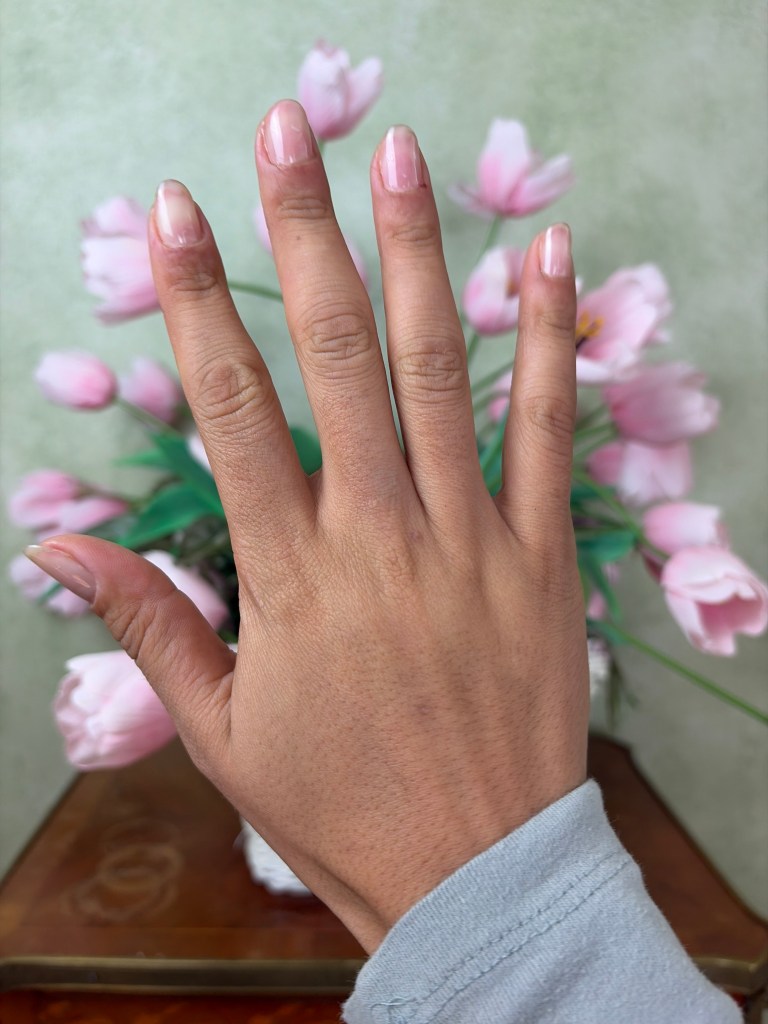

Now we’re ready to start the detail-work! As time consuming as nail art can be, this set consists of several easy techniques such as dotting and curved line work!
As I explained above, I created a harmonious color way by selecting my main polish color (Olive & June’s “Petal”) and mixing it with an off-white (the shade “LHG”) and a true black (the shade “E+M”). Similarly to mixing hues of paint, we’re creating a complimentary highlight, mid-light, and low-light.
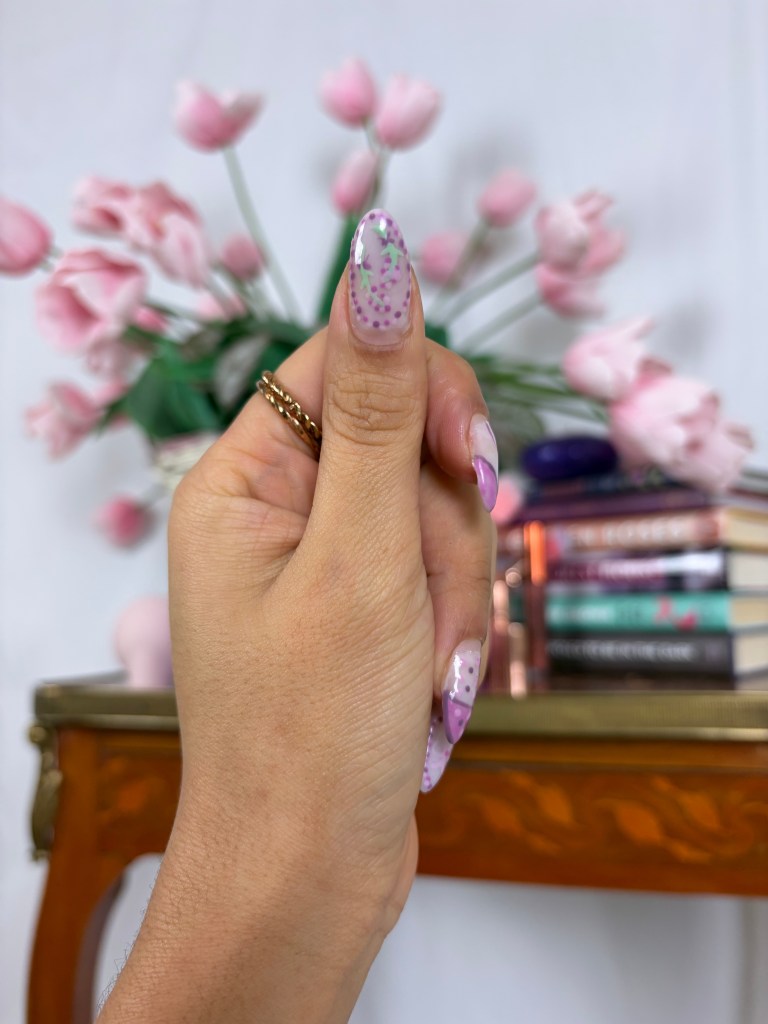
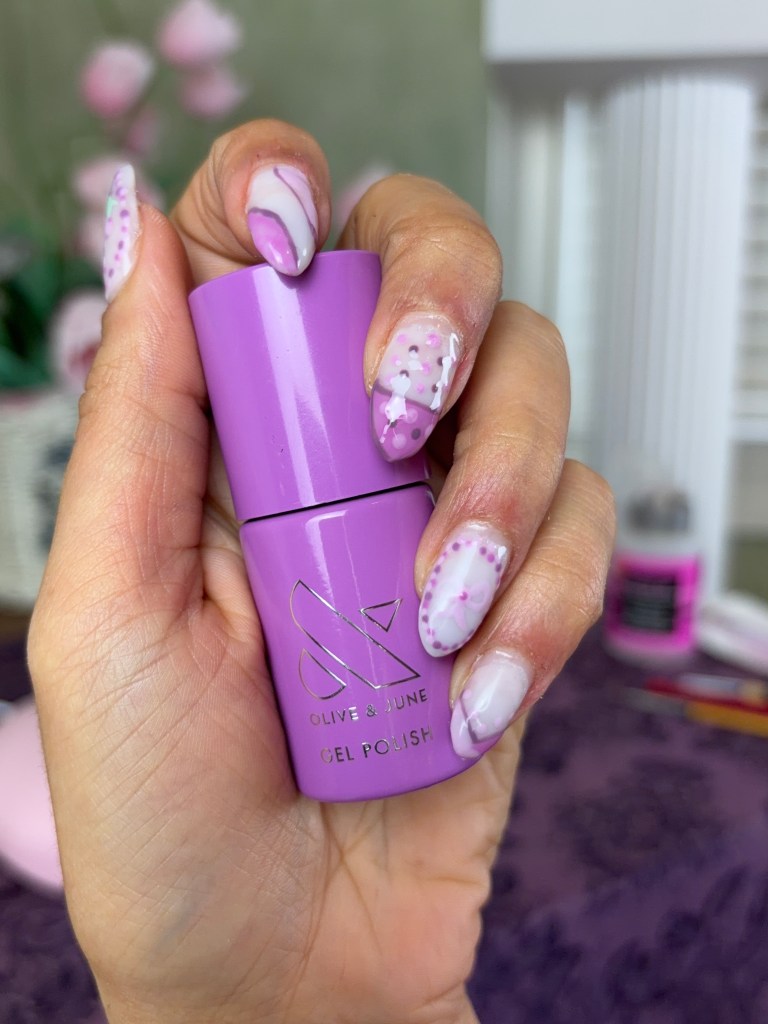
Thumb
I used the dotter tool to make a dotted frame with all three purple shades, then used a liner brush and a pastel green shade to make flower stems with little leaves, and used the same tool at the end to add little bows onto the stems. I used the dotter to turn them into hyacinths, partially because I love them and partially because they’re very easy to create!
Ring Finger
I made the same exact frame here, then used the dotter to create a large bow in the center of each frame. I used the lightest shade for the bows, which ended up being very similar to the base shade, so I added a dot of Petal to the center to make each bow pop!
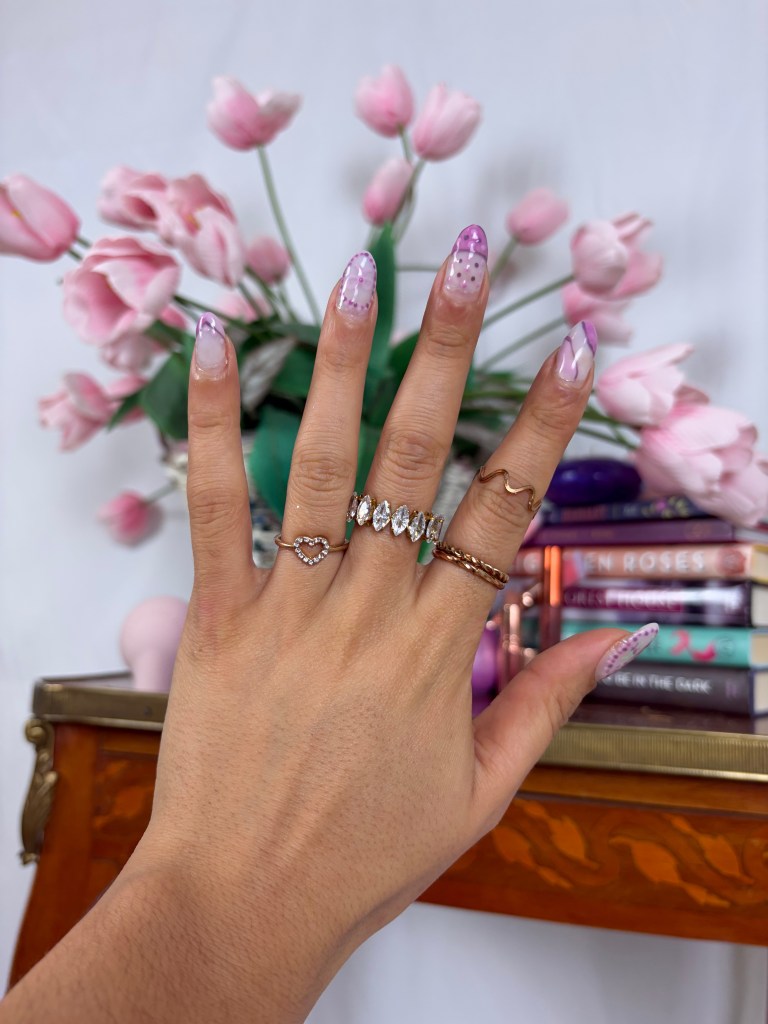
Pinky
Here I kept things a bit more simple, opting for a geometric French tip with Petal and the lightest shade. Then I went back in with the darkest shade to create a line over the “seam” of the French, and topped that line with a few dots in the lightest shade.
Index Finger
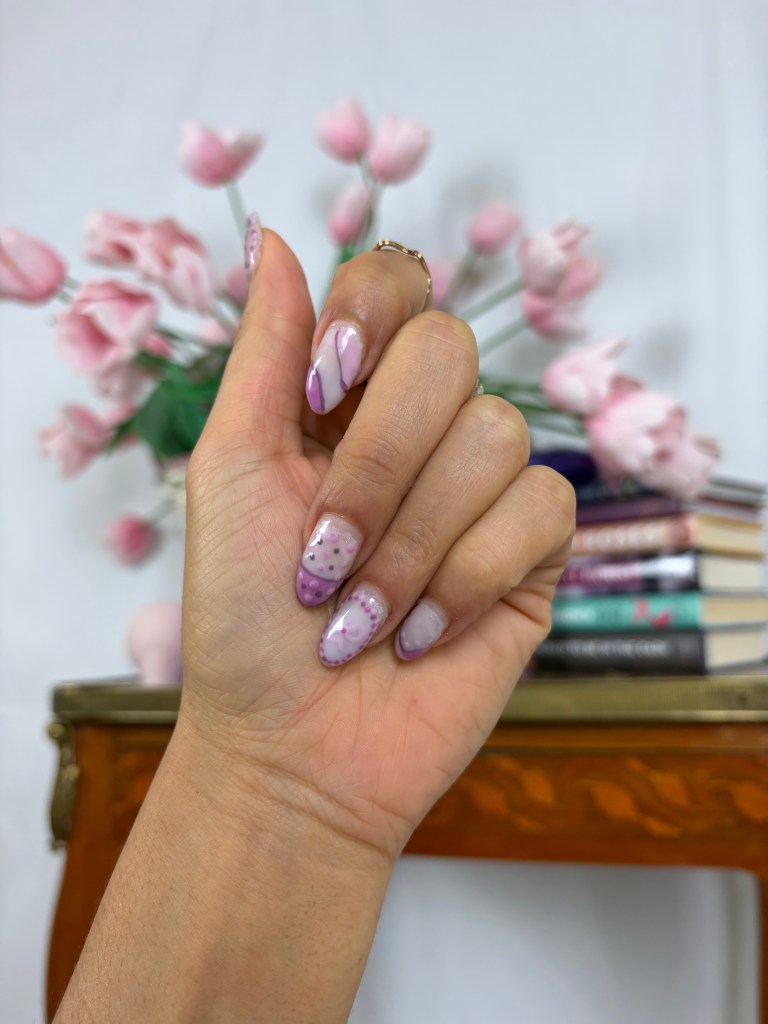
Taking inspiration from geode nail art I started by painting two large sections of indiscriminate shapes, one in the shade Petal and one in the lightest shade. I then outlined each section in the darkest color.
Middle Finger
As the final nail I painted, this is where I made sure to incorporate many of the previous elements to ensure a cohesive design. I started with a sort of geode-French in the shade Petal, which is essentially a triangle across the point of the nail. I then outlined this entire shape with the darkest shade, and completed the design with dots made from the lightest and darkest shades.
And, as I finished each design, I sealed each nail with the Olive & June Gel Polish Top Coat!
The Tutorial
Are you someone who would rather follow a video tutorial? You’re in luck! This tutorial is already available on the We Aim To Slay YouTube channel!
What Do You Think?
While we’re waiting for the return of spring, I’ll be channeling the changing of the seasons with my manicures! If you’ve been thinking about becoming a DIY #NailGirlie, then I highly recommend looking into Olive & June’s manicure kits – available in a regular polish and gel polish option! And, I can’t wait to get my hands on Olive & June’s newly released Nail Gem Kit, because a little sparkle makes everything better!
Drop your nail art thoughts & suggestions in the comments below!
I’ll be back next week to share some spring-coded additions to my wardrobe and how I’m styling them!
Have a great rest of your week, and remember to SLAY!


Leave a reply to Anonymous Cancel reply