Hairstyle trends come and go, but healthy hair never goes out of style! Whether you’re growing out your hair, or maintaining your current style, regular trimming will keep your strands healthy and promote growth! According to a 2024 article from Vogue, regular trimming can “improve hair growth, create natural thickness, prevent hair from over drying or breaking off, and keep hair healthy overall.”
Think of each strand of hair as a straw in a beverage. If you’re using a damaged or broken straw, it will be nearly impossible to drink. Similarly, each strand of hair acts as a straw to draw in your hair products, absorbing the benefits and nourishing your scalp.
In the Vogue article, Irinel de León (celebrity hairstylist and Dyson global styling ambassador) explains there is a difference between getting a “trim” and getting a “cut.” “A trim,” de León says, “is when an inch or two is taken off at the ends while a cut is a bit more drastic with more than two to three inches being chopped off.”
How It Started…
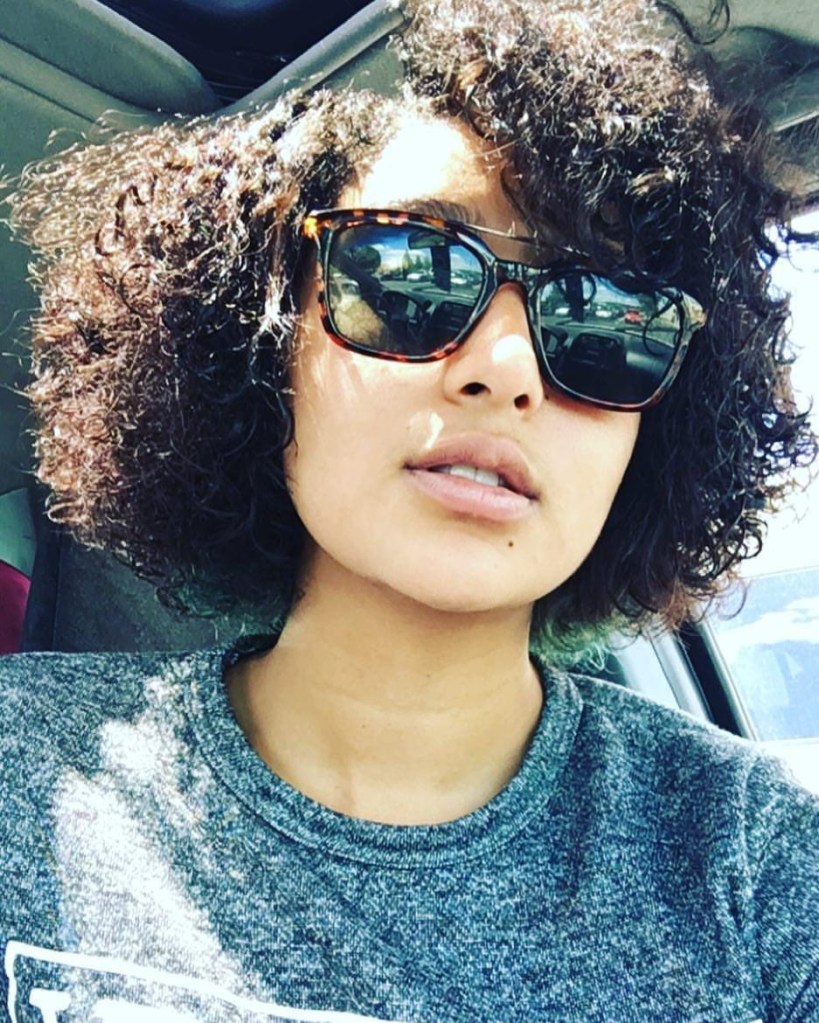
Ever since my first “big chop” when I was 8-years-old, many kinds of chemical straighteners, various wigs and extensions, and several traumatic haircuts I started growing out my hair – until 2017, when cut off my chemically damaged hair and committed to the curly lifestyle!

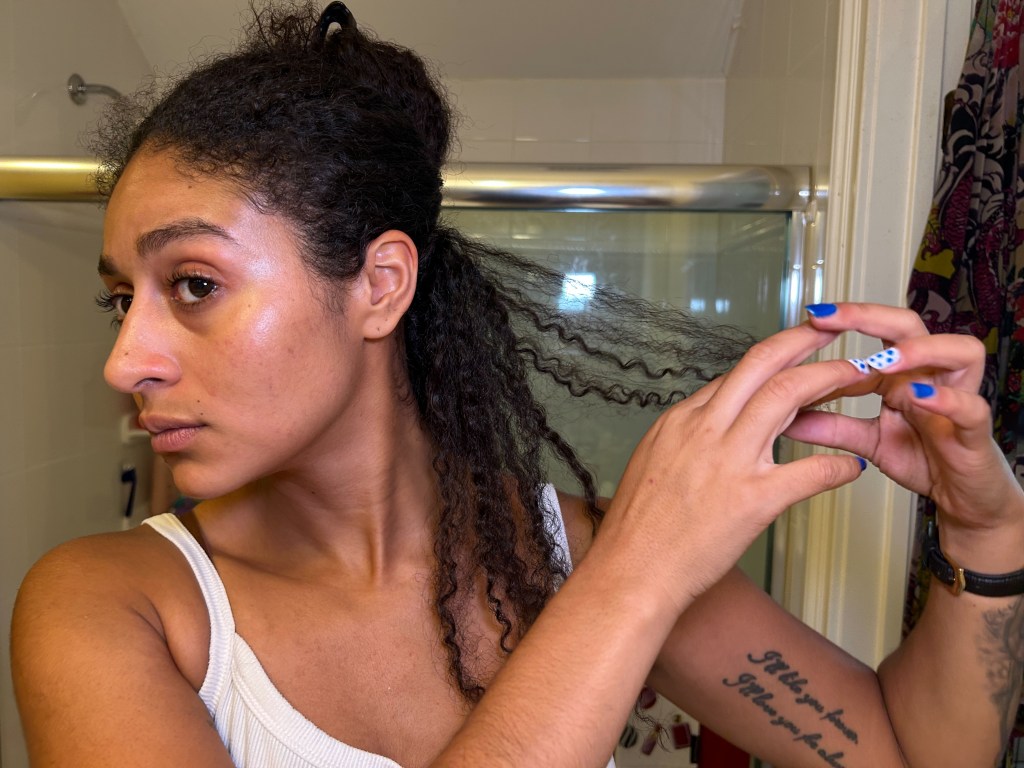
In 2019 I traveled to SoHo for my first official curly cut at the DevaCurl Salon (which I just learned closed in 2022!) and had such an amazing experience that when I started trimming my hair at home, I continued to follow their hair prepping process – start with clean, air dried hair, without products.


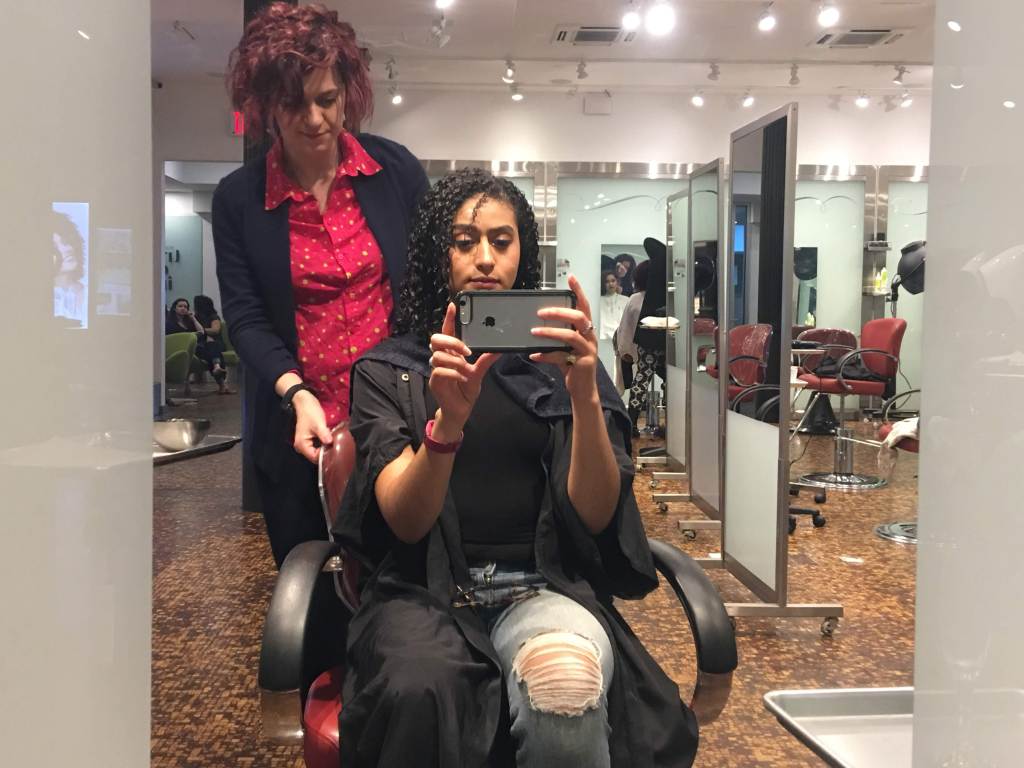

This allows the curls to form into their preferred pattern and to fall at the appropriate length for each individual curl. I do tend to add a bit of leave-in conditioner to keep my hair hydrated and to allow the curl clusters to bond a bit better.
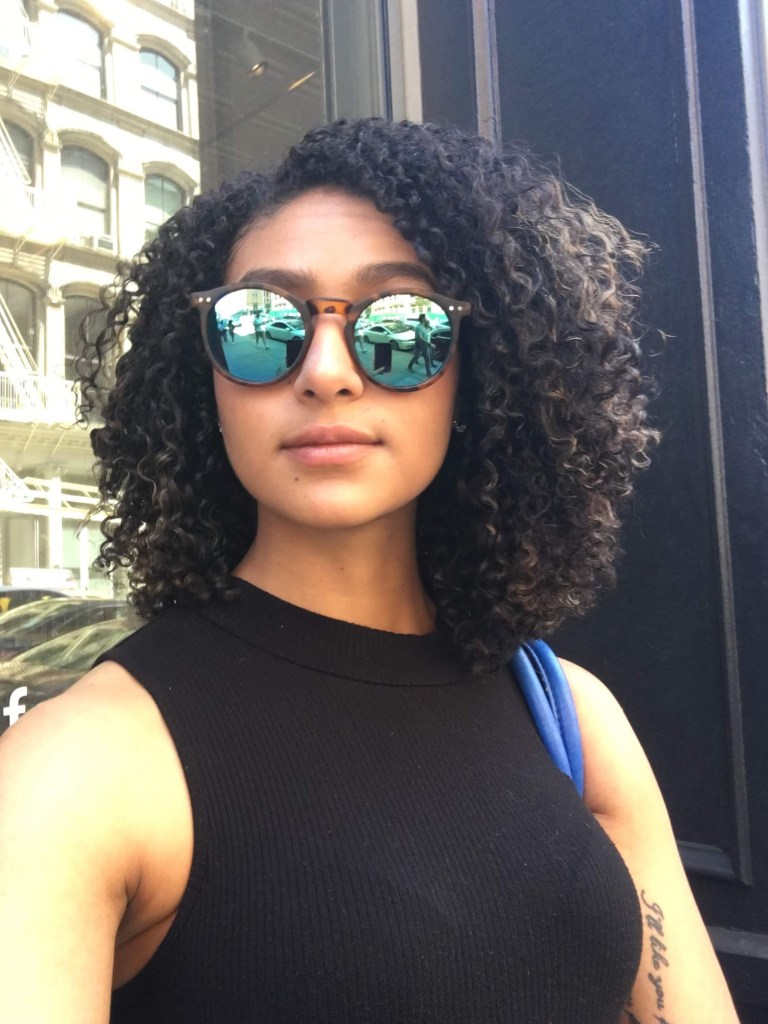
And ever since then, I’ve been cutting my hair myself! There are times when I get it done perfectly, and other times when I end up cutting more than I need to, but in those moments I try to remember that it’s just hair – it’ll grow back before I know it!
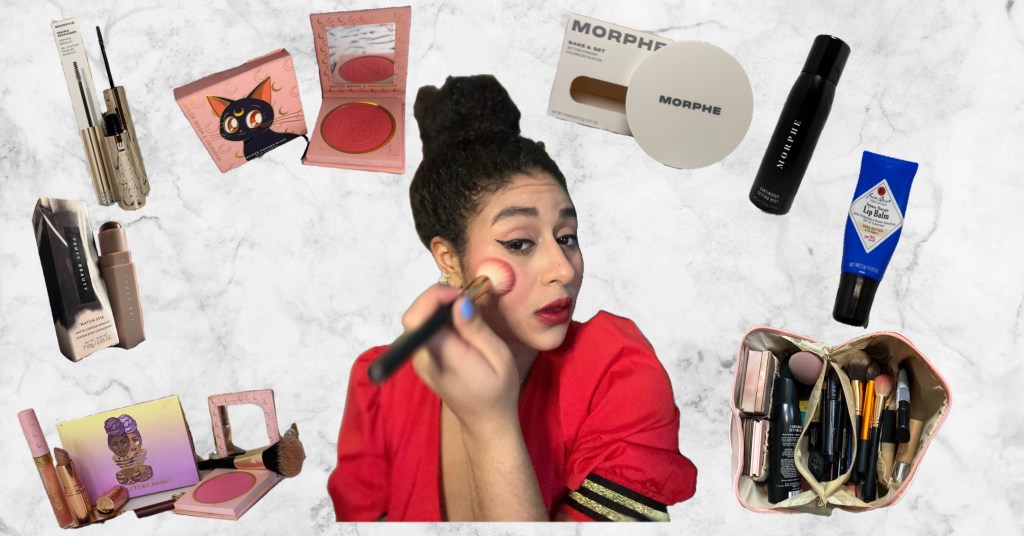
Products & Tools I Use
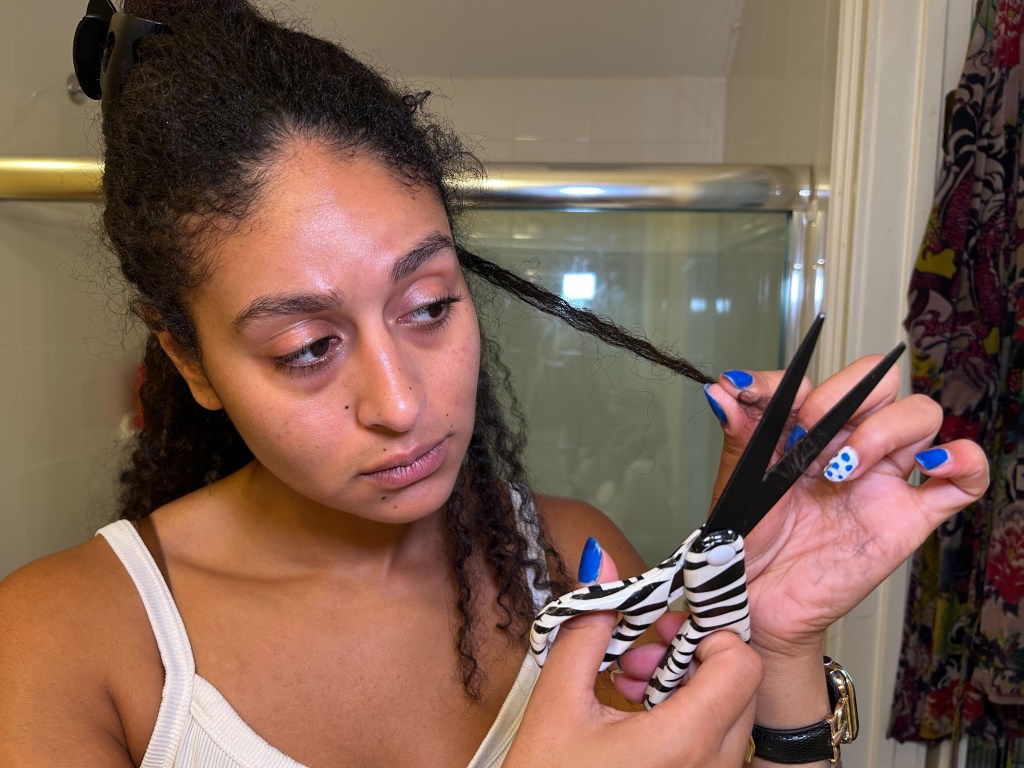
Before I even pick up the scissors I gather all necessary tools and products including: scissors (I’m not using hair cutting scissors, but that’s something I’ll be looking for!), a rat tail comb, and several clips as I’ll be working in sections.
Once I’ve completed my trim I’ll wash and style my hair as usual. This time I mixed things up by doing an oil treatment using sweet almond oil prior to washing, massaging into the scalp and throughout the strands and ends.
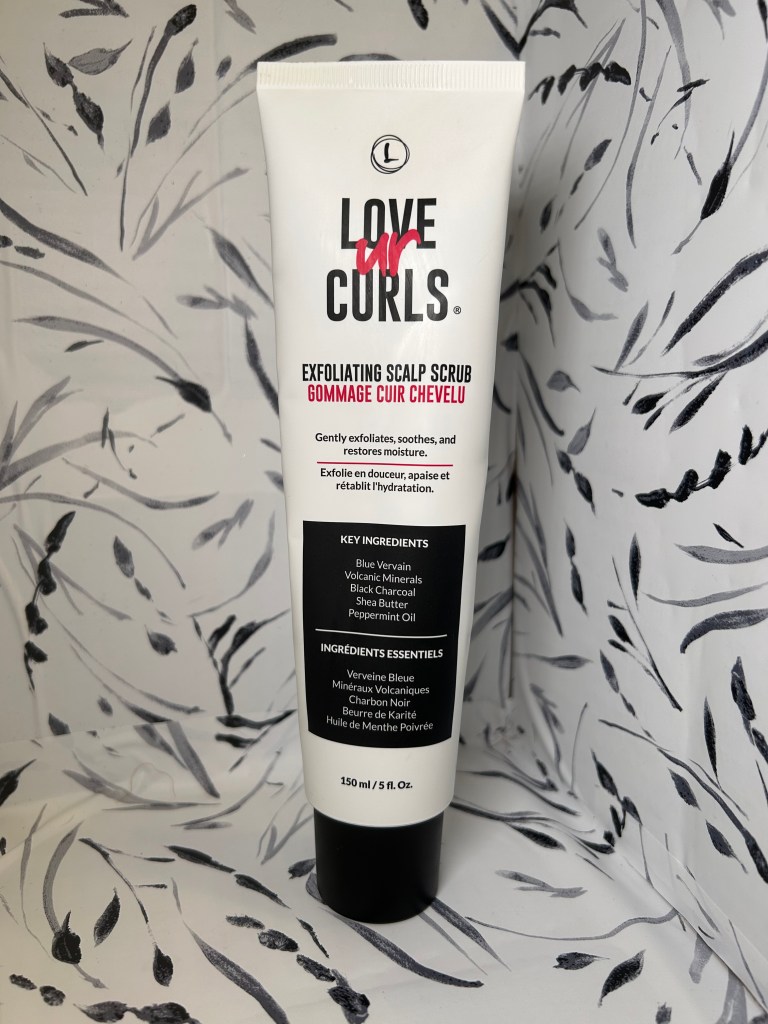
I’ve been using a scalp massager for a few years, a technique that promotes growth by stimulating blood flow, and in the last year I’ve developed a love for scalp exfoliating as a way to combat product build up. Earlier this year the team at Love Ur Curls sent me their Exfoliating Scalp Scrub and it has quickly become one of my favorites! Unlike some products that combine exfoliation into shampoo, this scrub is specifically for your scalp. It contains peppermint oil which leaves my scalp feeling extra clean and refreshed!
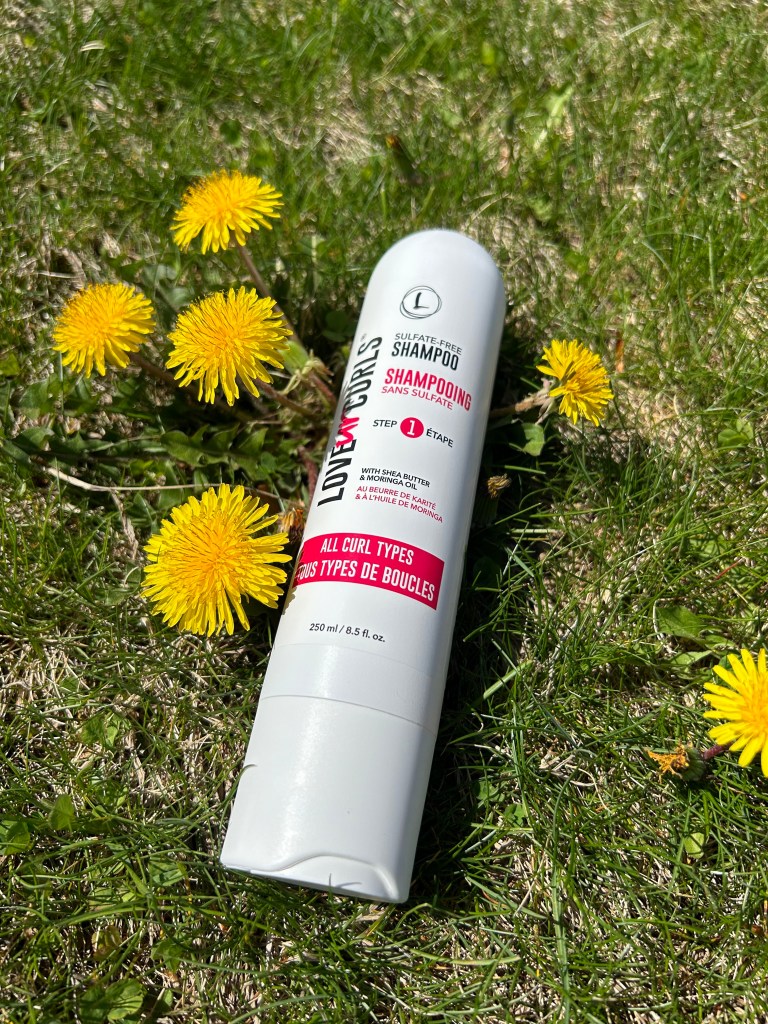
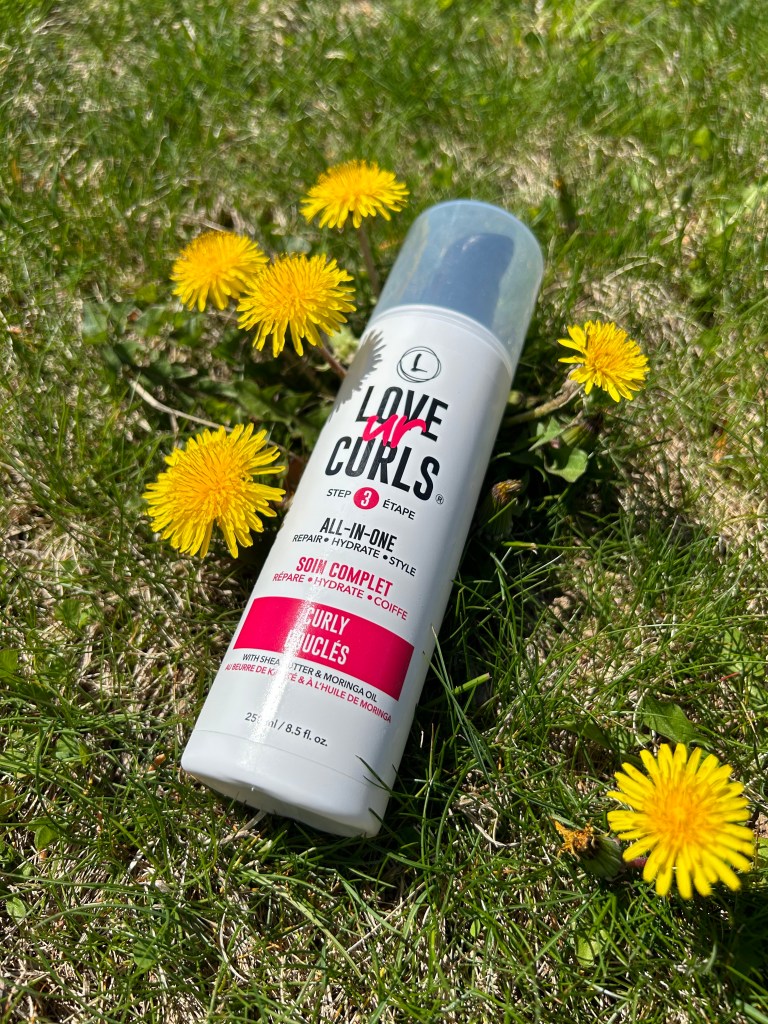
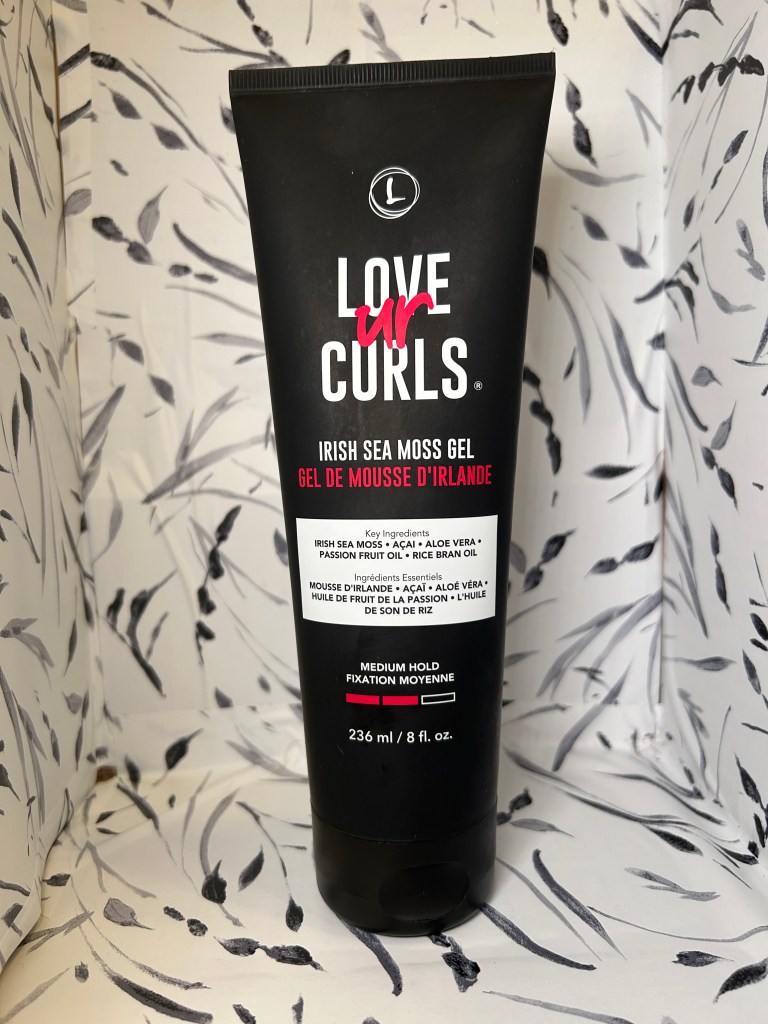
I washed and conditioned with the Love Ur Curls Step 1 Shampoo and the Not Your Mother’s Naturals Tahitian Gardenia Flower & Mango Butter Conditioner, and styled with the Mielle Honey and Pomegranate leave-in, and the Love Ur Curls All-in-One Styler and Irish Sea Moss Gel!
You can find these, and all of my tried-and-true hair products on my “Hair Care for Mixed Curl Types!” Benable List – and you can purchase them instantly!


The Process
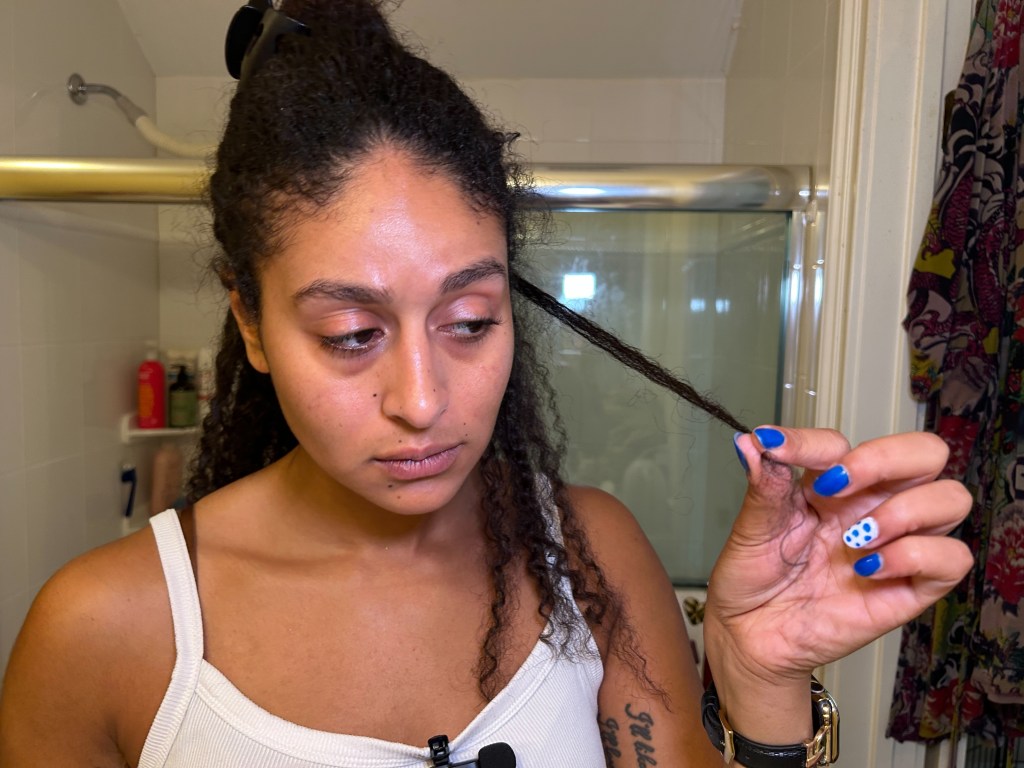
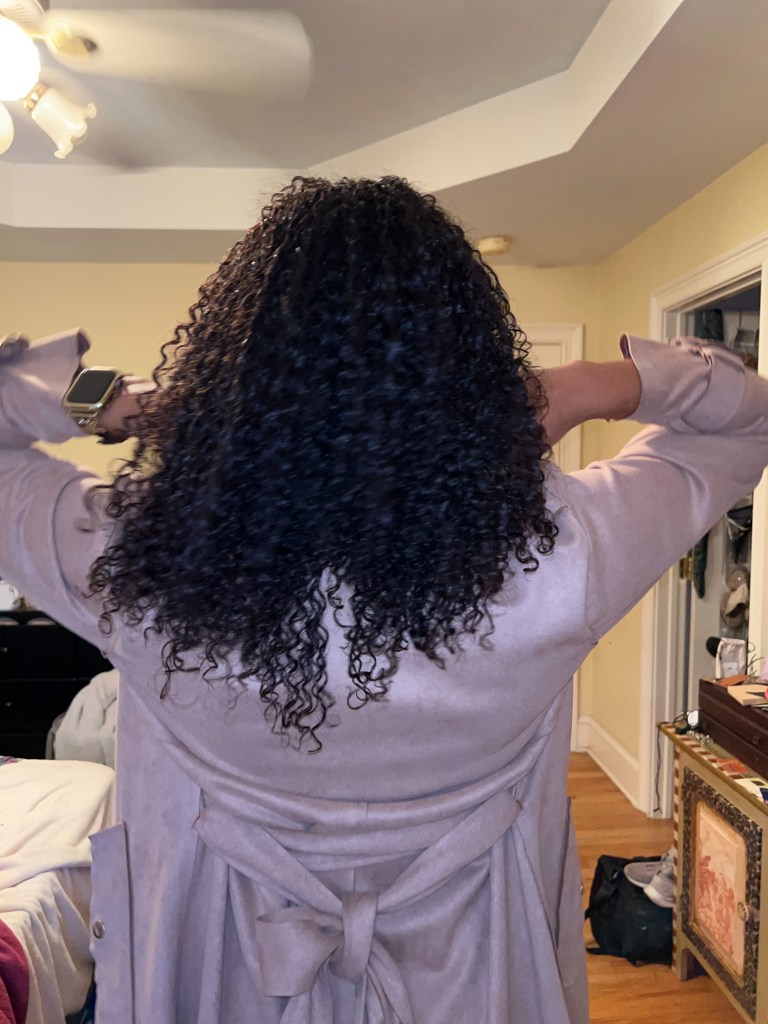
Now that it’s time to start trimming I’ll section my hair into four main sections: the nape of my neck, the center of the back, the crown, and the sections framing my face. As I move throughout each section, I’ll allow the curls to separate on their own – the point is, you want to be able to see each individual curl’s end; that’s what you’ll be trimming! Working in such small sections tends to be a very time intensive process but the results speak for themselves!
And, you can head over to the We Aim To Slay YouTube Channel now to see exactly what I’m doing!


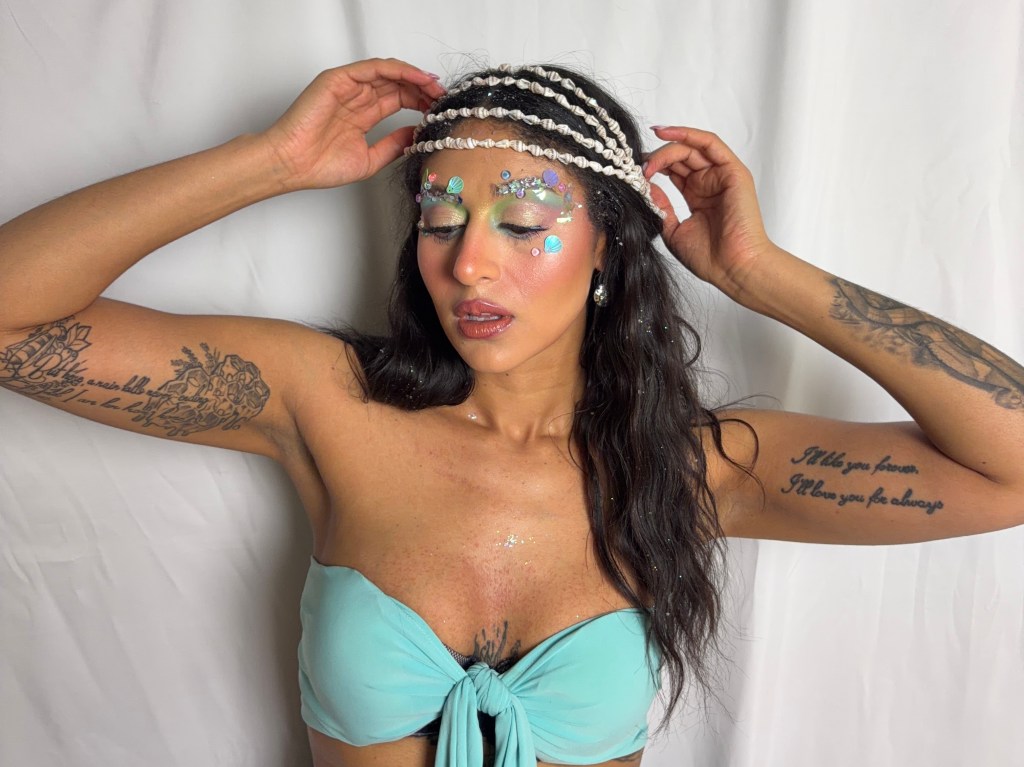
The Results!
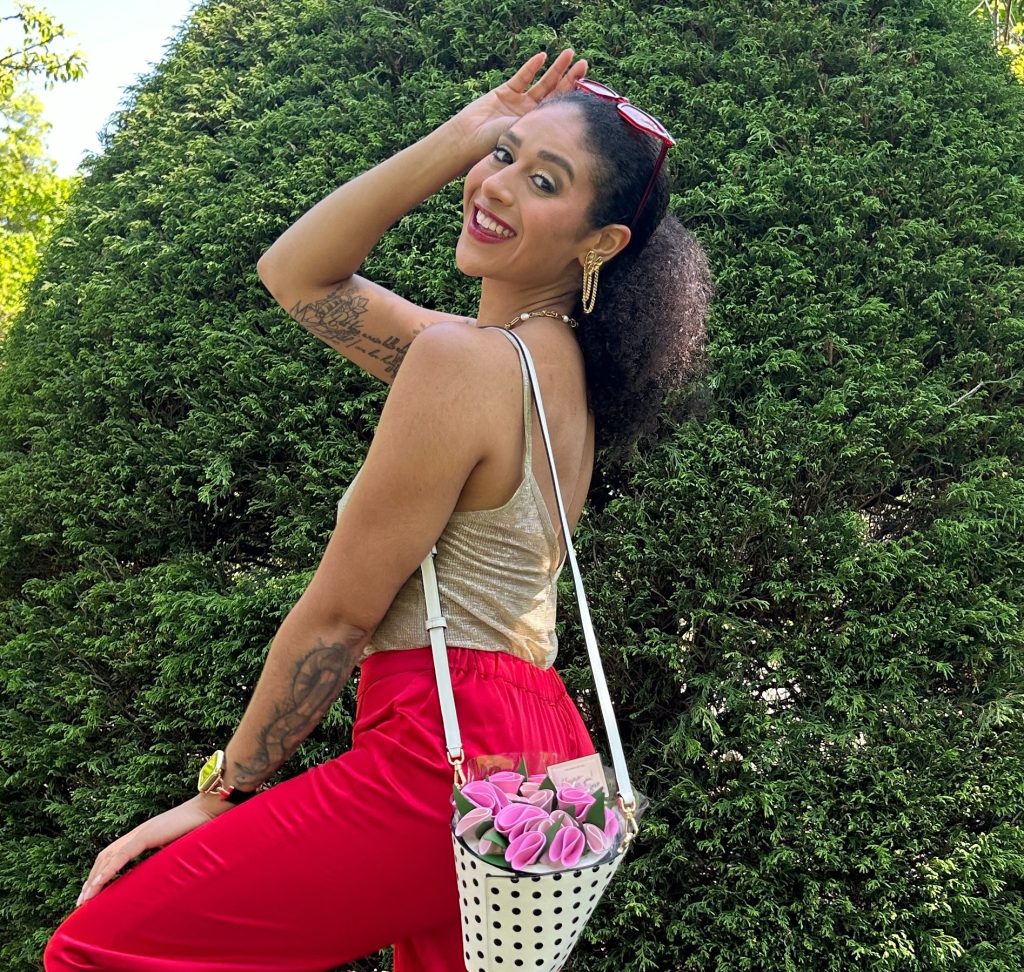
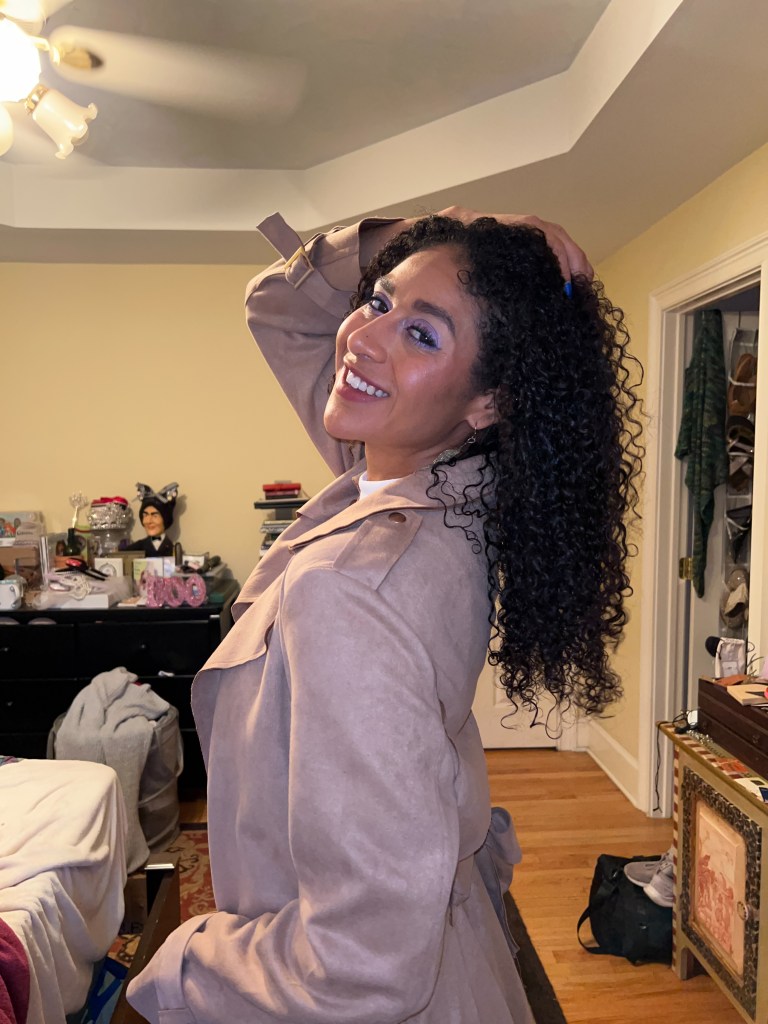
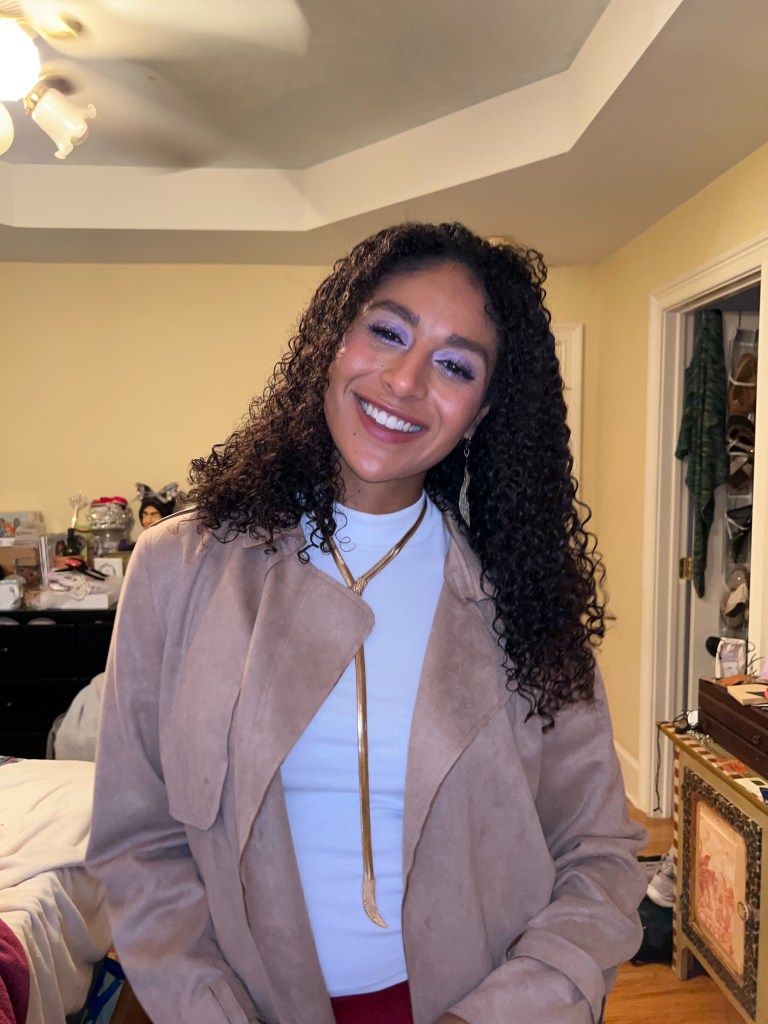
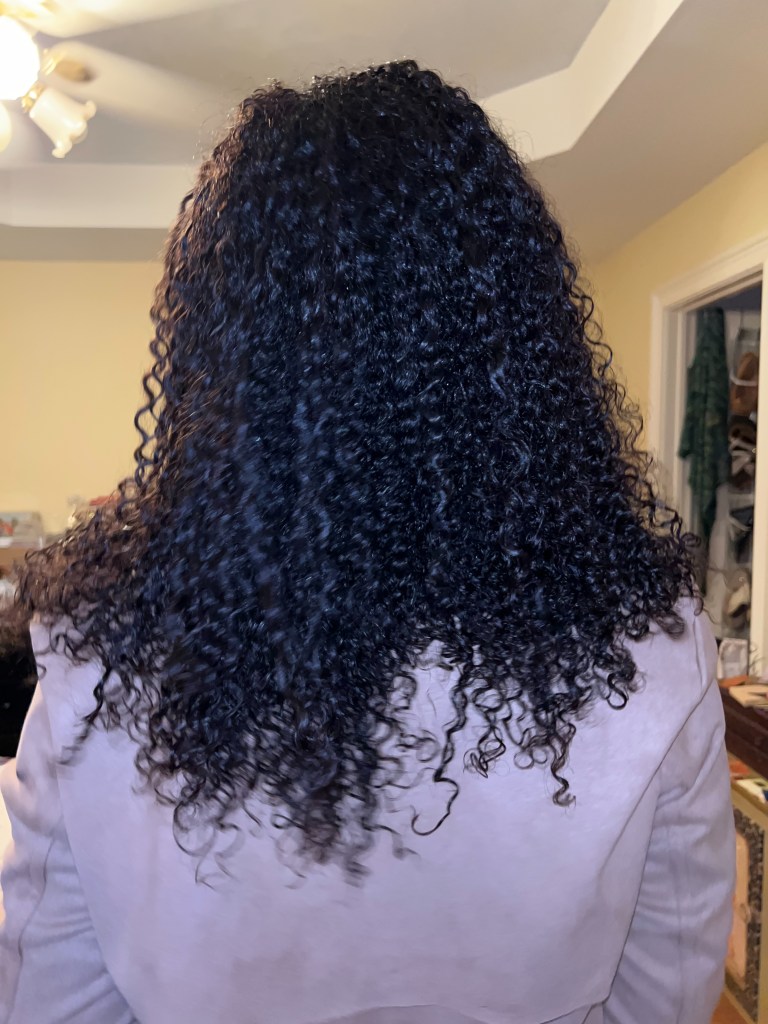
Even though I got a little “trigger happy” with the scissors this time – and ended up much closer to a bob than I was going for – I have to say I love these curls! They’re super light and bouncy, my natural hair color seems much more vibrant, and overall my hair feels lighter on my head!

What Do You Think?
Would you feel comfortable trimming your own hair? Let me know in the comments below!
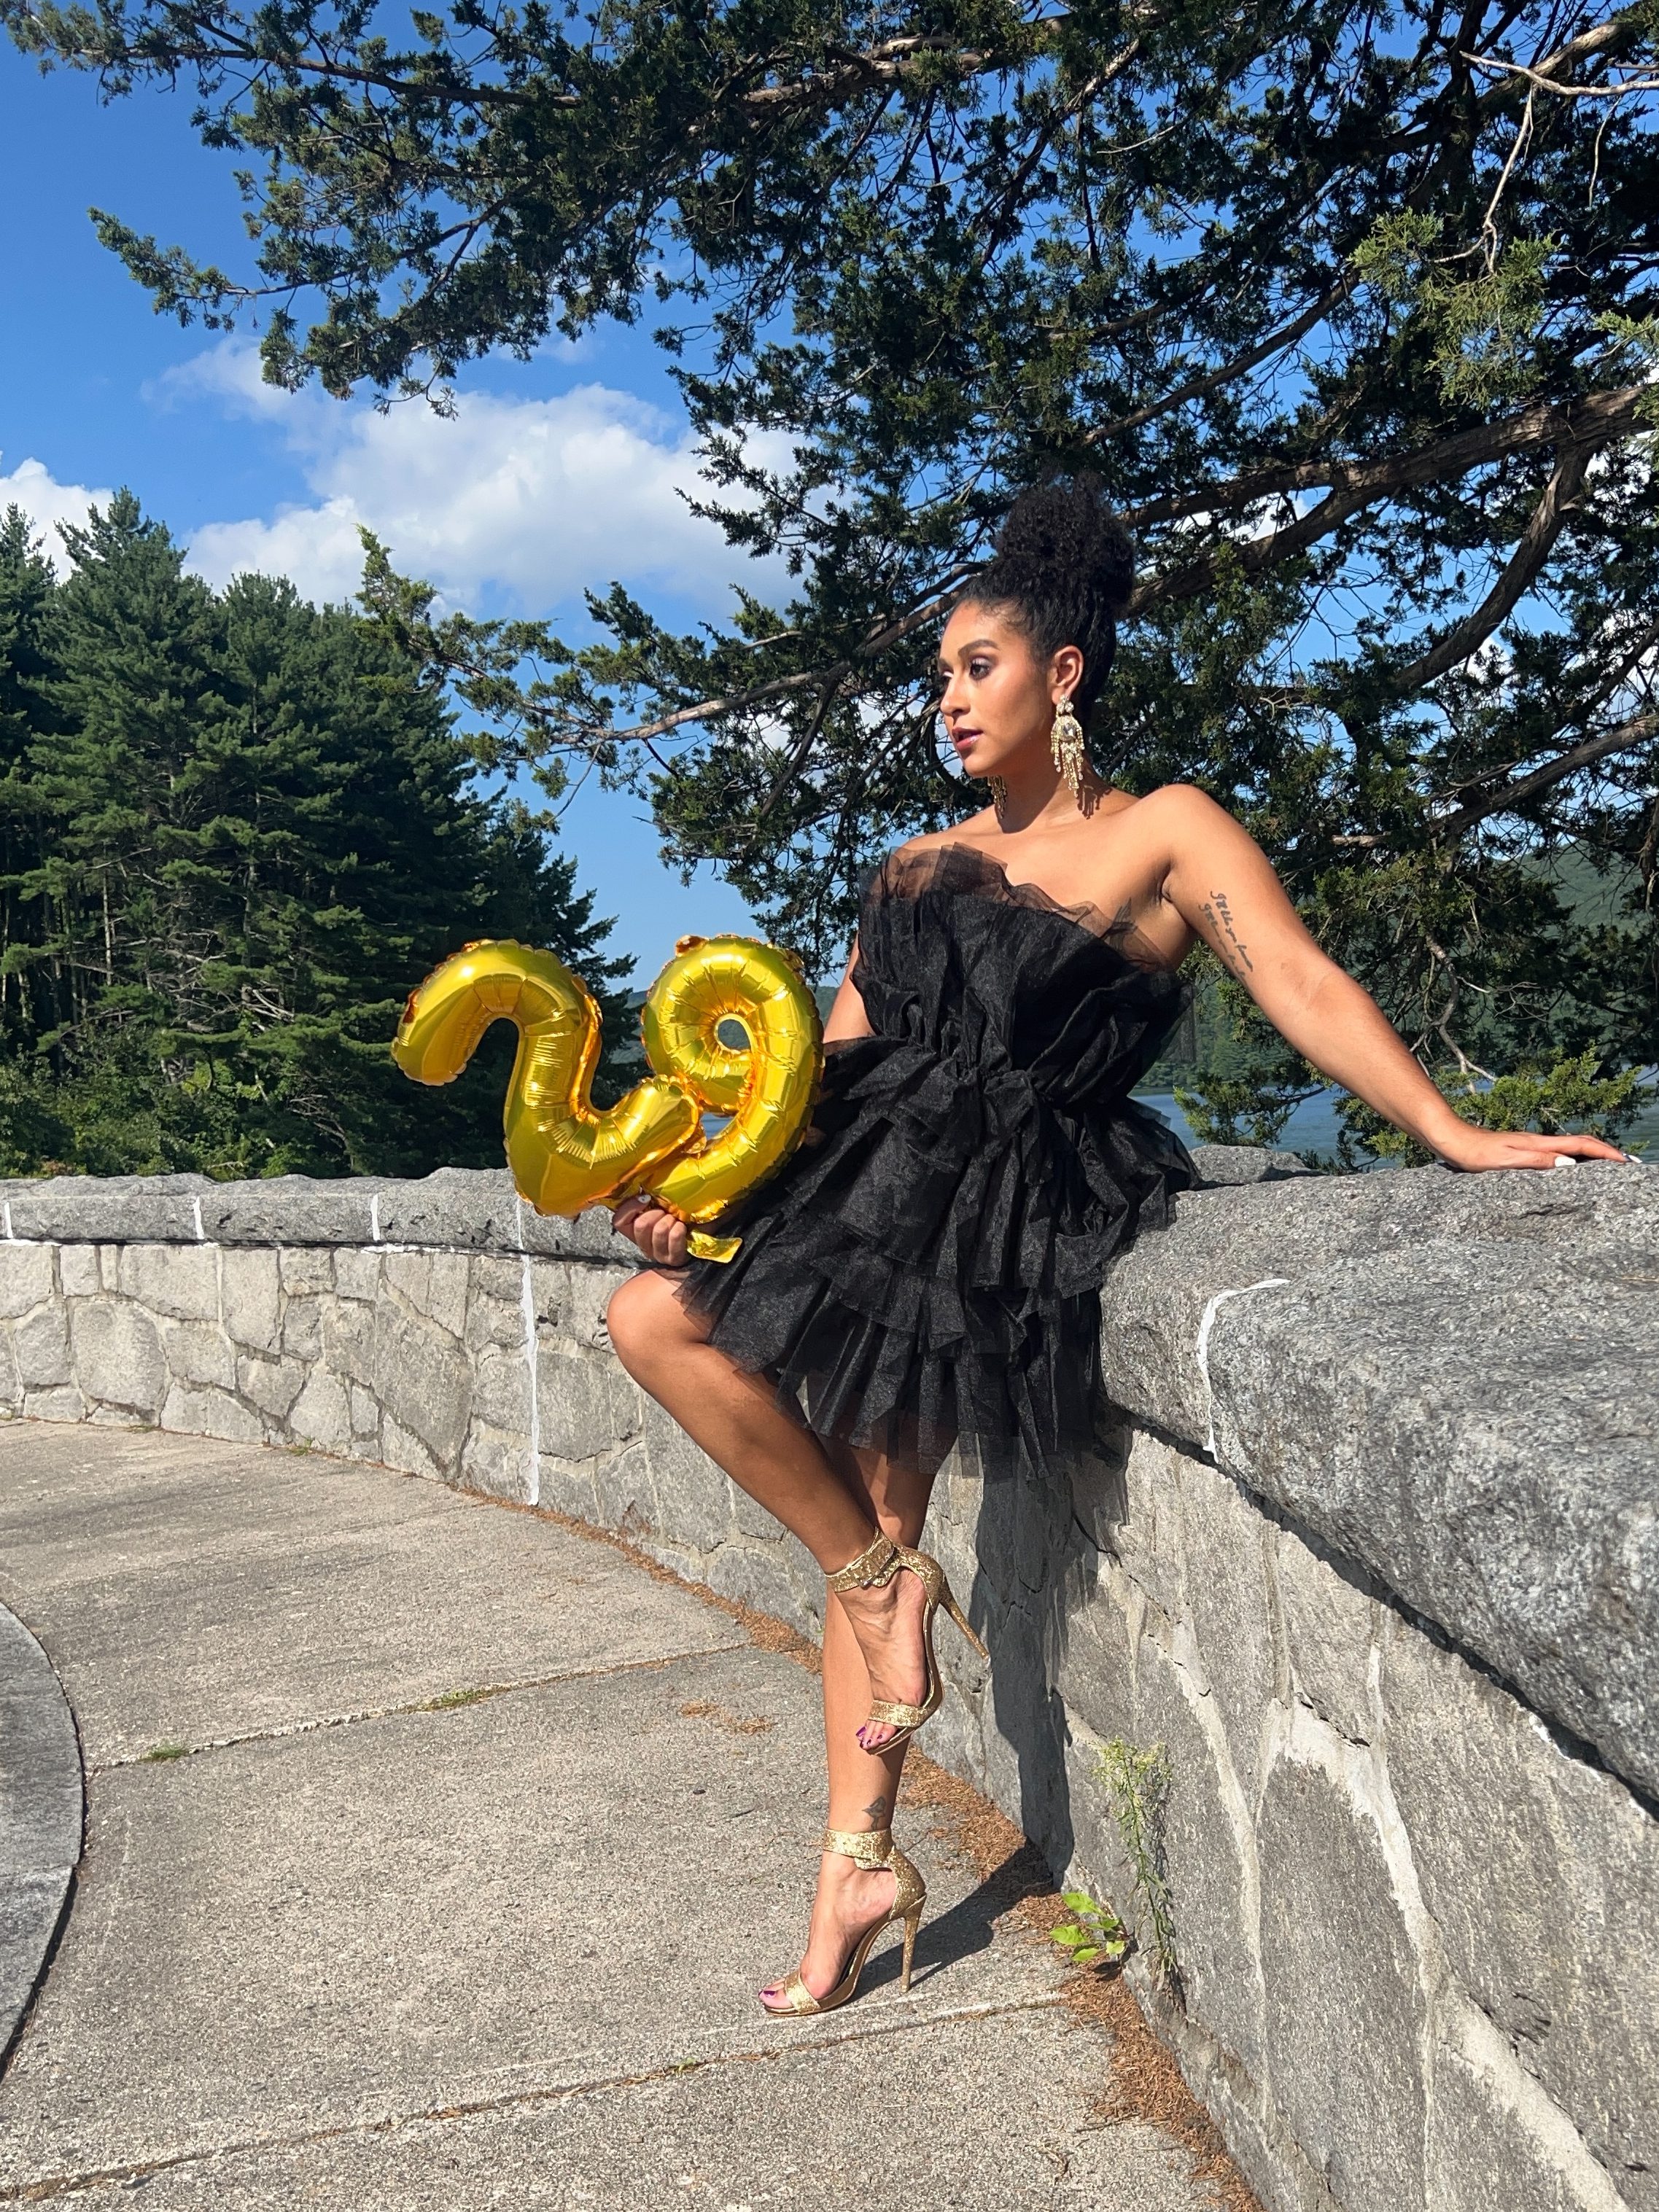
I’ll be back next week to share how I’m celebrating my 30th birthday!
Have a great rest of your week, and remember to SLAY!


Leave a reply to Underrated Hair Heroes – We Aim To Slay Cancel reply