
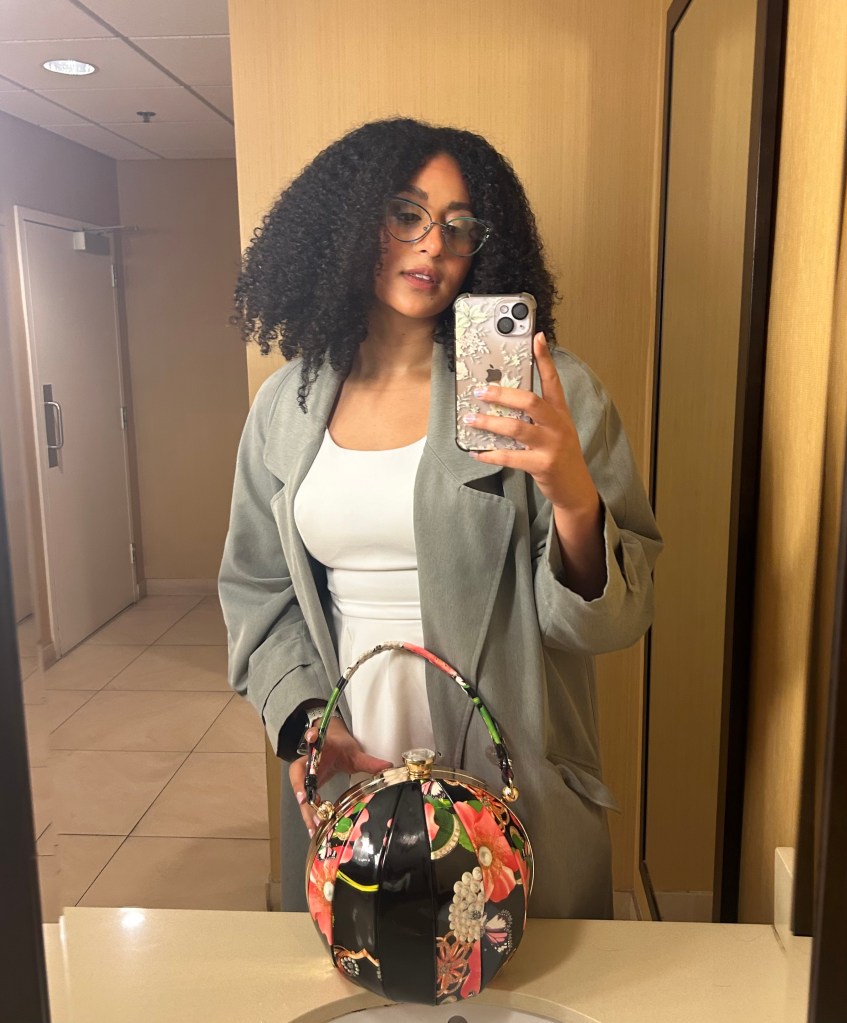
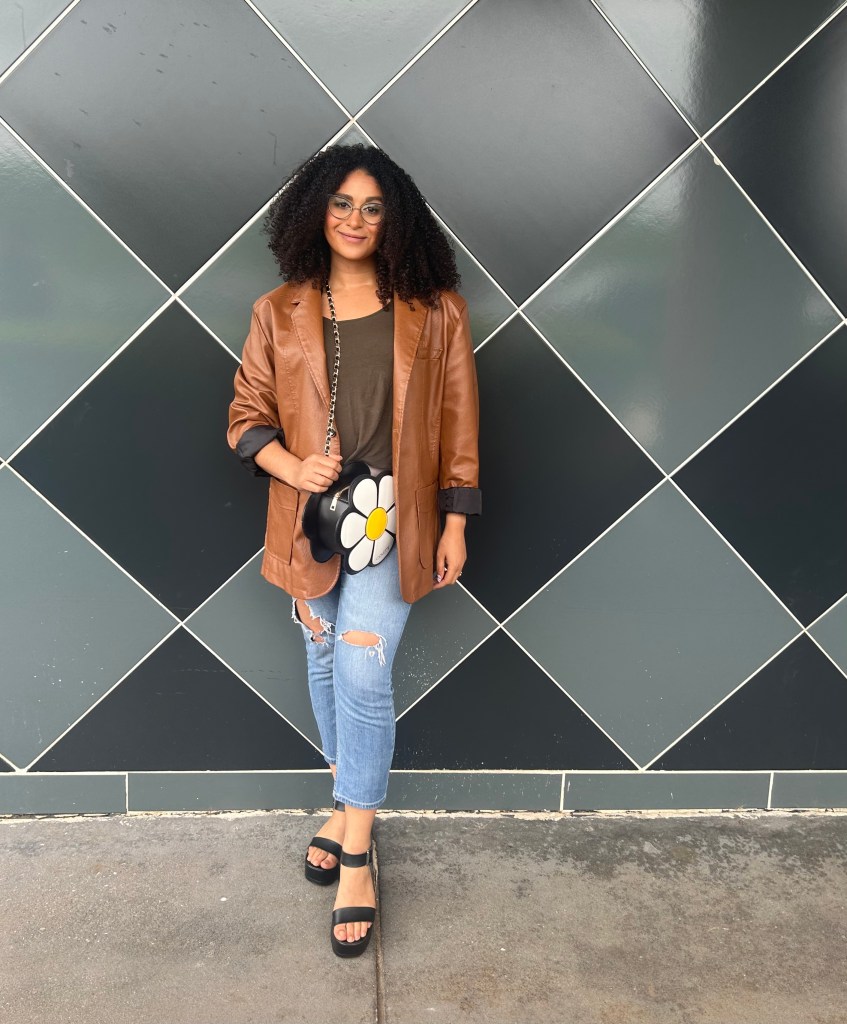
Earlier this year I shared 10 ways to style your curly hair, and now I’m back with seven new looks!
Let’s Get Into It!
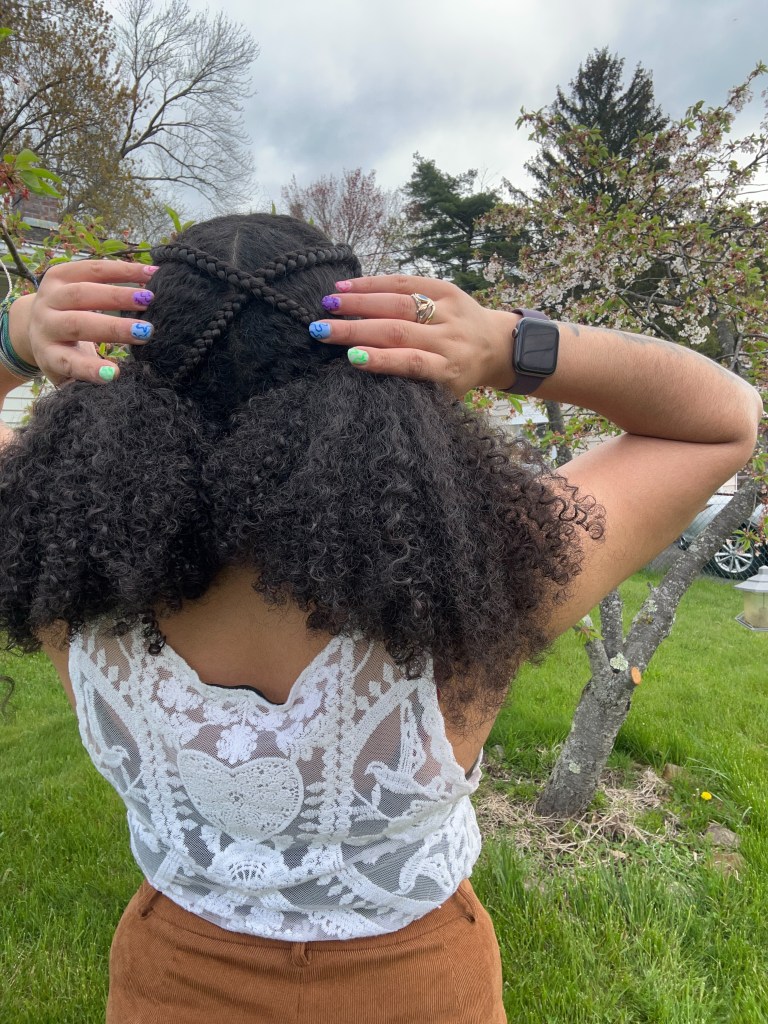
Criss-Cross Braids
This style is much easier to create than it looks! Start by sectioning off the front half of your hair, splitting that in half, and securing both sections into pigtails. Break each pigtail in half and create two braids in each of those sections – leaving you with four braids in total, two on each side of your head.
You’ll then want to turn the back section into two pigtails or space buns. From there, you’ll want to take the back-most braid and wrap it around the hair tie on the opposite side of your head – i.e., the left braid would wrap around the right bun. With the pigtails I left the front-most braids down, but the with space buns I wrapped the front-most braid around the bun directly behind it on each side.


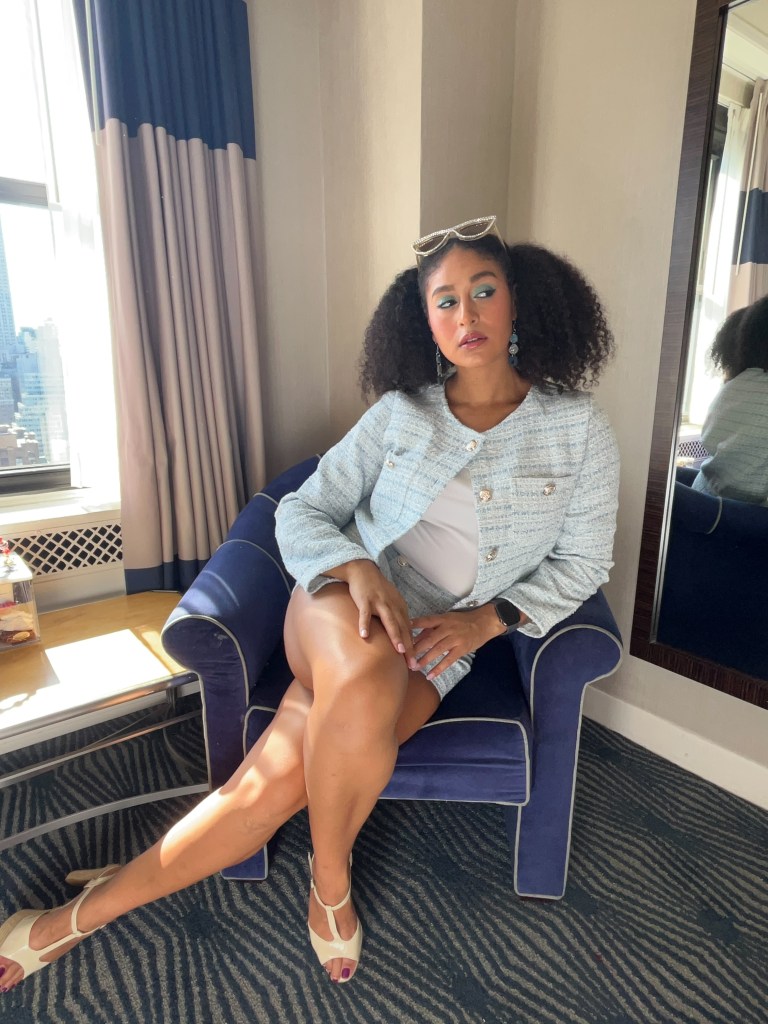
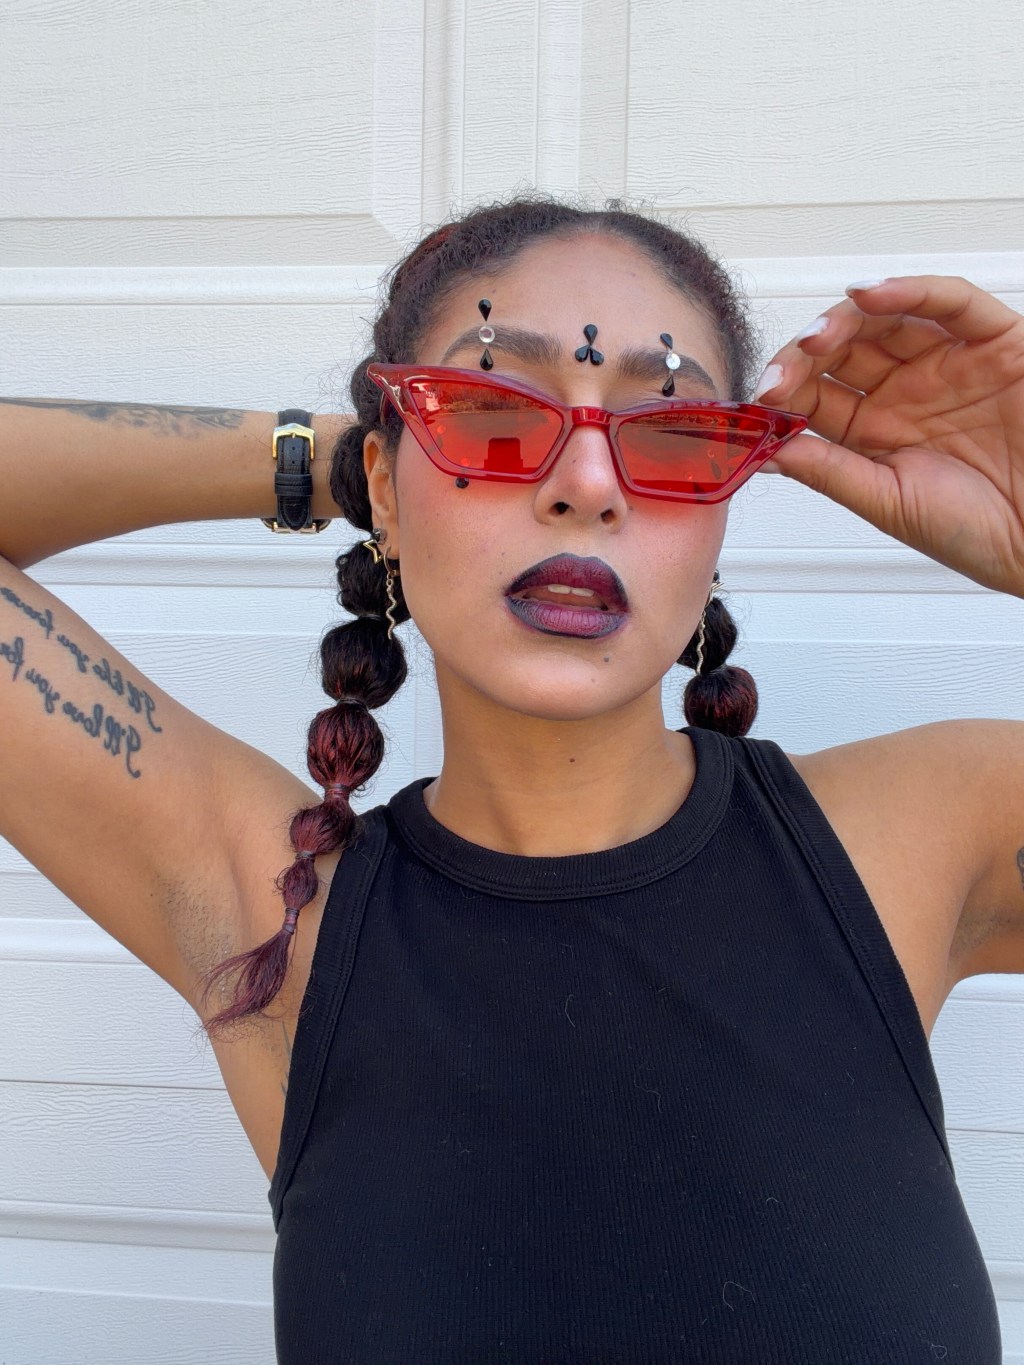
Pigtails
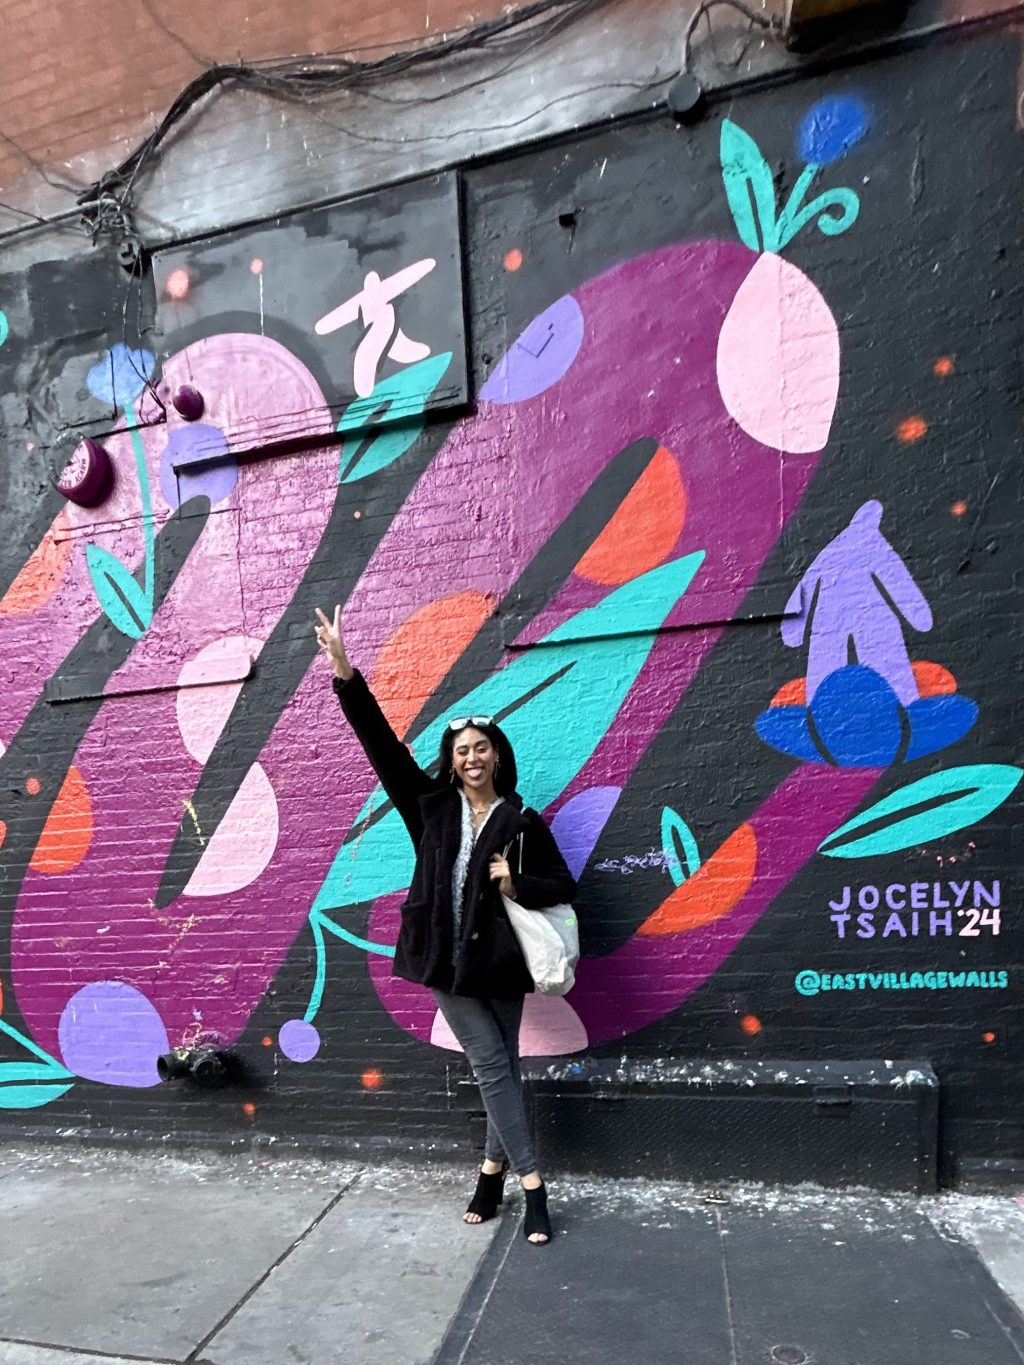
This may seem like an easy idea, but it’s one that I rarely even consider! Earlier this month I was in NYC and paired a Clueless-inspired suit set with this hairstyle, adding a bit of glamor by accessorizing with a pair of rhinestone sunglasses – purchased from Temu!

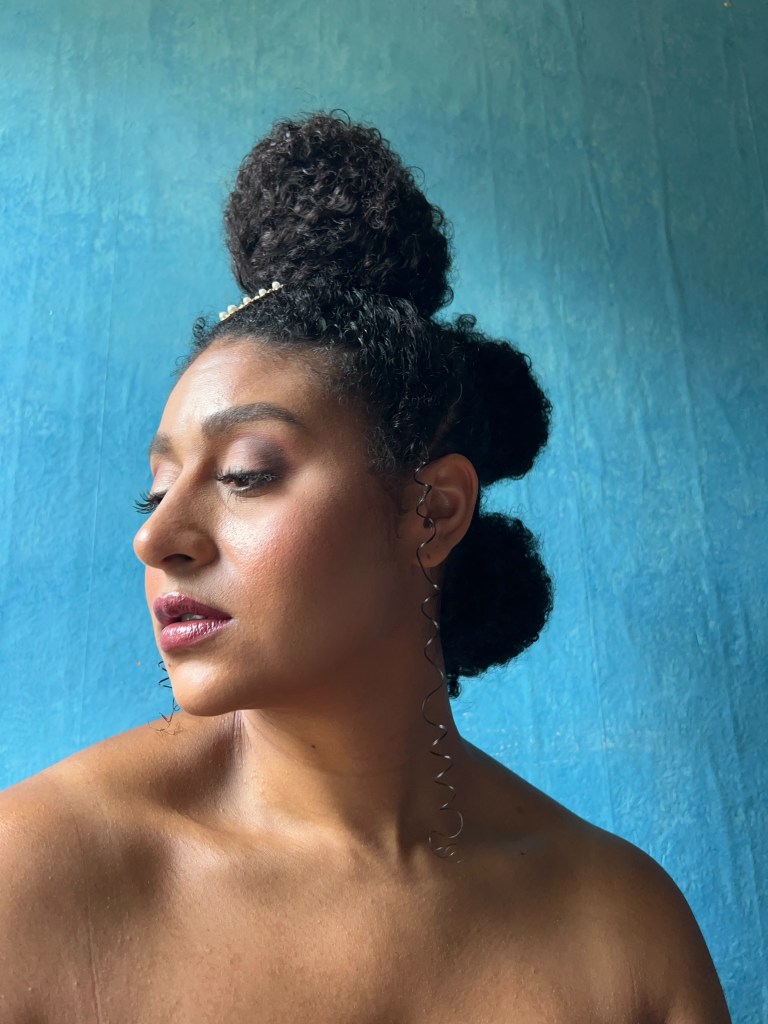
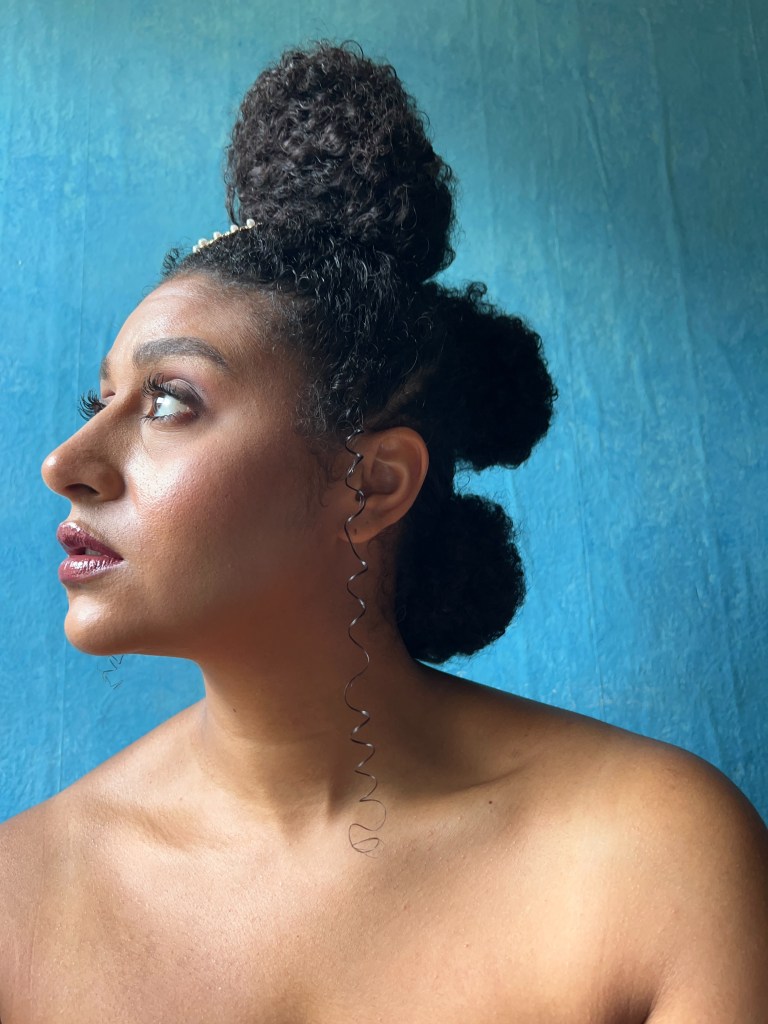
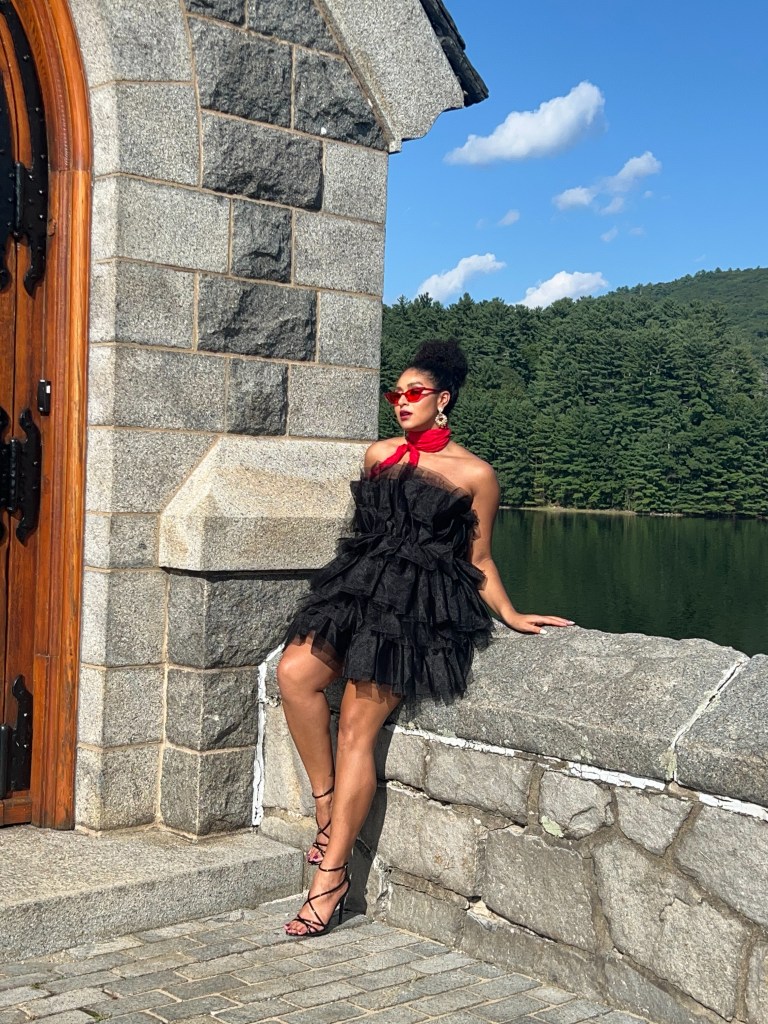
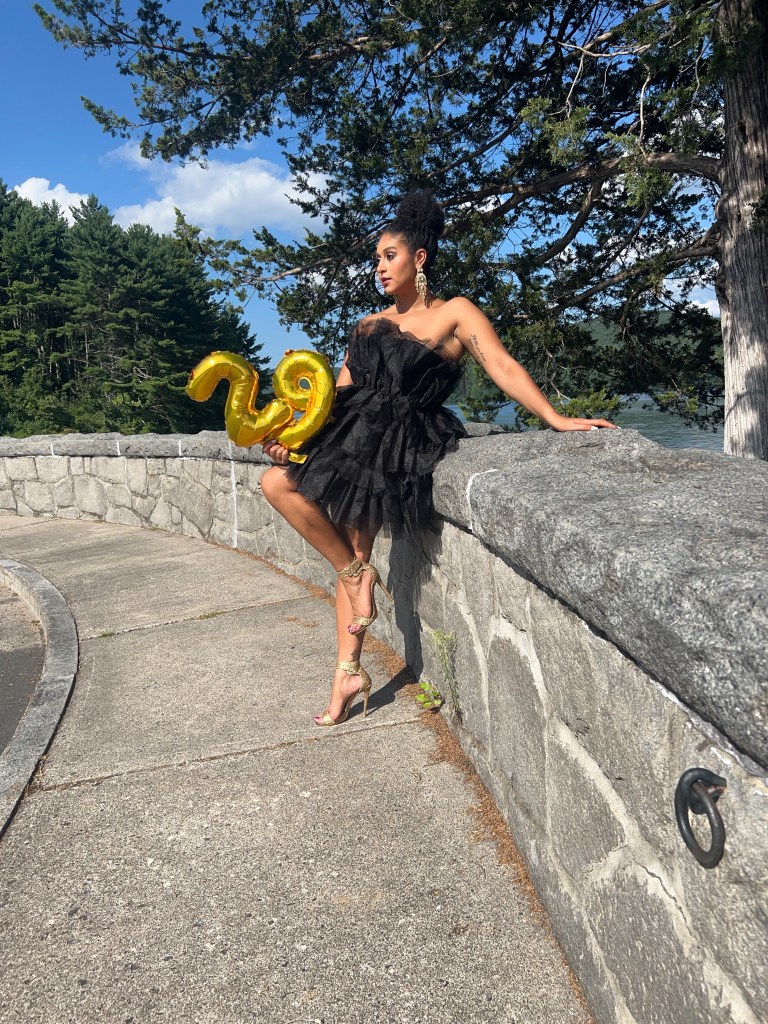
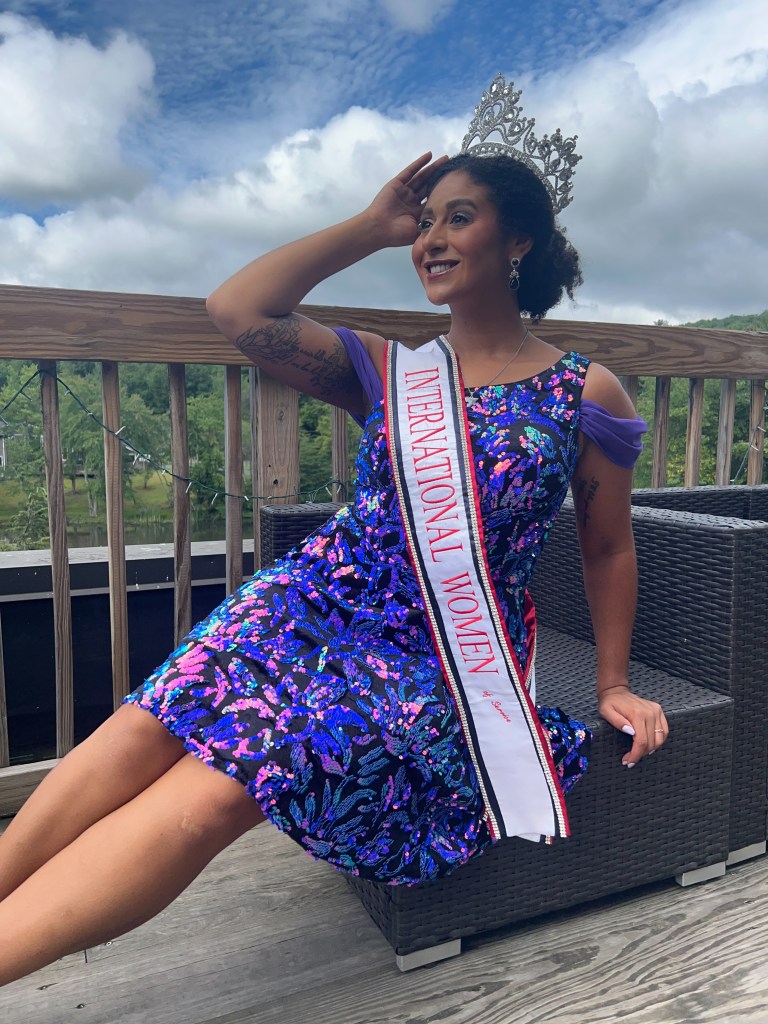
Bun-Mohawk
I created this look back in July for the Black and White Gala during the International and American Women of Service Pageant. Using a photo that I found on Pinterest as my reference photo, this super easy updo only took a few minutes to complete!
To start, create your three sections – front, middle and back – and secure at least two of the sections to keep them out of the way. The loose section is where we will start; bring all of the gathered hair through your hair tie once, twist your hair tie as if to complete a second pass, but do not bring the ponytail all of the way through the hair tie, crafting a fan bun. Repeat again on the next two sections, trying to keep them as centralized as possible. Once all three buns are in place, I pulled the sides of the buns themselves to give more of that “fan bun” effect. I left some pieces out to frame my face, but honestly, my hair is getting too long for that. I finished off the look by adding the crescent moon barrette that I got from SheIn to add a little sparkle to the front.
Bun Variations
Since winning my title I’ve had to practice styling my hair in a way that is complementary to my new crown *girlish giggling*, including a lot of low bun styles.
To create these looks I begin by separating my “bangs” pieces from the majority of my hair. Now I’ll craft my bun, leaving some curls loose for a more undone look or securing all curls for a more sleek look. Then I’ll begin securing my front pieces by pinning them around the bun!
In my everyday life, I also enjoy wearing simple bun styles, such as space buns or messy buns – sometimes you just need your hair to be out of your face!
Half-Up/Half-Down
This is a great hairstyle to spruce up with accessories, and can be spruced up and toned down depending on how high up you place your ponytail! I do this look in a few different ways; sometimes using a legitimate hair tie, and other times using clips.
Accessories can be added around the hair tie, such as a bow or a scarf; or, a headband can be added to the front of your hair to add a bit of color or sparkle!
Changing My Part
Sometimes, the easiest way to change up your hair is by changing the part! Because I tend to be more laid back with my hair, allowing my curls to fall where they will, I typically wear my hair with a center part.
When I’m competing – or even for some shoots – I’ll switch to a side part, usually to favor the eyebrow with the better shape at the time! Typically, I’ll add my part after cleansing but before applying my styling products, allowing my hair to dry with that part.
Two-Strand Twists & Twist Out
This is a two-in-one hairstyle! Starting with the protective style, two-strand twists, and ending with the styling method, a twist out.
To create this super versatile look, you’ll want to start with freshly washed hair that is damp. After washing my hair on Sunday, I applied leave-in conditioner and a bit of NYM Curl Talk gel before wrapping my hair in a microfiber hair towel and leaving it alone for about an hour.
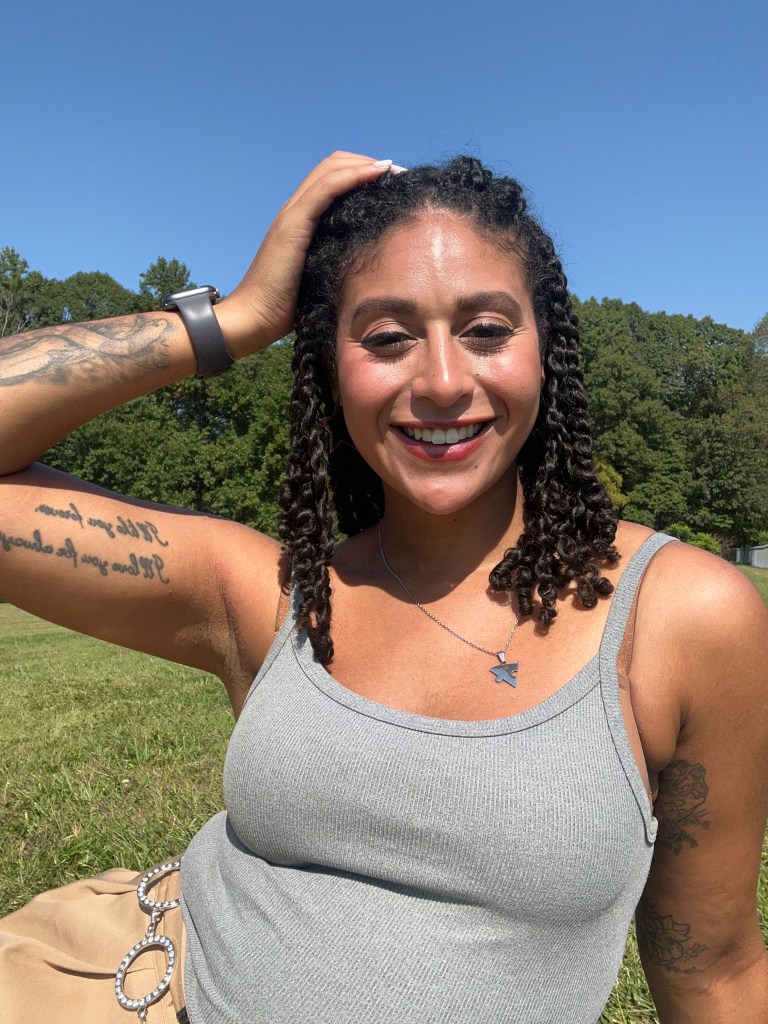
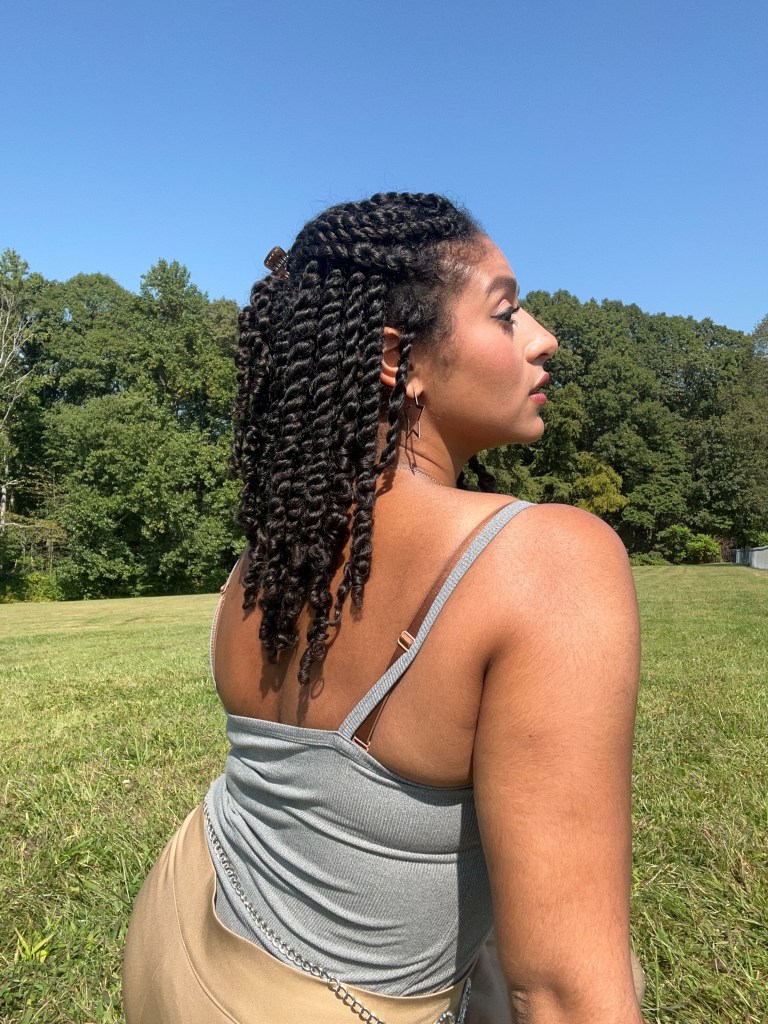
Twists are generally pretty easy to do, they can just be time consuming depending on the size of your twists and the number of sections you create. Start by getting your hair damp (I freshly washed my hair, adding leave-in conditioner and a bit of styling gel), and start sectioning. Starting at the bottom most section, break that down into smaller sections – as if you were going to start braiding your hair. Once you have your small section, break that in half and, quite literally, start twisting the two parts together! I like to secure my twists with a bit of the Pattern Strong Hold Gel!
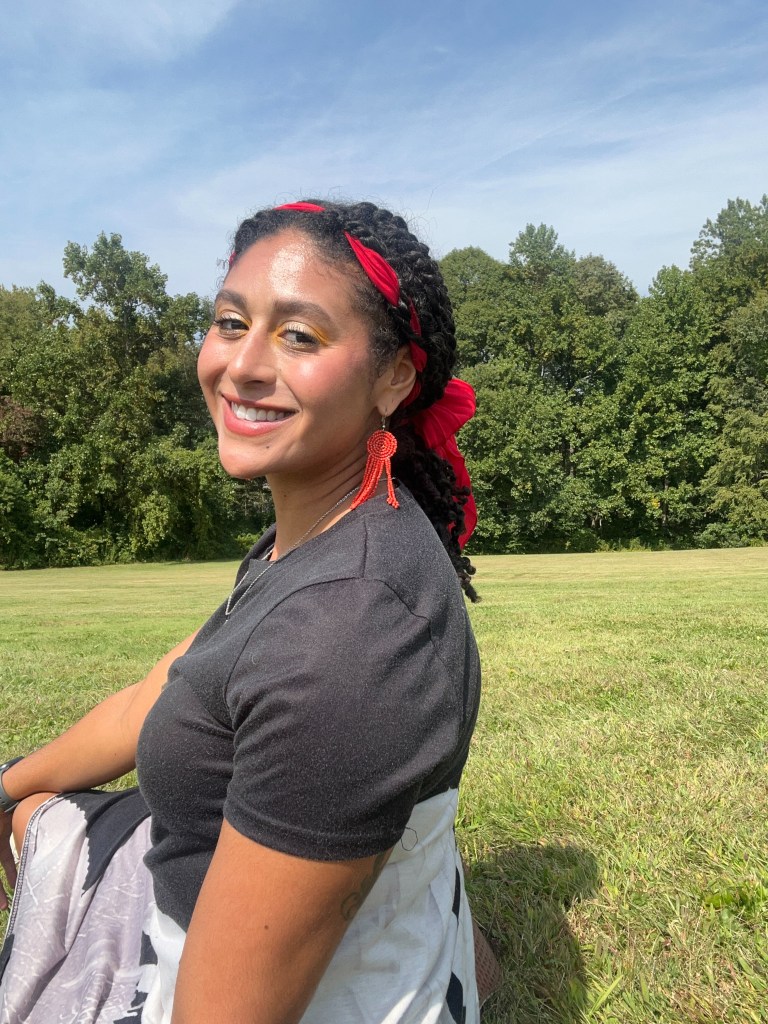
I styled my twists in a half-up and half-down look on Monday – securing the front most twists with a small clip; and with a red scarf on Tuesday – I braiding the scarf into the two most front twists, and used the scarf to pull the remaining twists back into a low ponytail.

I took out my twists on Tuesday evening… To create your twist out, gently unravel your twists, allowing the individual curl clumps to separate. I like to add a bit of oil to the ends of my hair once I’ve finished creating my twist out!


As fun as the twists were, I did find that they were quite controversial for the predominantly non-people-of-color town where I work – I’ll be exploring hair discrimination in next week’s post, where I’ll be discussing my own journey to embracing my natural hair and the legislation that protects people like me and our hair.
What Do You Think?
Are you a hair up or a hair down person? What are your go-to hairstyles? Let me know in the comments below!
I’ll be back next week sharing my journey from chemically straightened hair to the voluminous curls you’re used to seeing – and the trials and tribulations of living in a world that is unwilling to accept you or your hair.
Have a great rest of your week, and remember to SLAY!


Leave a reply to Garance Cancel reply