I never feel fully like myself without a proper manicure, so in an effort to save money I started doing my own gel manicures last summer! I first learned about Le Mini Macaron via social media and I quickly fell in love with the brand and the wide range of products, formulated to ensure the longevity of manicures.

Proper nail care encompasses so much more than pretty polish and can be the make-it-or-break-it difference in manicure longevity. So this week I’m walking you through my DIY manicure routine, how I take care of my nails before, during and after a new mani, and how I’ve learned to create nail art!
Things To Keep In Mind
When you’re first starting out with gel polish, it can be easy to assume the only difference between it and regular polish is the drying time but that is not the case. In order to ensure the best results, and to make sure your manicure lasts as long as possible, make sure to properly prep your nails.
You MUST
- File your nail surface, to give the gel something to grip
- Remove any oil and debris from the nail
- Make sure you clean up your cuticles before curing the polish! If any polish has run onto your skin, you’re more likely to have peeling and chipping occur.
Also important to remember – I happen to love Le Mini Macaron, but that’s not the only at home manicure system on the market! I frequently use the nail polishes by the brand Beetles because they’re the colors that I have (thanks, Mom!) on hand. If you’ve had luck with different nail care brands, please mention them in the comments below!
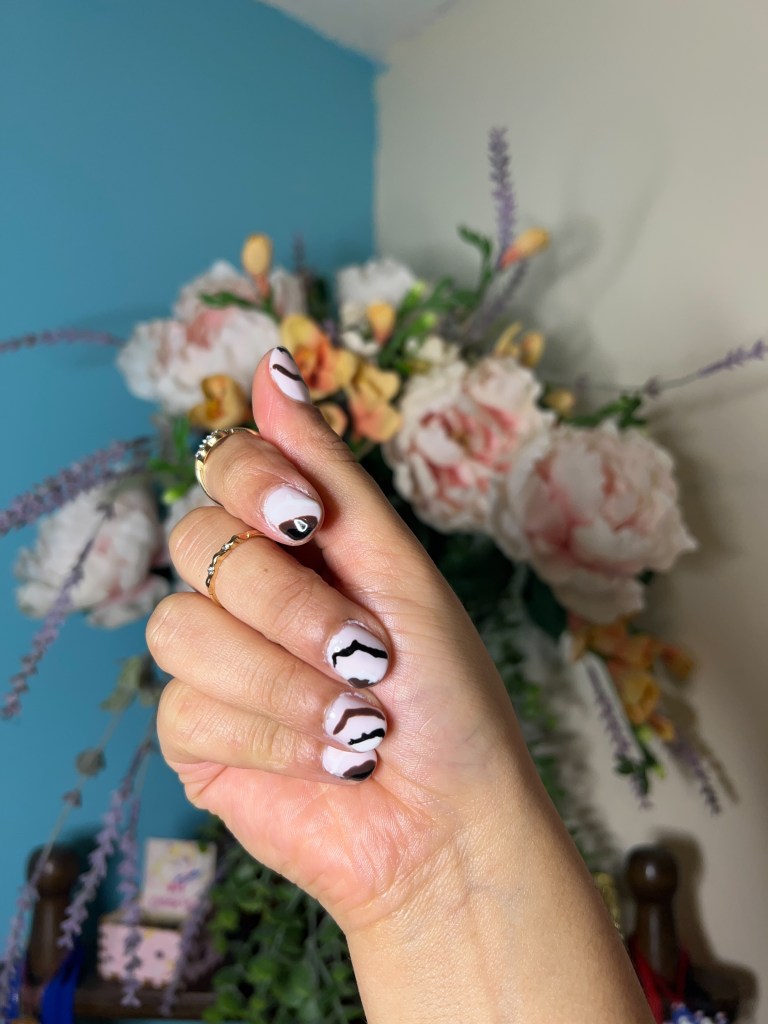
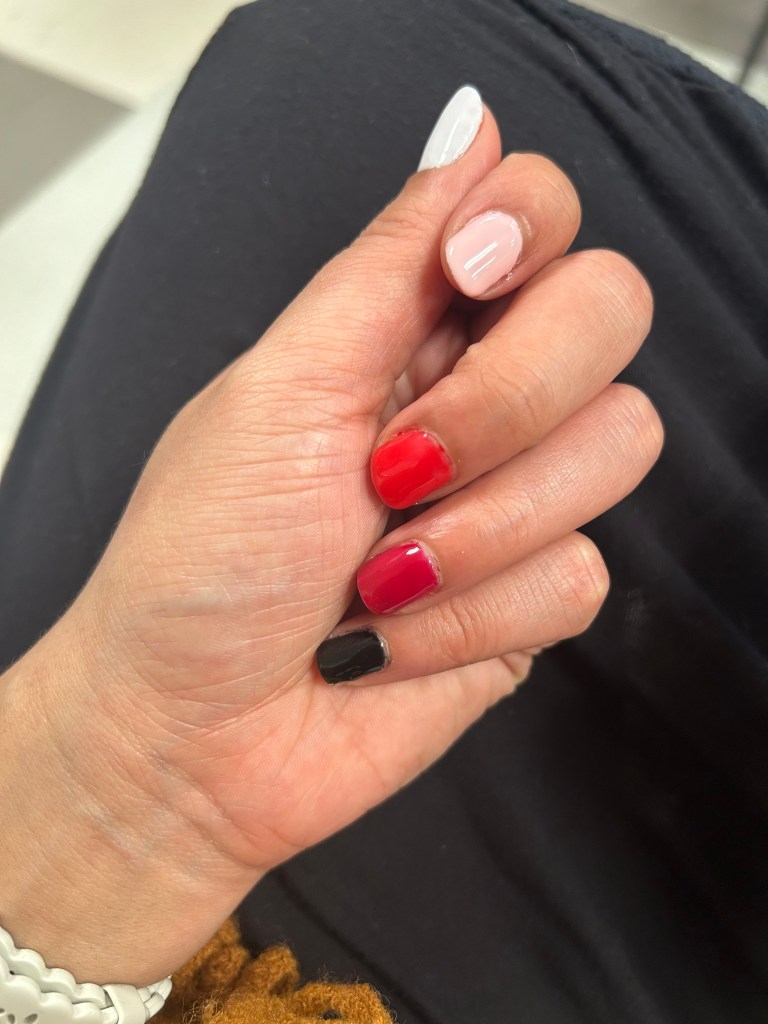
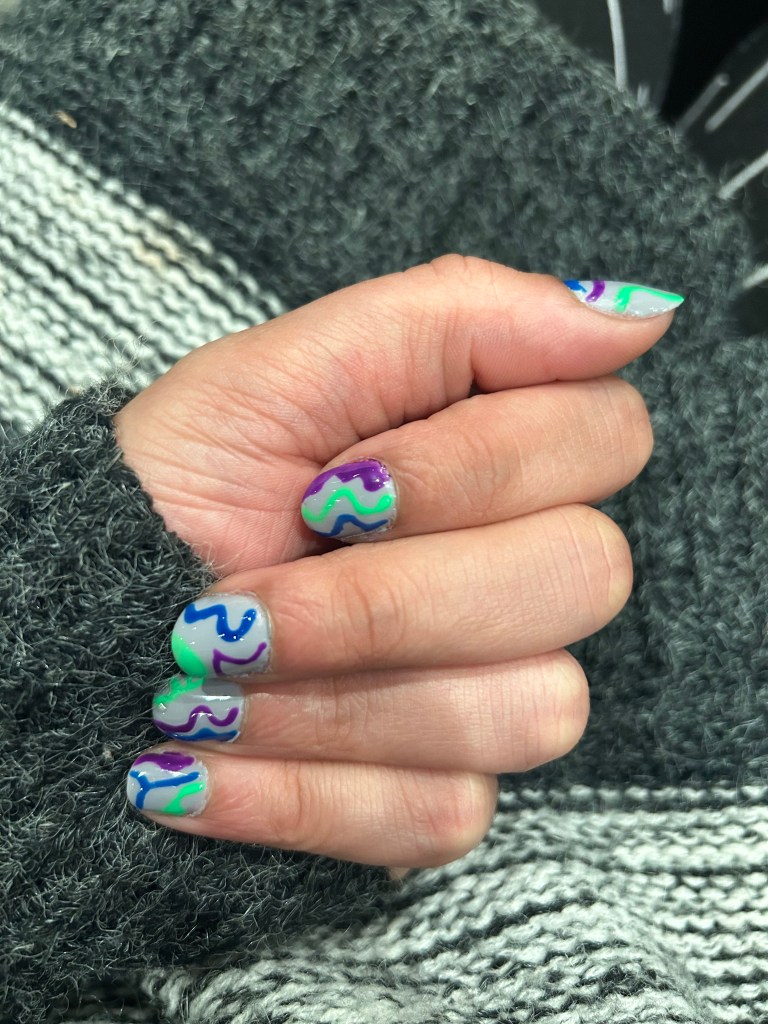
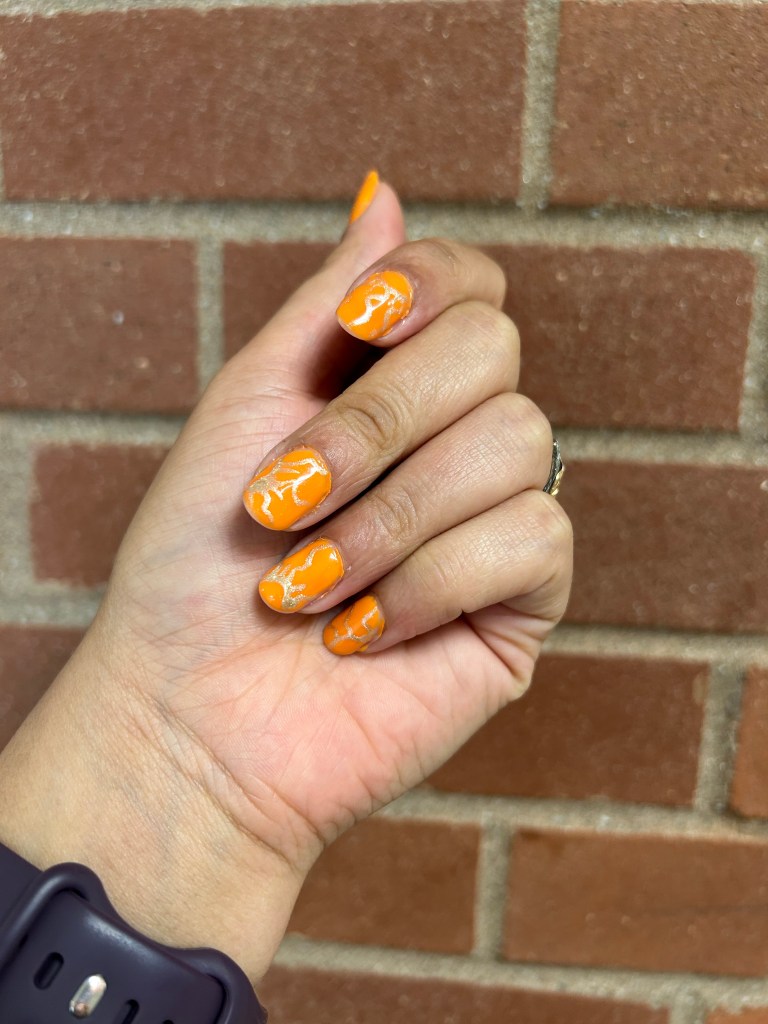
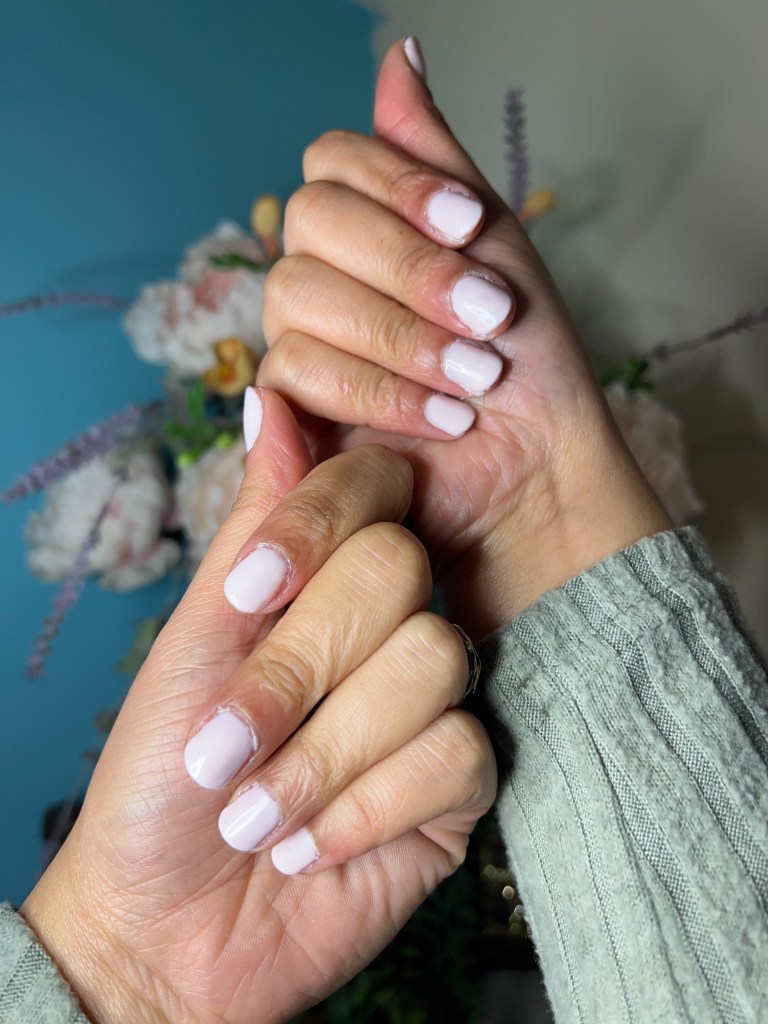
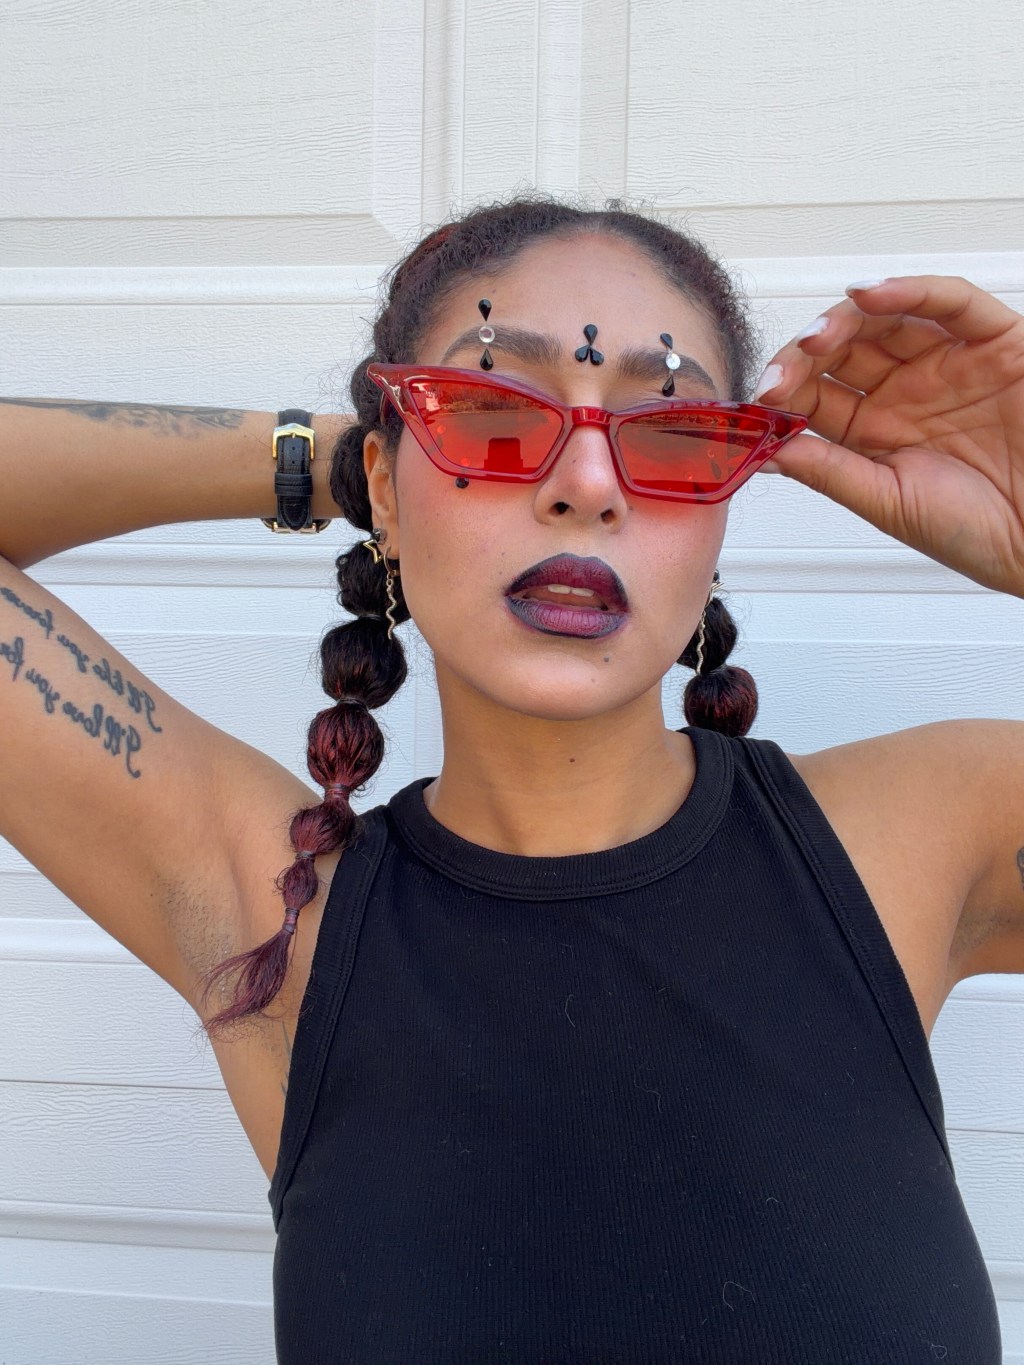
And as always, doing your nails is a fun form of self expression! Don’t take yourself too seriously – and don’t be hard on yourself when you’re starting out! The design below is a perfect example; there’s nothing I like about this design, but I wanted to test several new shades at once and I accomplished that goal!
Nail and Cuticle Care
Let’s start with the basics – taking proper care of your nails! Similar to good skin or hair health, you’ll get your healthiest nails from eating healthy foods, getting regular exercise, drinking plenty of water, and getting the recommended hours of sleep each night.
There is a great infographic on the website Kara Nailed It, which breaks down and labels the parts of your nail and cuticle. The article explains that “People often say you shouldn’t cut your cuticles and are referring to the Eponychium which is live living tissue, but cuticle is actually the dead tissue that grows up onto your nail and often attaches itself to your nail bed. Since it’s dead, it’s safe to remove and it actually helps with your manicure’s longevity.”
Earlier this year I started researching ways to remove gel polish without copious filing and exposure to acetone. This led me to an article from Sally’s Beauty, which detailed how you could remove your manicure with a mix of hot water, salt, and dish soap! Low and behold, this did absolutely nothing for removing polish, but it did prove to be the perfect soak mixture for prepping your cuticles! As I continue to use this mixture I’ve messed with the recipe, subbing table salt for epsom salts and dish soap for olive oil. I’ll simply soak my hands for anywhere from 20 to 30 minutes, scrubbing periodically with the salt, and washing my hands to remove excess oil.
There are some sources that believe a dry manicure is better for your cuticles than a wet manicure. Essentially, they recommend keeping your hands and nails totally dry while you’re trimming your cuticles in order to avoid cutting too high up and harming yourself. Either method works, so I say it’s personal preference. I like to have a well moisturized cuticle so it’s a bit softer, which I find makes it easier to trim. To do so, I use the Cuticle Trimmer by Revlon. I also like to use the Le Mini Macaron Gel Polish Removal Tool, using the scraping edge to help lift and remove the cuticle.
How I Maintain My Manicures
Lotion, lotion, lotion! I never leave my house without some container of lotion or hand cream.
In addition to using lotion, I like to apply nail oil before I go to bed, on both my hands and feet. I’ve been switching back and forth between the Vitamin E Nail & Cuticle Oil by Sally Hansen and the Nailtopia Fresh Apricot Oil.
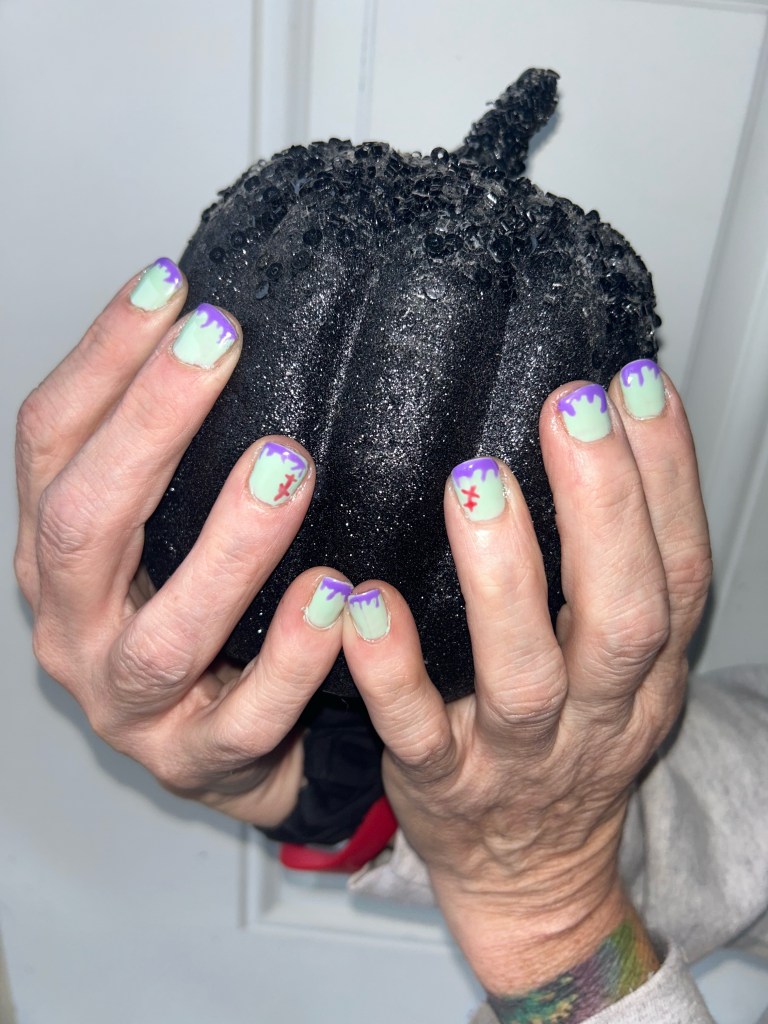
I have a horrible habit of biting my cuticles, which can lead to chipping. But at the end of the day, when my polish starts to chip I begin looking for inspiration for my next set. And as I’m sure you can imagine, I’ve been looking for some autumnal nail art inspiration! LMM recently released a fall inspired collection – the Très Cozy trio – and I’m itching to add those colors to my kit!
How I Paint My Nails and Nail Art
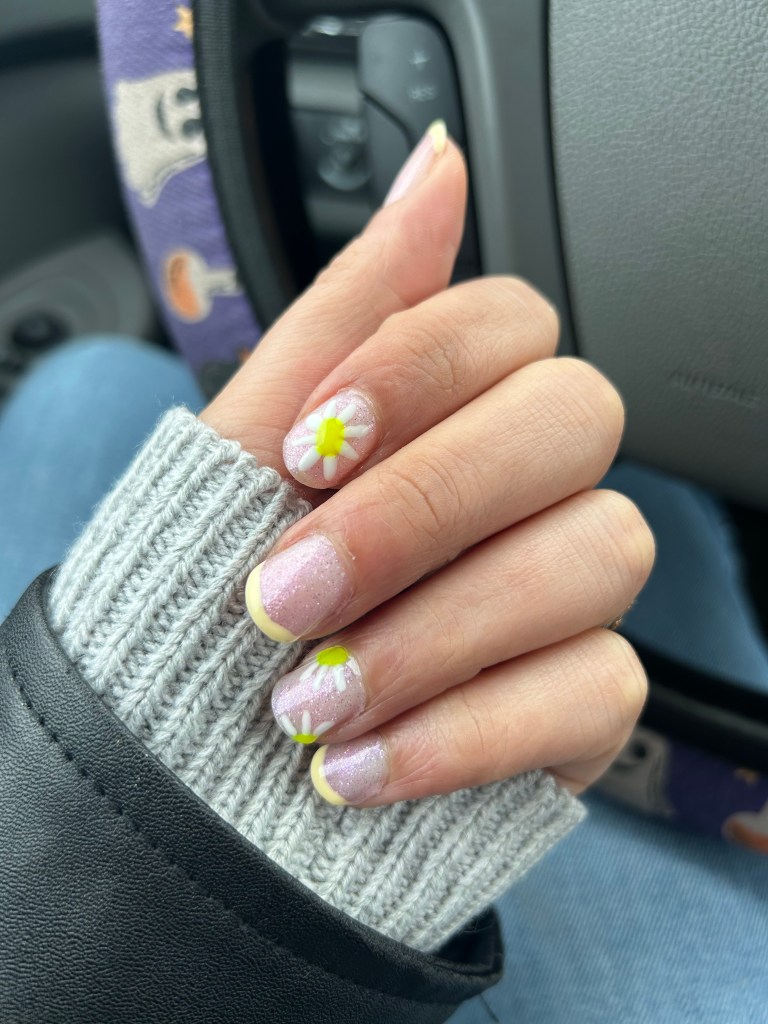
I’ve been using a set of tools that I purchased from Ulta, and the Salon Pro Tool Kit by Sally Hansen. I swear by the dotting tool, and I’ve recently become more comfortable with the paintbrush style brush. I’m excited to try the flat brush to see if I’m able to do the ombre effect!
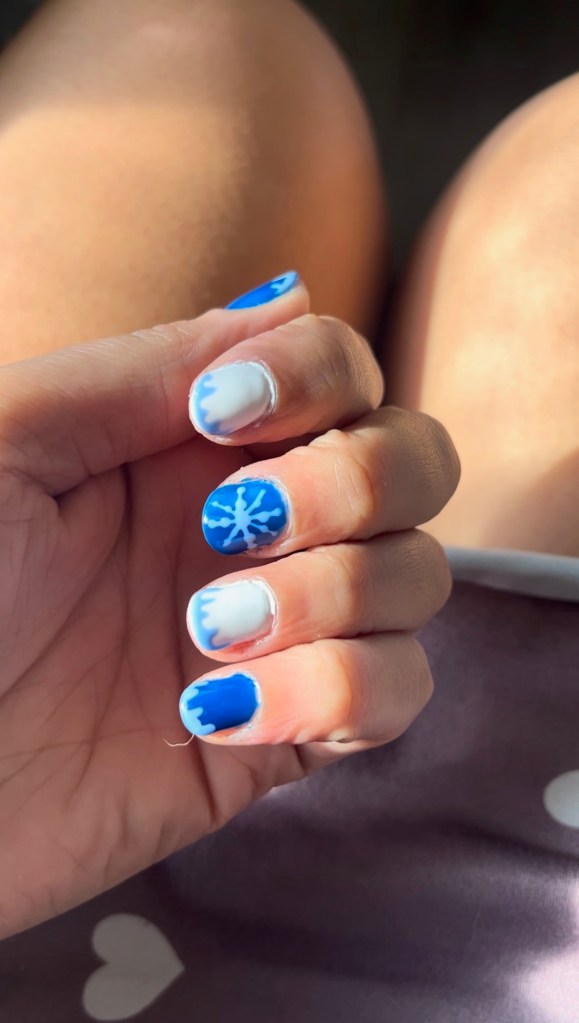
Pinterest is a great place to find reference photos and inspiration, but remember that you’re here to have fun! Practice makes progress – so the more you practice your nail art, the stronger your skills will become!


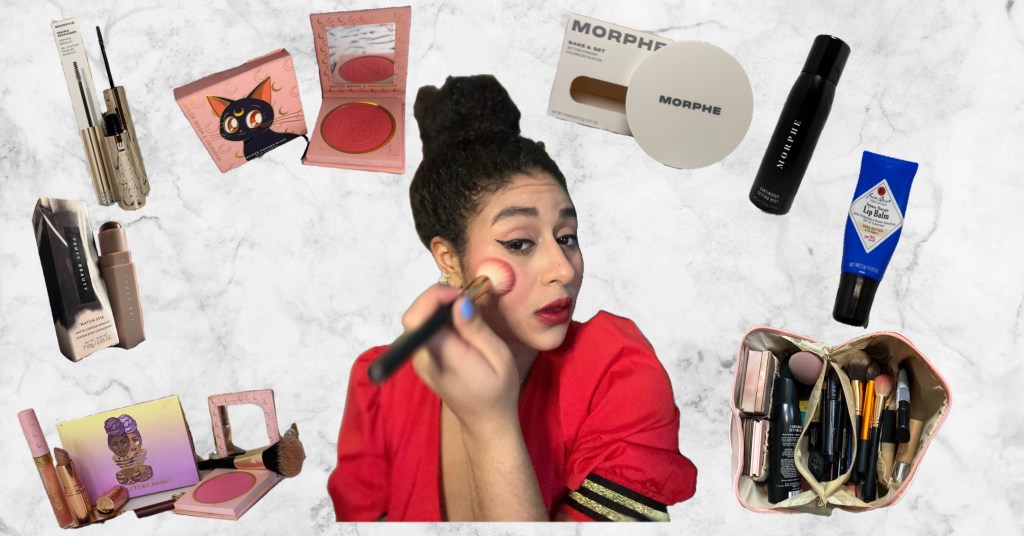
Manicure Products I Own
While I’m a tried and true Le Mini Macaron Cherie, having bought many of their polishes and tools, I also enjoy trying new brands! Here I’ll be running through all of the mani-gear I’m using currently!
Le Mini Macaron
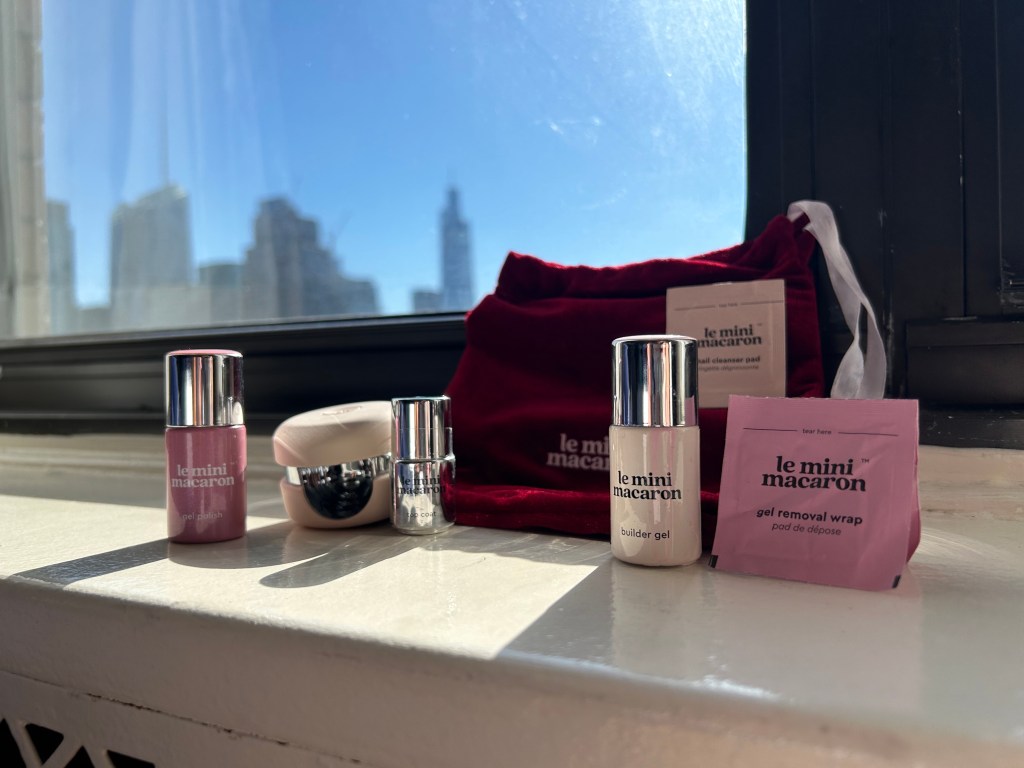
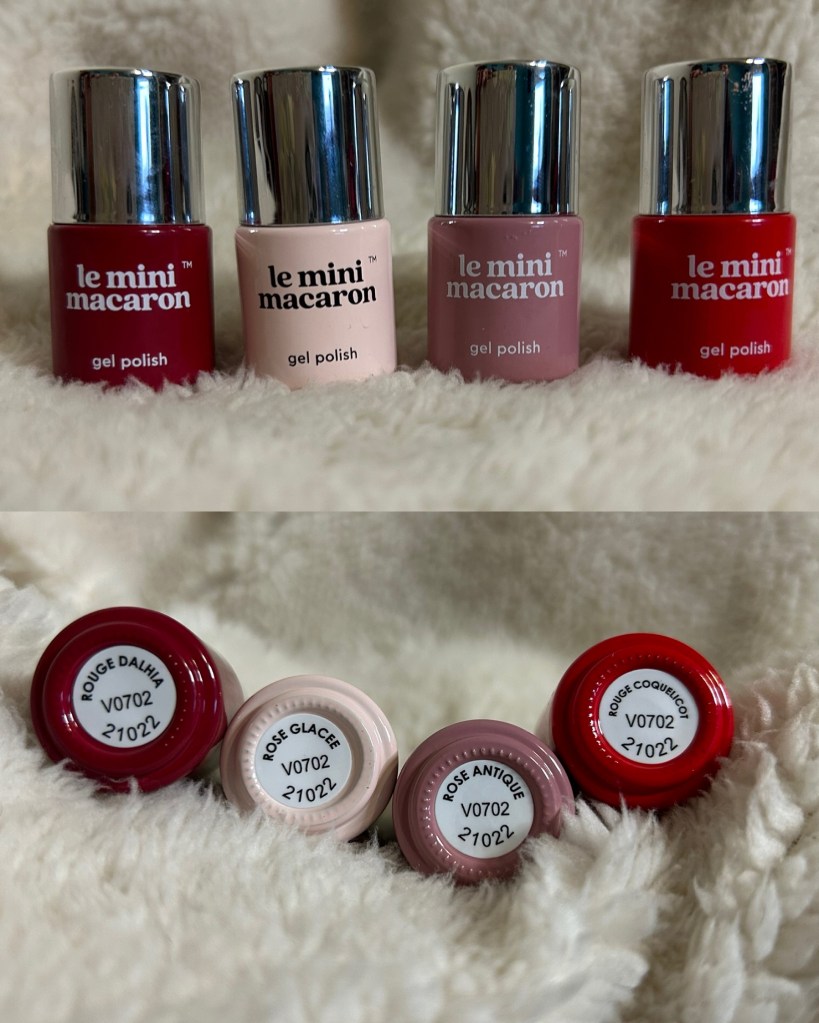
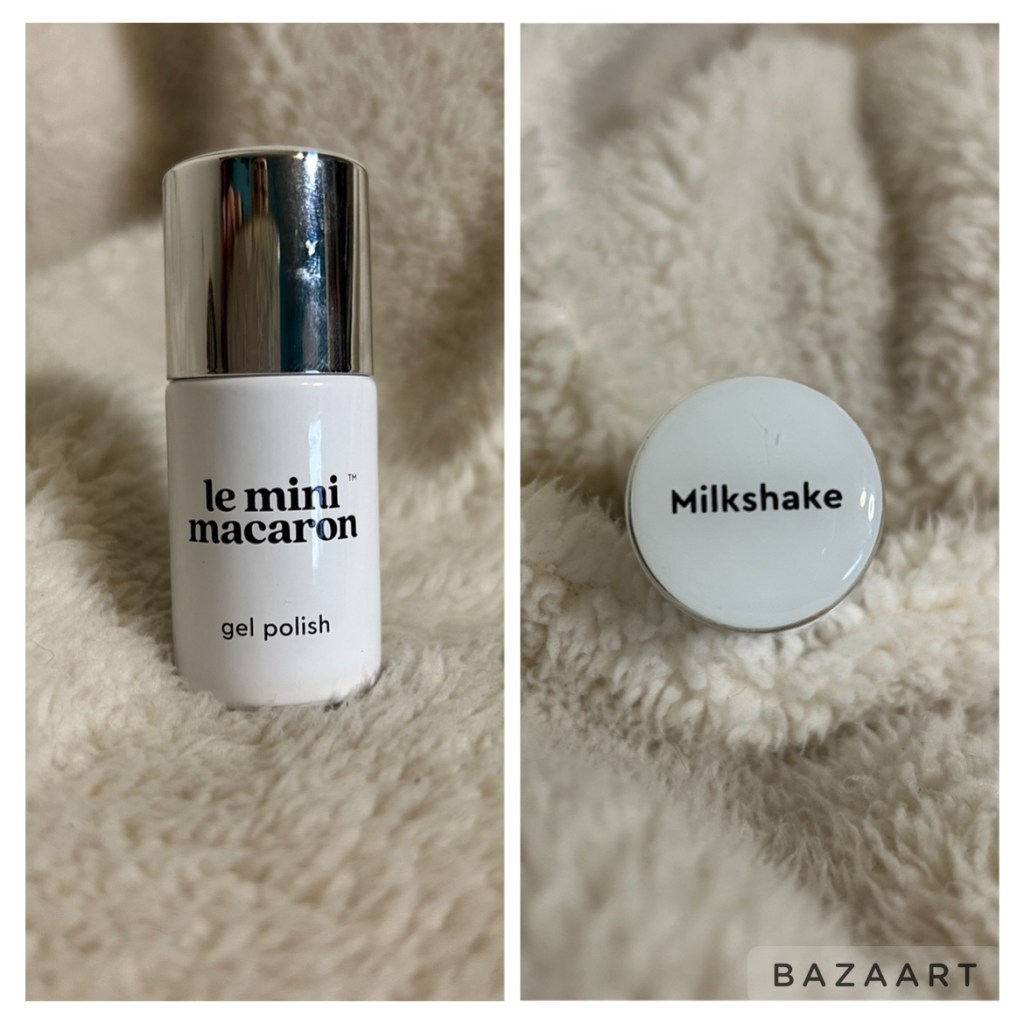
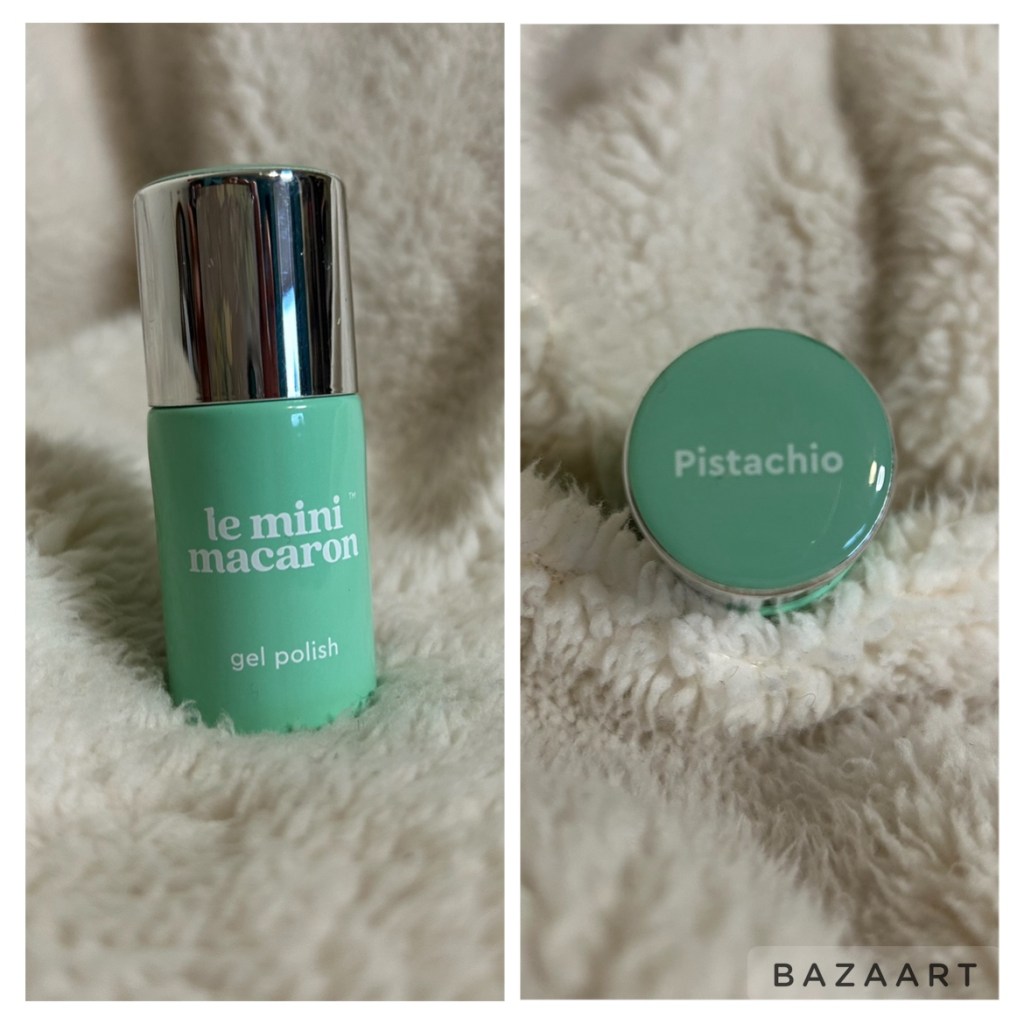
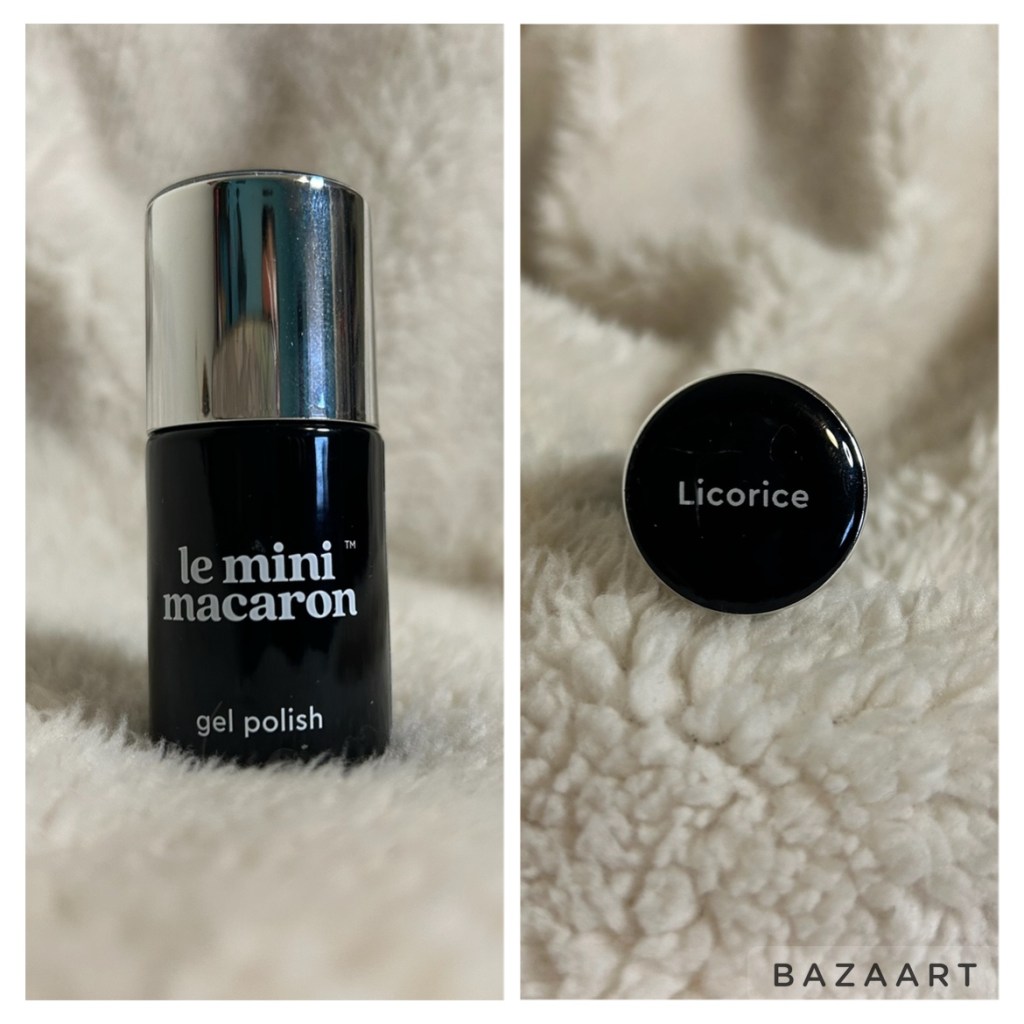
I have collected the following shades from LMM: a true red; mauve; a dark red; beige; white; a soft blue; a pale green; a vibrant purple; a bright orange; a sheer and sparkly pink; a dark brown; black; and gold. And these additional LMM products: a high shine top coat; the 1-Step Builder Gel; chrome powder; heart appliques; the Gel Removal Tool; the Gel Removal Wraps; and the Manicure Prep Pads.


I have also acquired many nail care products from other brands, including: a collection of gel polishes from the brand Beetles; various nail oils, as mentioned above; a set of appliques from Temu; and nail files by various brands.
Easy to Travel With
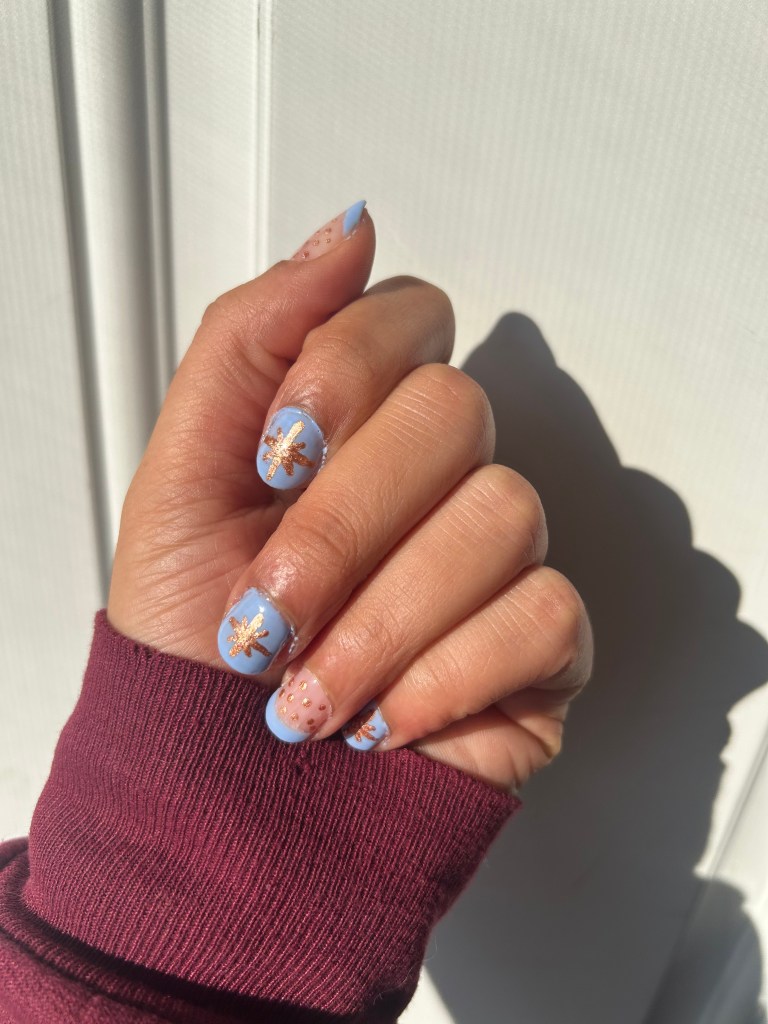
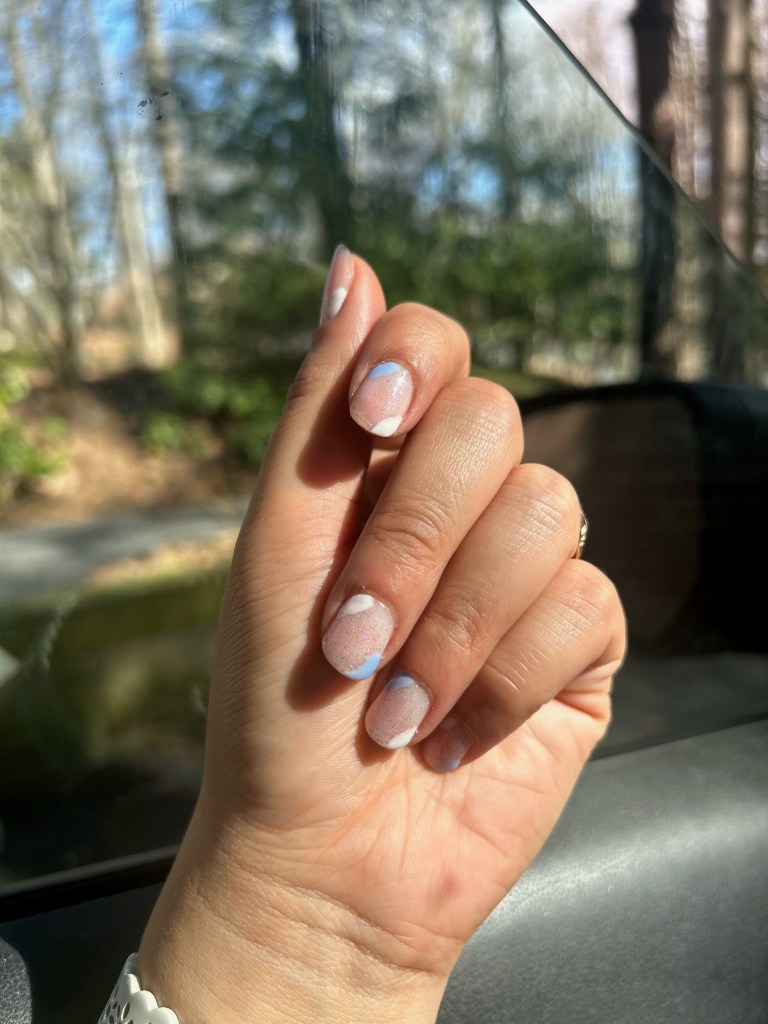
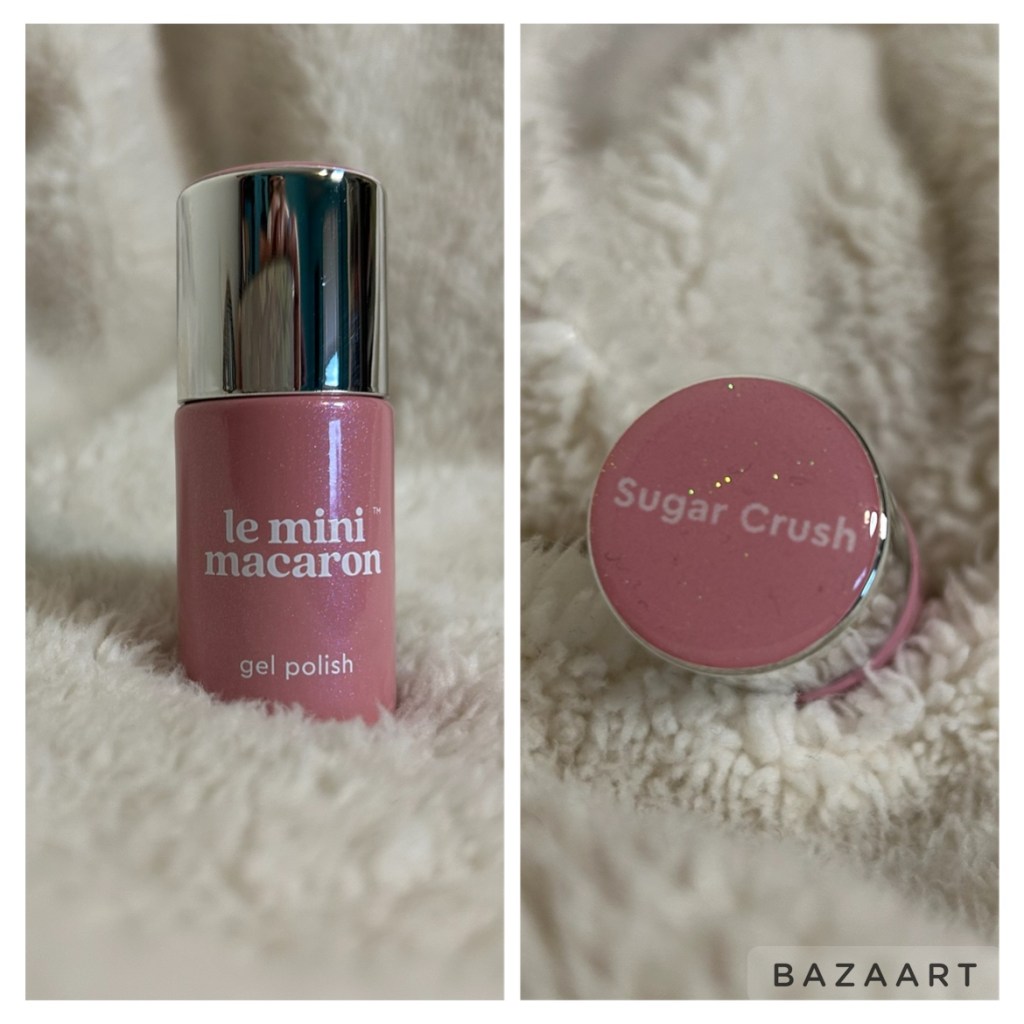
I packed my entire LMM kit, as well as the Beetles Kit my mom has lent to me, when we went to Maine in July. For my recent trip to NYC I packed my mini lamp and my go-to color combination for a subtle yet sweet nail look – the builder gel layered beneath the shade “Sugar Crush”.

This mini lamp is actually the original design by this brand, and earlier this year, I was one of five members of the LMM community selected to be gifted a nail kit in exchange for sharing reviews, helping promote the brand, and sharing all of the benefits of using this at home gel manicure system!
You can read my Amazon review here!

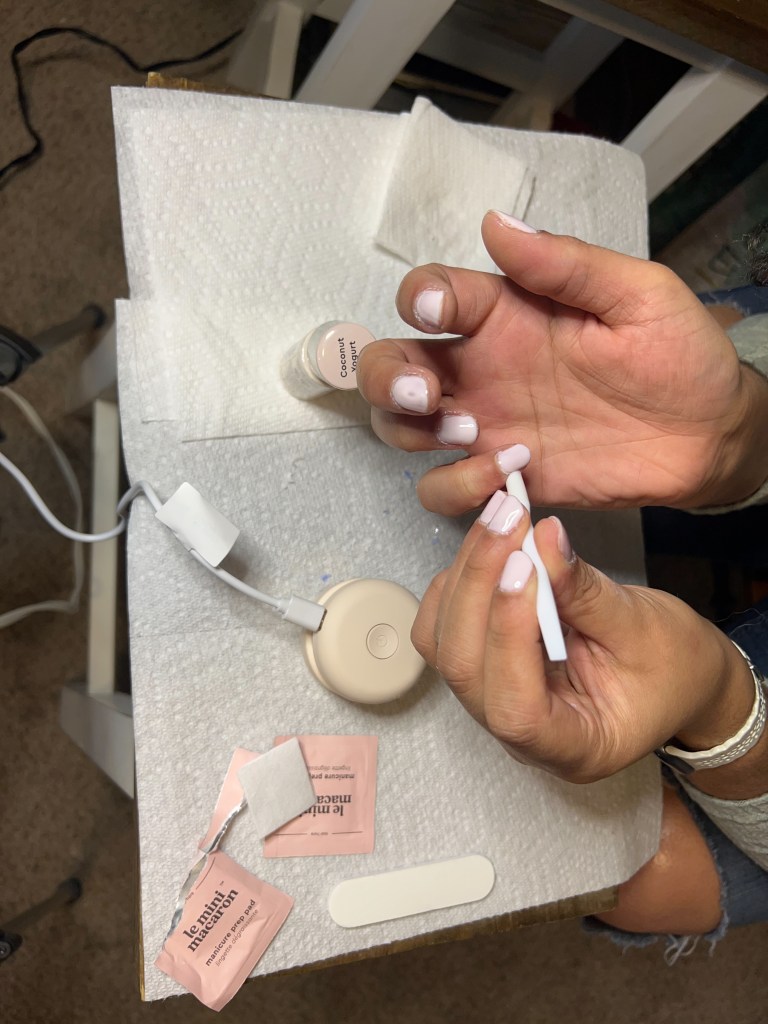
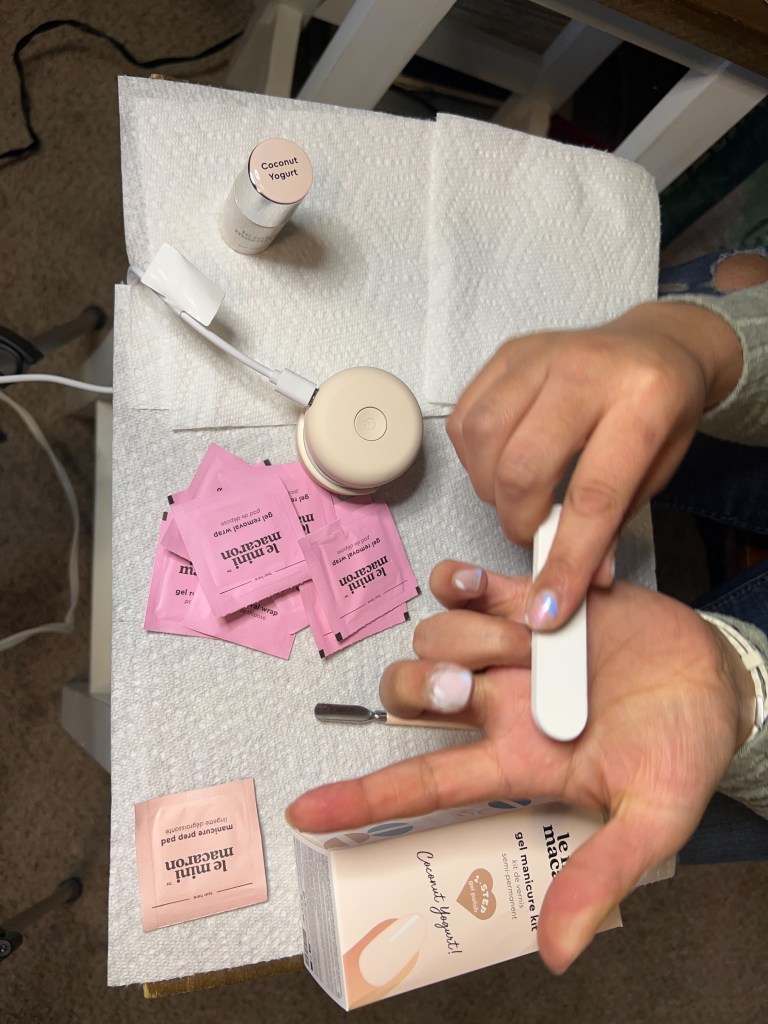
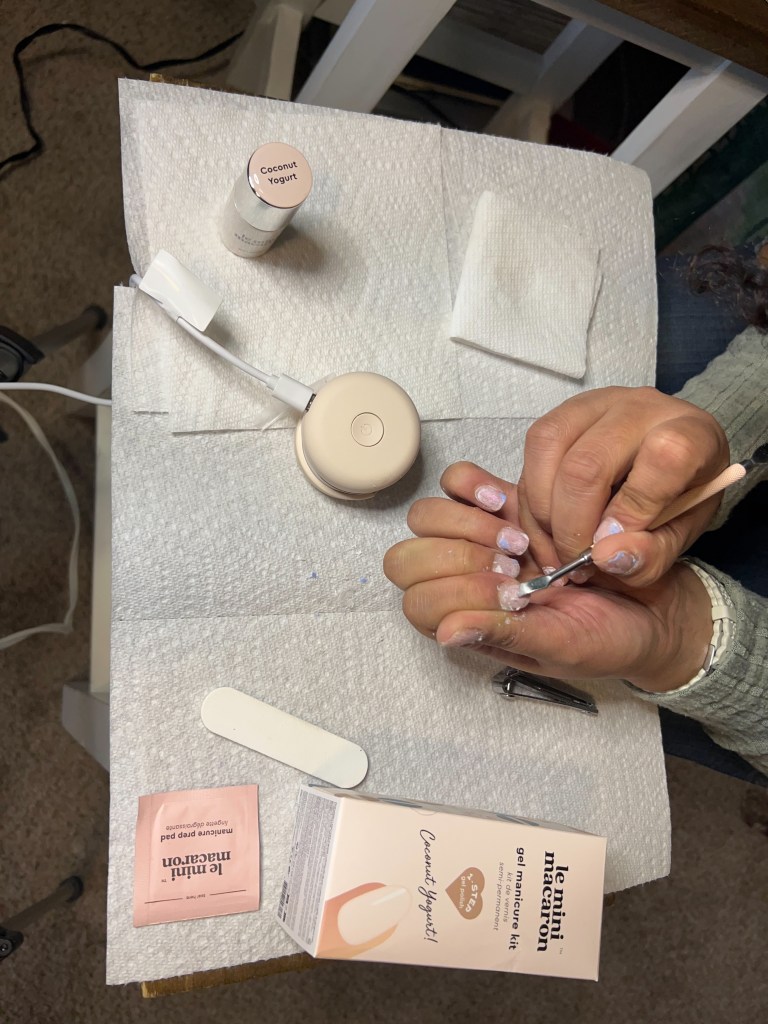
After receiving my product voucher I went through all of the available kit options on Amazon. There are six kits available at that time: Rose Creme, a peachy pink; Coconut Yogurt, a very pale pink that looks almost white; Cassis, a deep red that is almost an oxblood shade; Lilac Blossom, a very pretty pale lavender shade; Praline, a soft peachy beige; and Ruby Red, a sparkly cherry red.
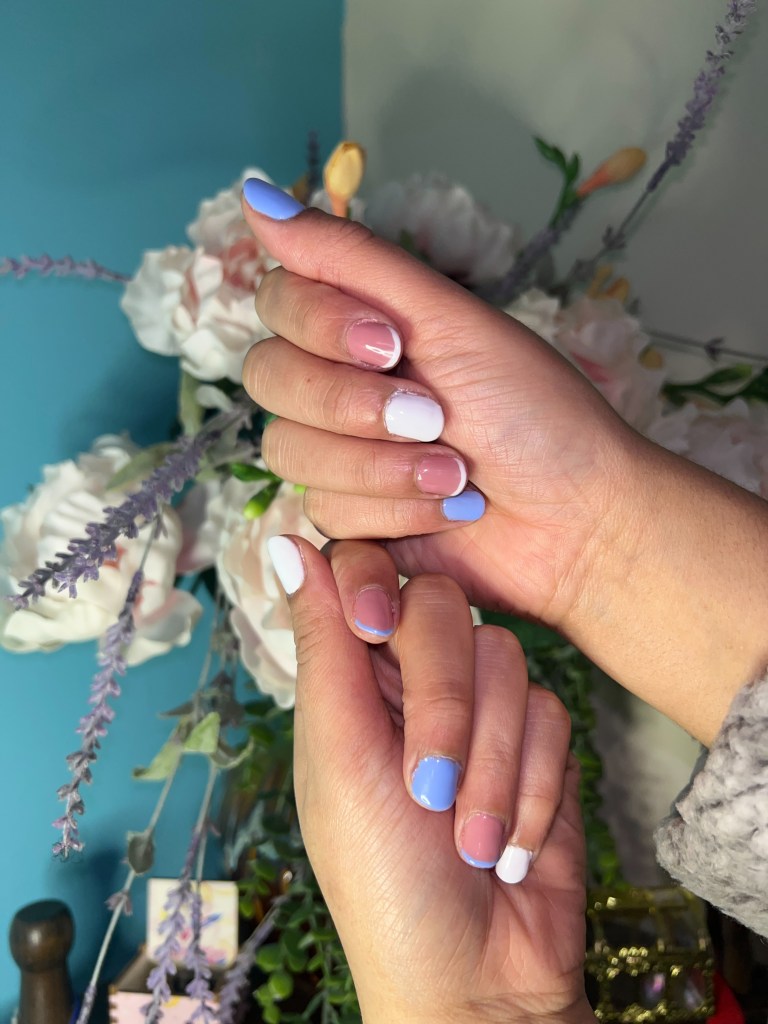
While all of these shades are beautiful in their own right, I was stuck between Coconut Yogurt and Cassis. After asking the group chat, I decided to buy the shade Coconut Yogurt; a super pale pink shade that I think will make a beautiful stand alone color as well as the perfect base shade and French tip shade!
Each nail kit comes with the shade of polish you selected, a matching mini lamp and USB cord, a miniature nail file and cuticle pusher tool, two manicure prep pads, and 10 remover wraps.
How I Remove Gel Polish
As much as I love LMM, I’m still a woman on a budget! While doing research on ways to remove gel nail polish without damaging my nails I came across the Sally’s article that I mentioned above, and while that method did not work the way I hoped, it didn’t stop me from doing more research!
For the first few months of using gel polish, I was just filing off the polish, and that led to very weak, brittle, and thin nails. Ever since I got my Mini Kit I’ve been obsessed with the removal wraps. As long as you give them enough time to set – about 25 to 30 minutes – they’re perfect!
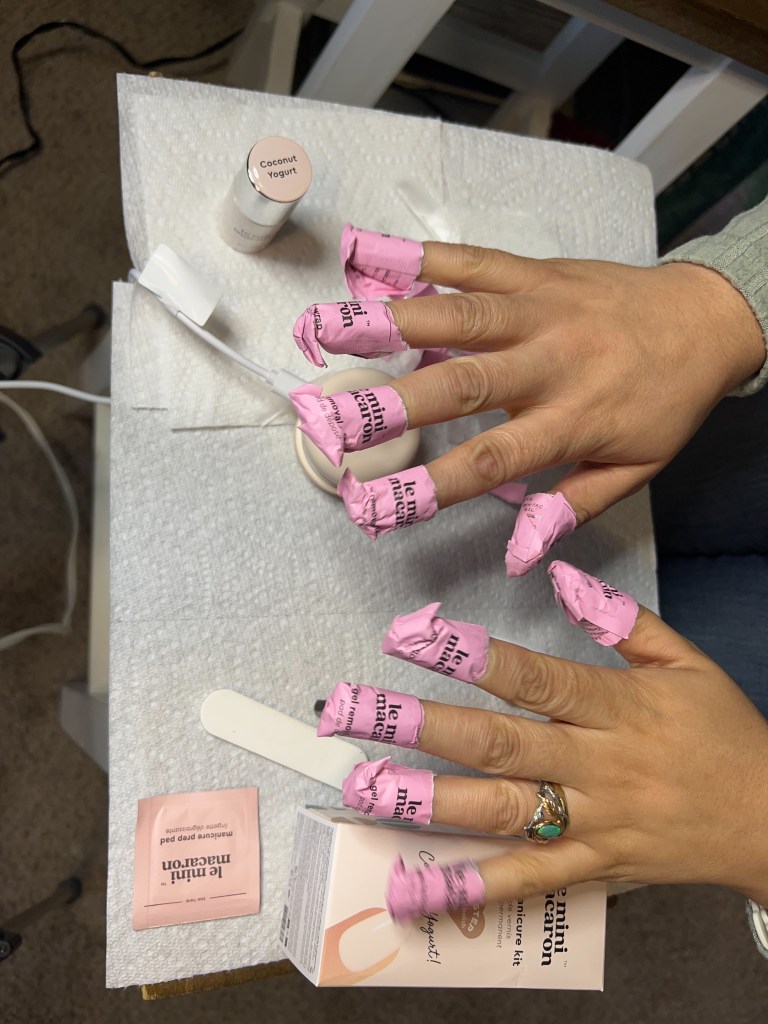
The removal wraps are, unfortunately, too small to use on my toes. For a gel pedicure, I do end up filing off the remaining polish; I have yet to find a better alternative for removing my gel polish at home, so please let me know if you have any suggestions!
What Do You Think?
Are you #TeamManicure, #TeamPedicure, or #TeamNoPolish? What kind of polish do you prefer? Do you like to add nail art or decals? Let me know in the comments below!
I’ll be back next week to share part two of Creative Hairstyles for Curly Hair – in the meantime, you can read part one here!
And, this Saturday I’ll be going live for the first installment of the We Aim To Slay & Crown of Service #SelfCareSeries, a monthly livestream dedicated to self care and giving back! You can join in the conversation by watching us as we go live at 6:00 p.m. EST, on my official titleholder Facebook Page!
Have a great rest of your week, and remember to SLAY!


Leave a reply to Stacey Gallagher Cancel reply