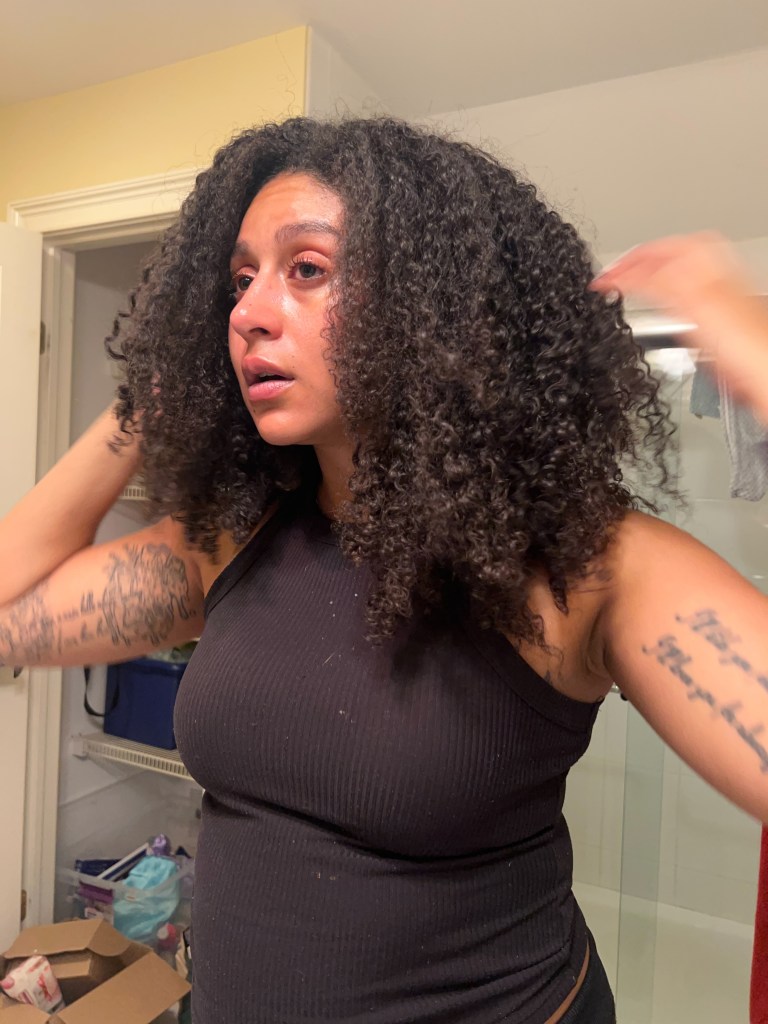
Since transitioning to my naturally curly hair in 2017, I’ve tried many products and many techniques in an effort to live harmoniously with my hair. In that time I have learned that my mix of 3B, 3C, and 4A curls prefer creamier products, and benefits from frequent deep conditioning treatments.
Today I’m discussing the new products I’ve added to my routine, and how I use them to create the perfect wash-and-go! I won’t be discussing my actual “wash day” products though, just the products I use to style my curls post-cleansing.
Before I start, I want to explain a term that I’ll be using throughout the piece – “curl clumps”. So, what constitutes a single, individual curl? A single curl is made of several strands of hair all curling in the same pattern, in the same area on your head. The actual curl itself is what I’m referring to when I say “curl clump(s),” because those strands of hair have “clumped” together to become that curl!
The Products
No matter how I’ll be styling my curls for the day, I always use these kinds of products!
Leave-In Conditioner
I always start with a leave-in conditioner, as curly hair is prone to dryness. My hair has been loving the Mielle Pomegranate & Honey Leave In Conditioner, and I just try to apply a good amount, evenly, throughout all of my hair.
Hair Moisturizer
This next product, the Pattern Moisture Milk, is new to me. Created by Tracee Ellis Ross’s brand, Pattern Beauty, the star emphasizes that this is not a leave-in conditioner, but rather, an additional level of moisture that is easily absorbed via its milk-like consistency. I like to layer a little bit of this on top of my leave-in, section by section.
Styling Product
Using some sort of bonding agent will help your curl clumps form, and maintain their shape. For many years I swore by the LUS All-in-1 Styler for Curly hair, and I still maintain that it’s amazing, but having gone at least a year without LUS I decided to look for a new styling product. I discovered the Pattern Styling Custard, and I have to say I’m really impressed!
Gel
After forming your curl clumps, you’ll want to use some sort of product to “seal” in your styling efforts. I like to use sort of curl gel, most usually the Pattern Curl Gel, and sometimes the Not Your Mother’s Curl Talk Gel. With that said, although gel can be super helpful, is not a step I do every single time!
The Styling Tools
You will find it very helpful to have these tools on hand:
Hair Clips
I like to have at least two, but you can never go wrong with extra clips! You’ll be using these to keep our sections separate.
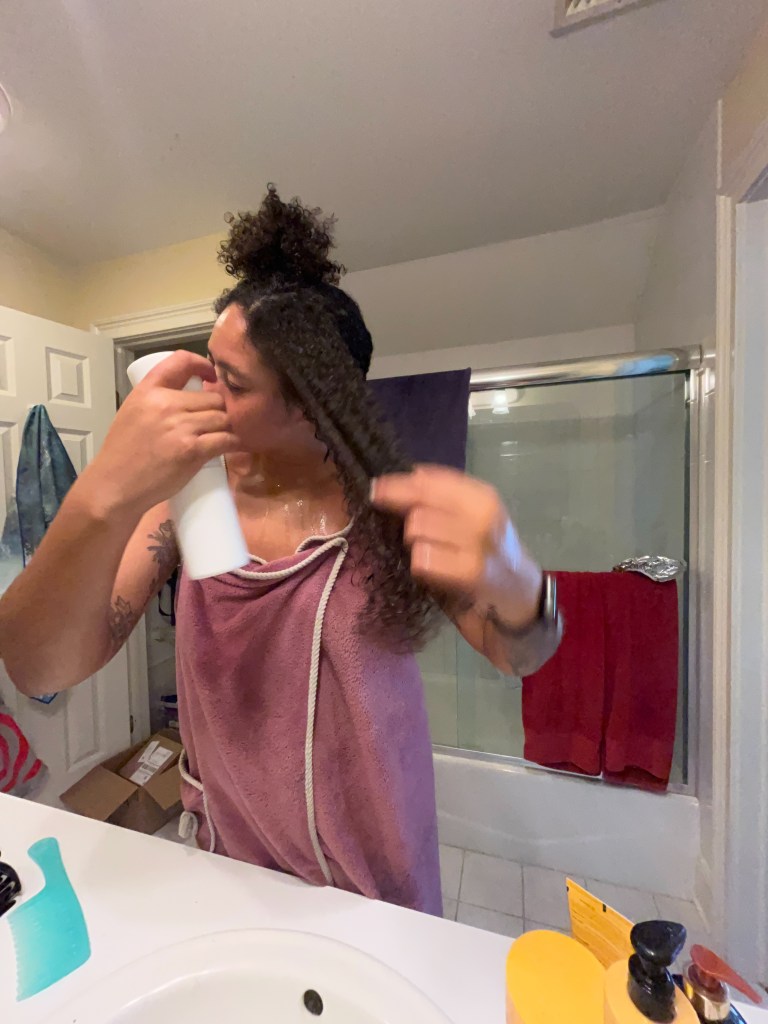
Spray Bottle
For me, the wetter my hair is, the easier it will be to apply products and the better the hair will absorb the product. I like to keep a continuous mist bottle near by in order to add moisture to the sections that need a little help.
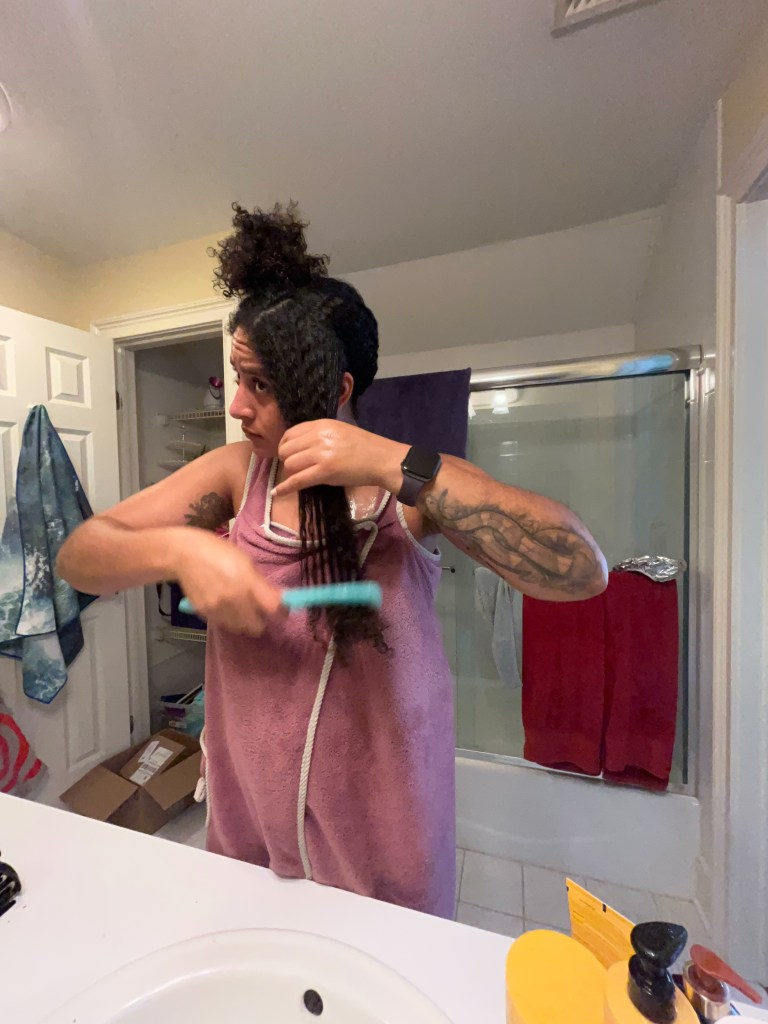
Wide Tooth Comb
A wide tooth comb is a lifesaver for us #CurlyGirlies! I use mine to detangle my hair while in the shower (with conditioner applied!), to add a part to my hair during styling, and to work product throughout my hair.
The Process
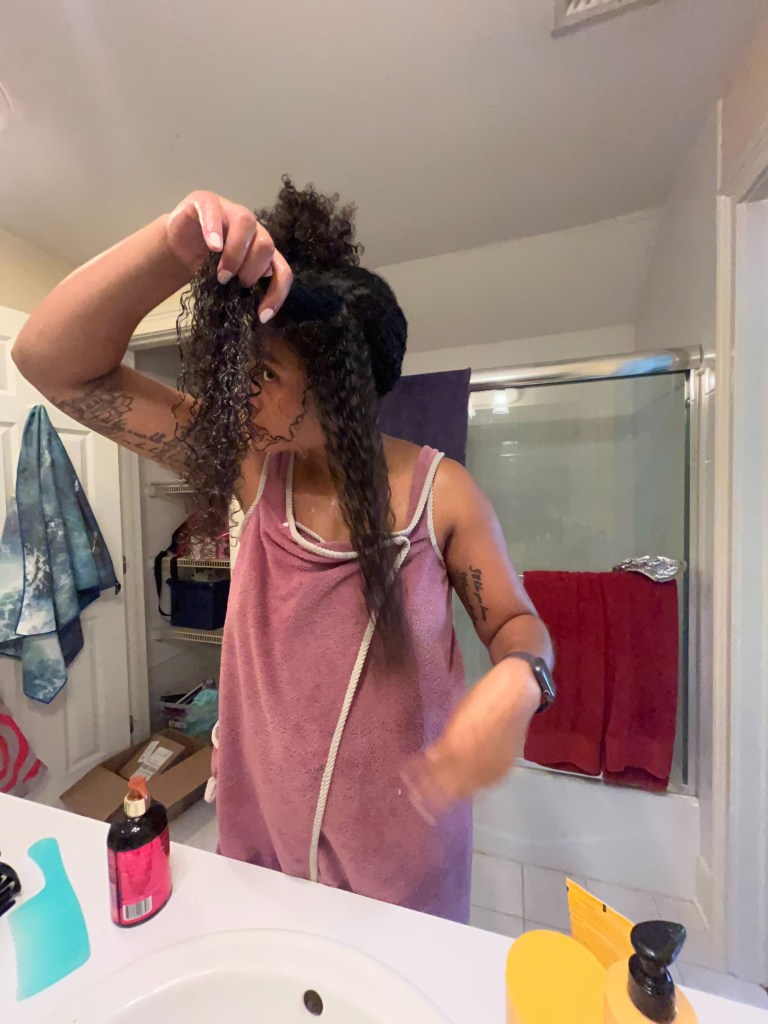
Now that you’ve got all of your products and tools together, you’ll want to start by creating sections and clipping off the remaining sections.
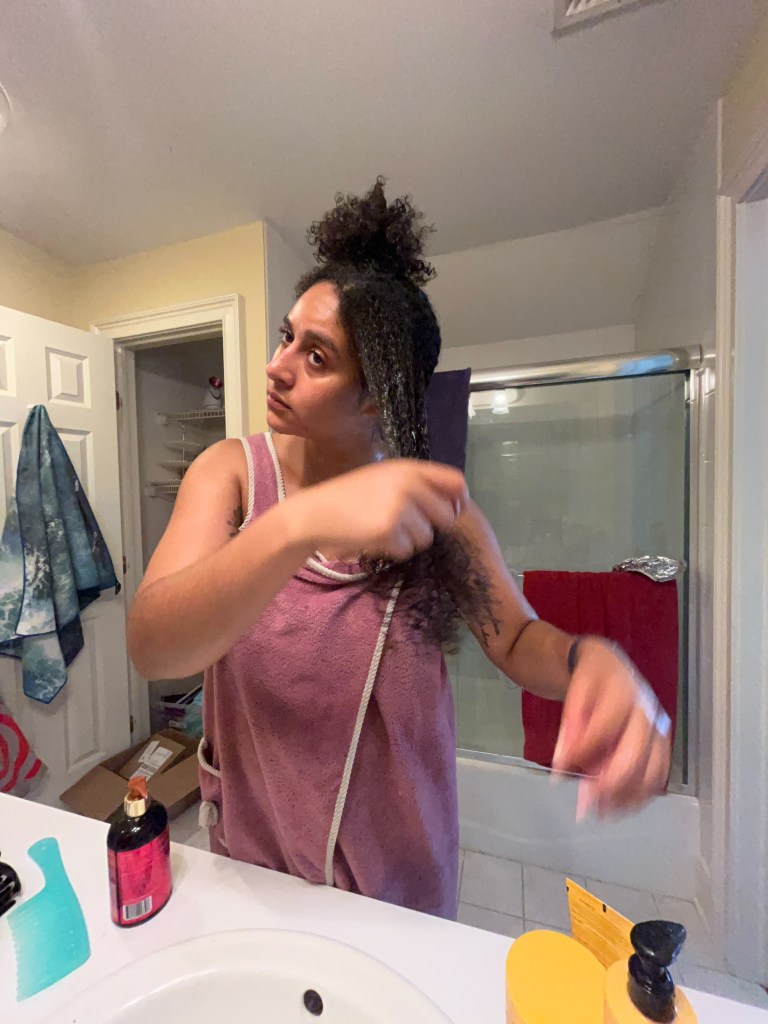
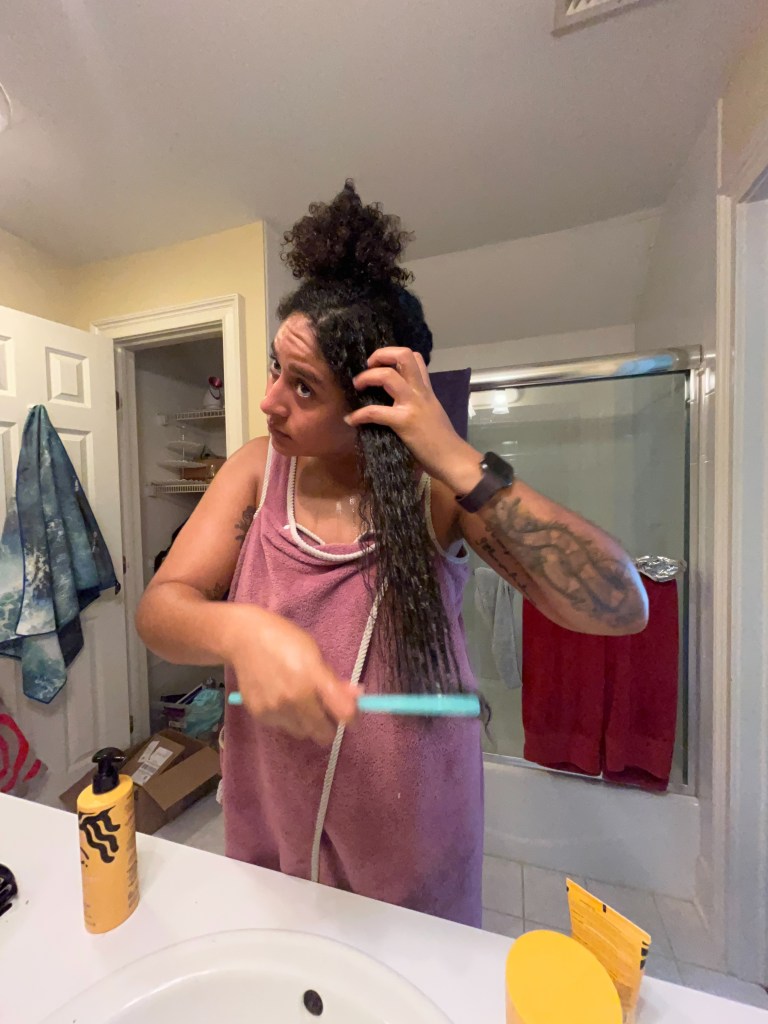
Once I have my first section, I’ll begin by spraying more water (if needed) and detangling the section using the wide tooth comb. Remember: more water = happier curls!
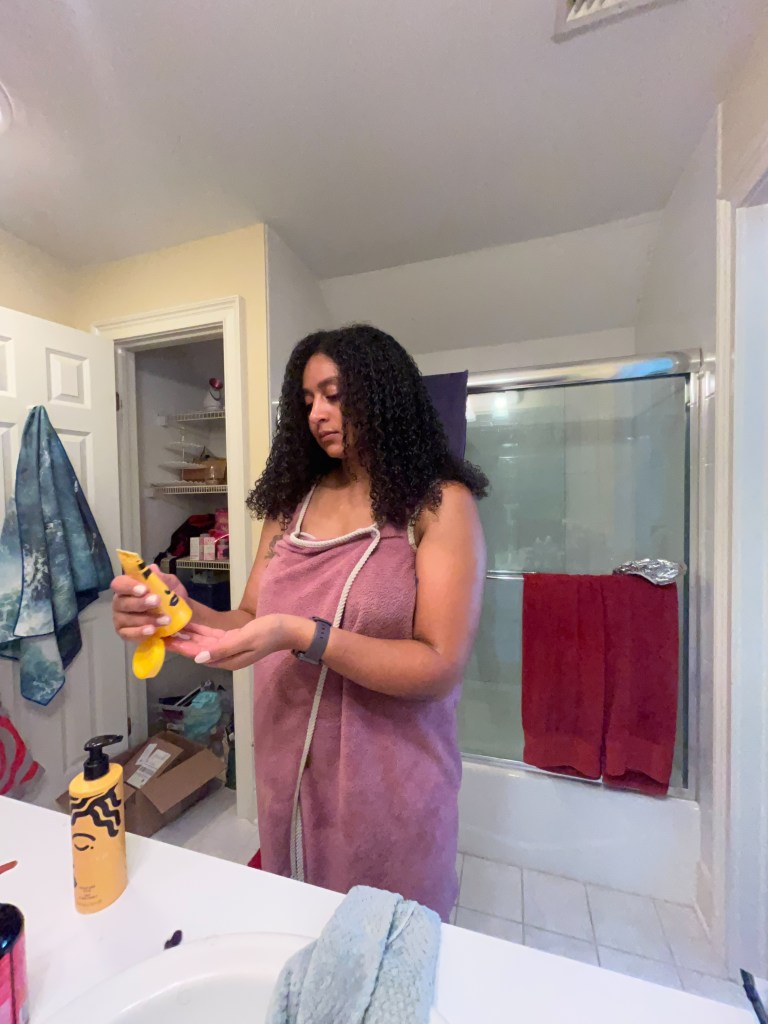
Starting with my first section, I’ll use the “raking method” to apply my products in layers, starting with the leave-in conditioner, followed by the moisture milk, and styling custard.
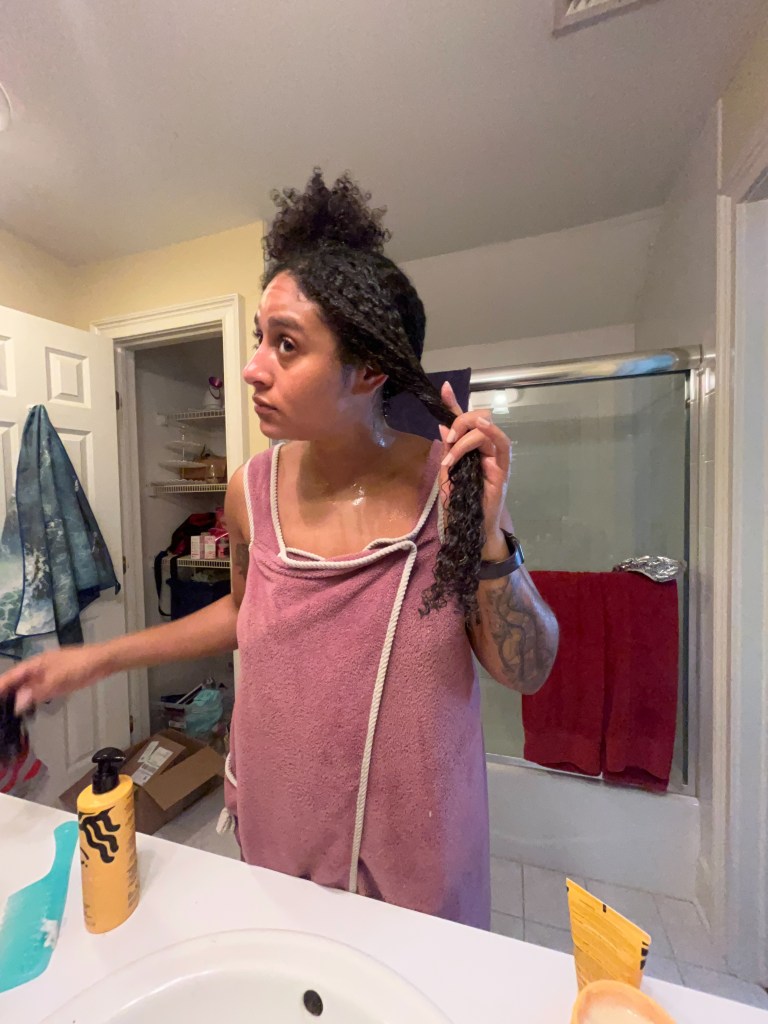
In order to ensure that all product is evenly distributed, you may have to break your section into smaller sections. Sometimes, I’ll comb the first two products through my hair before I apply the Styling Custard.
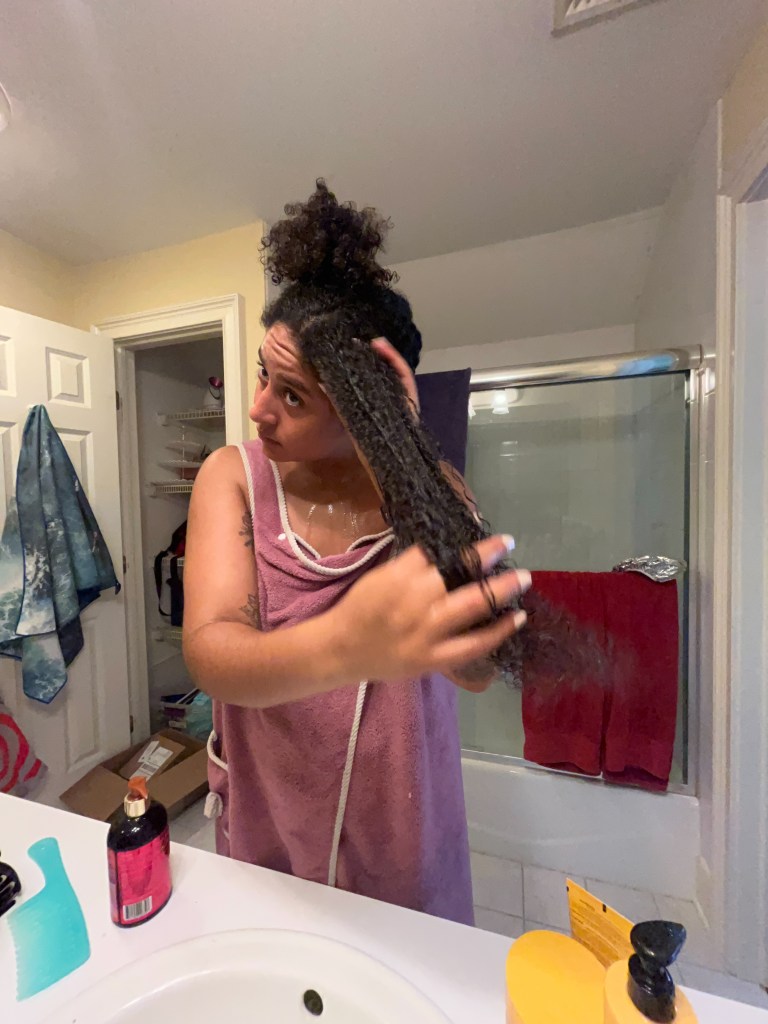
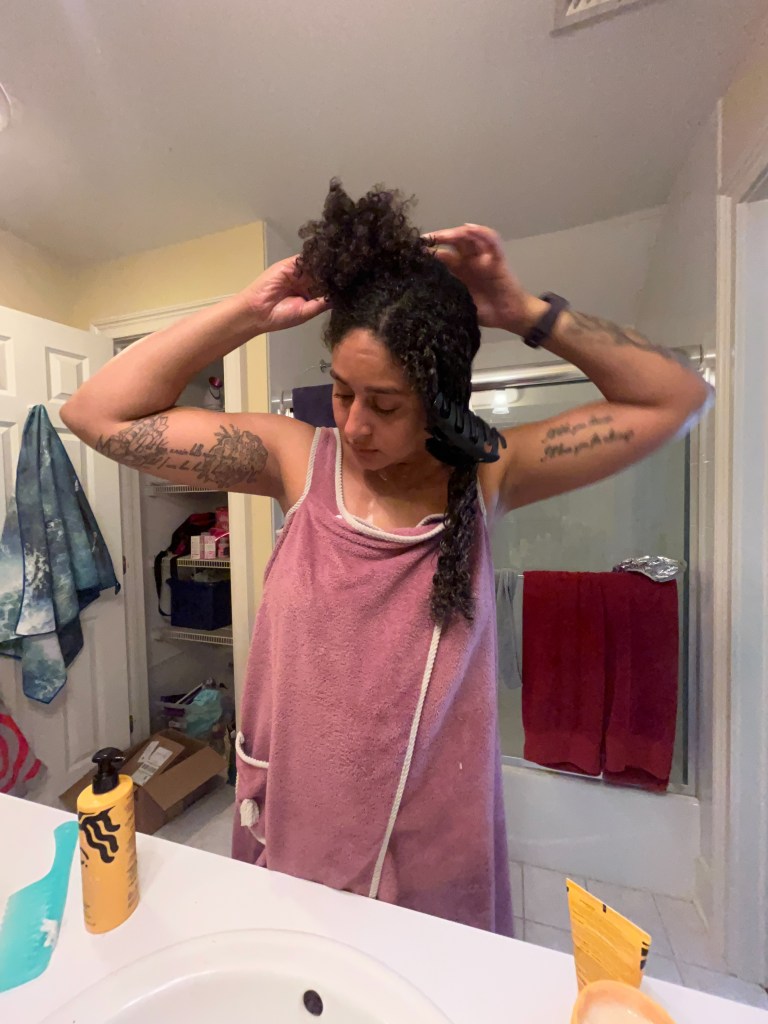
Once I’ve applied the Styling Custard to the section, I’ll clip it off, pull out another section, and start the process all over again.
Secure this section; repeat steps 1-7 on each section → how many sections will depend on how dense your hair is!
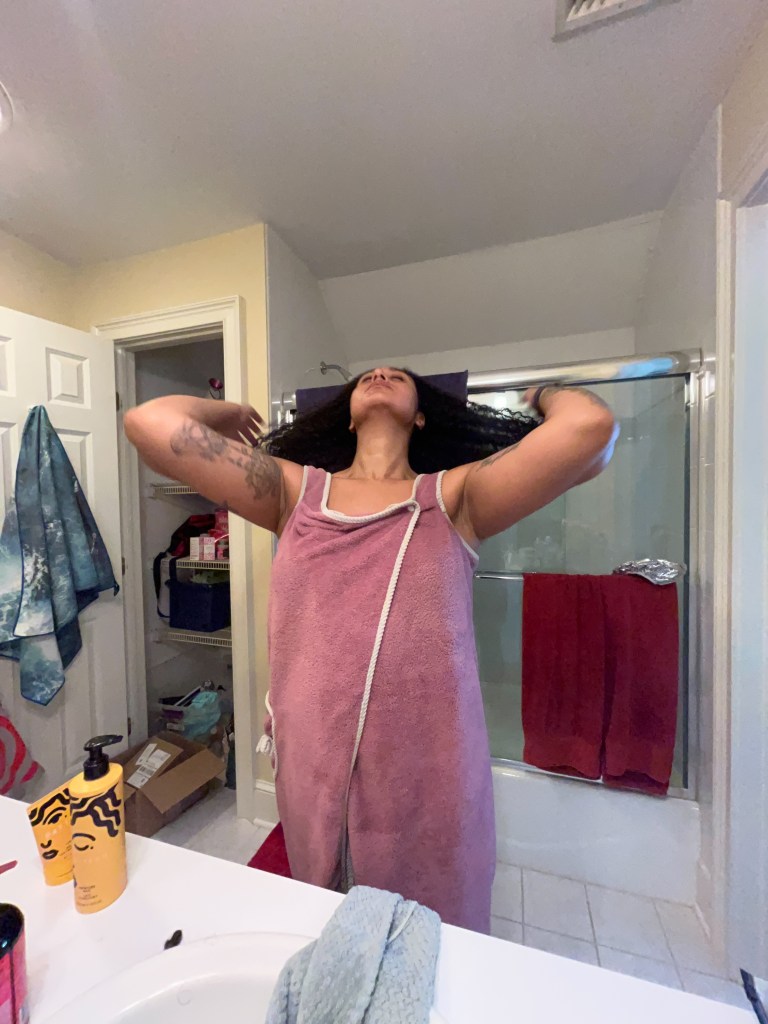
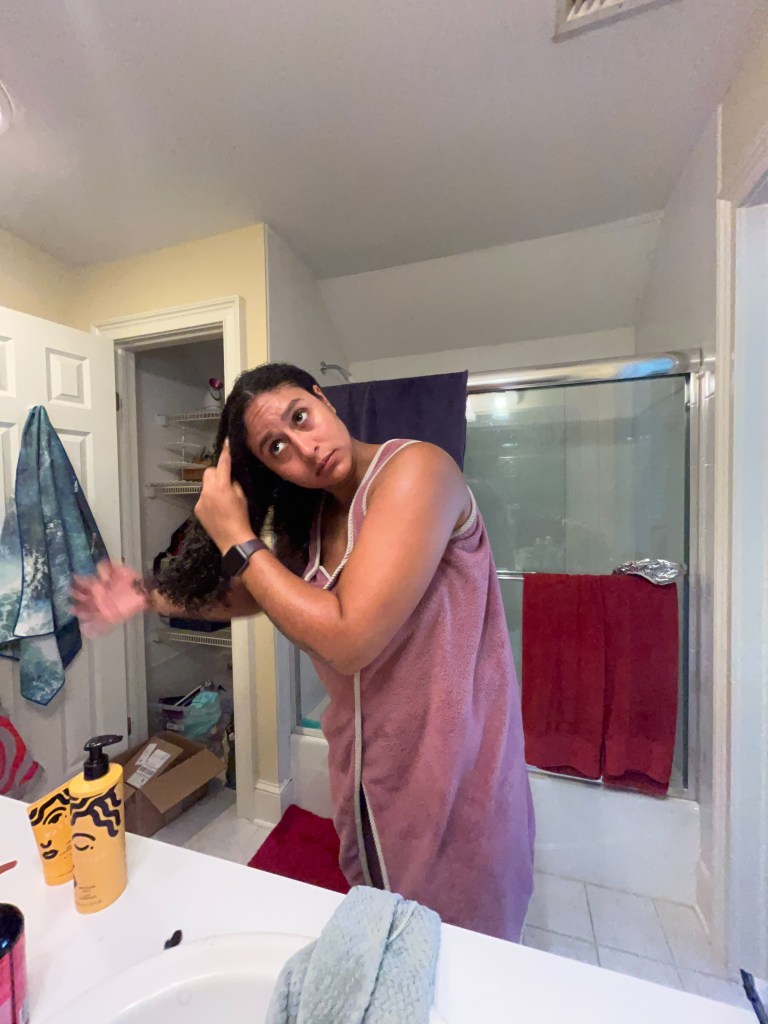
To finish up, I like to apply the gel to all of my hair at once because I’m focusing on the strands, and because I want to retain some natural movement. I do run through my roots, but not too much as I don’t want to disturb the already forming curl clumps as this will lead to frizz.


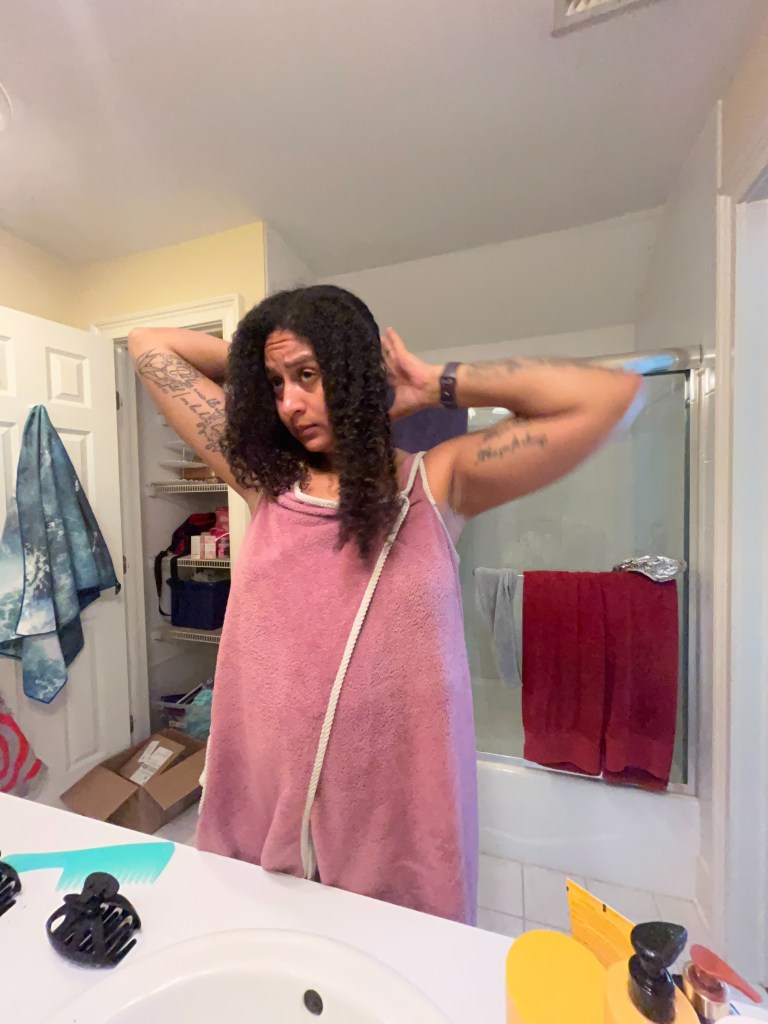
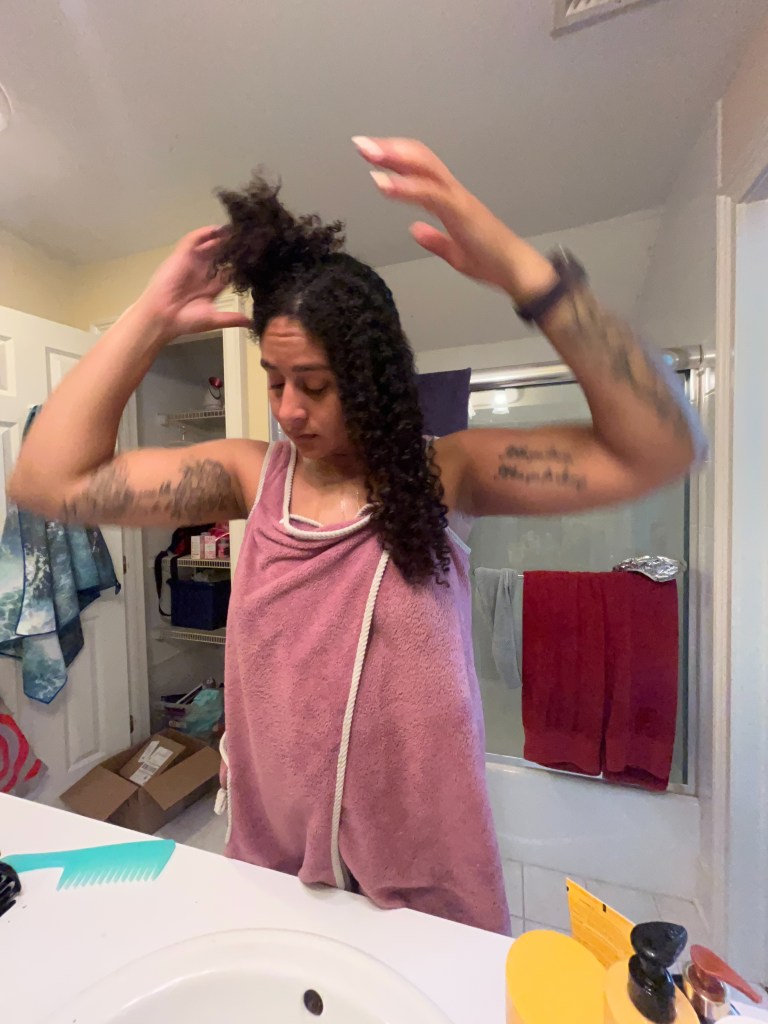
To complete the process, I’ll wrap my hair in a microfiber hair towel (or any other drying implement, an old t-shirt works really well!) in order to remove excess water. After at least an hour, I’ll remove the towel and allow my hair to air dry.

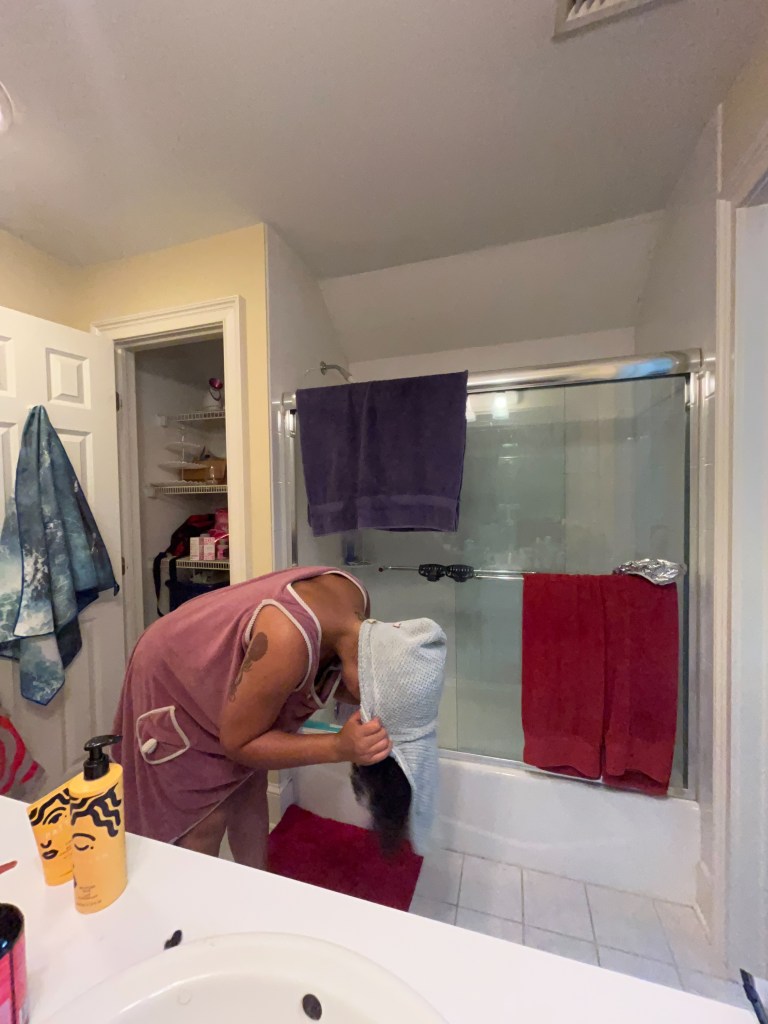
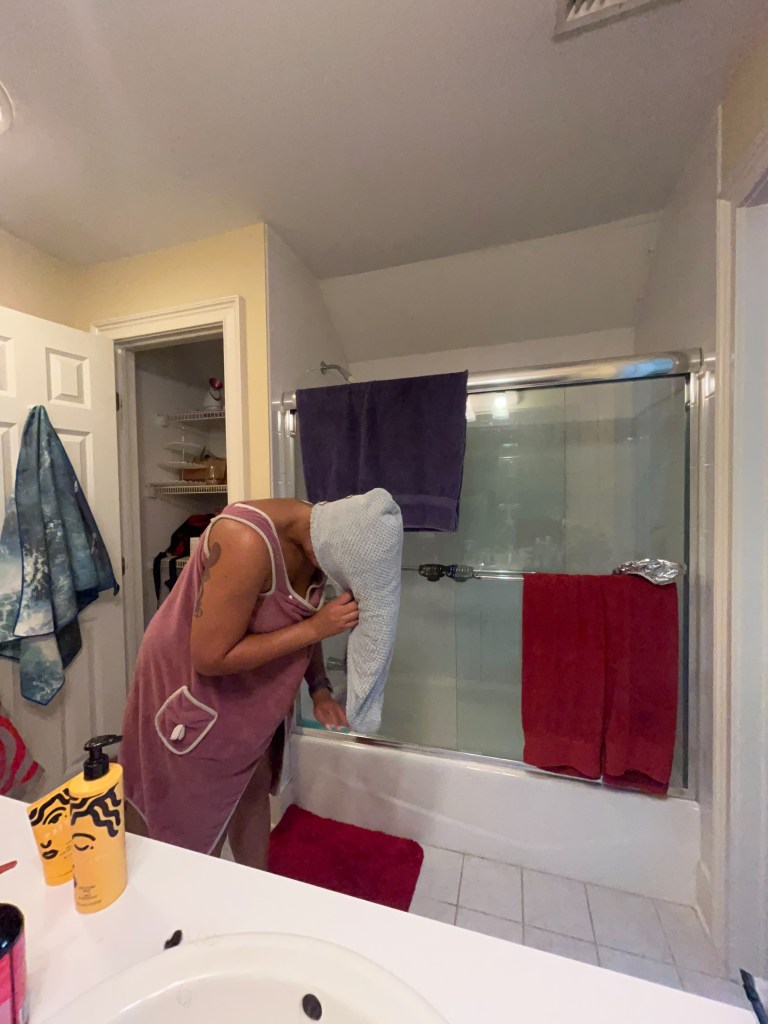
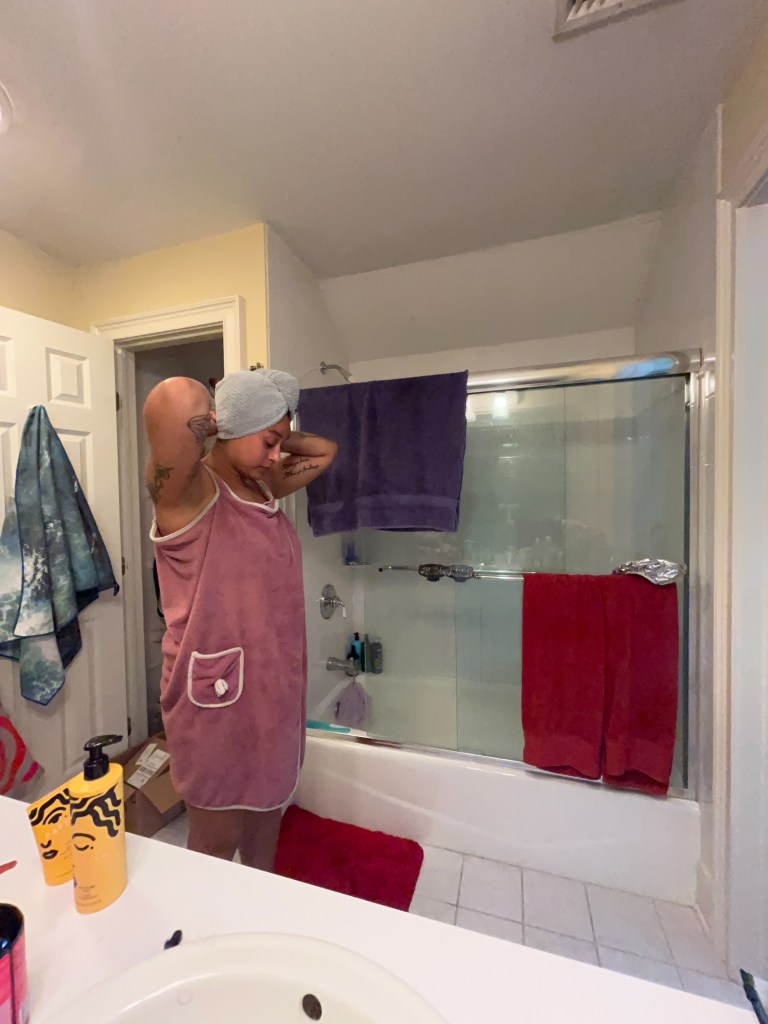

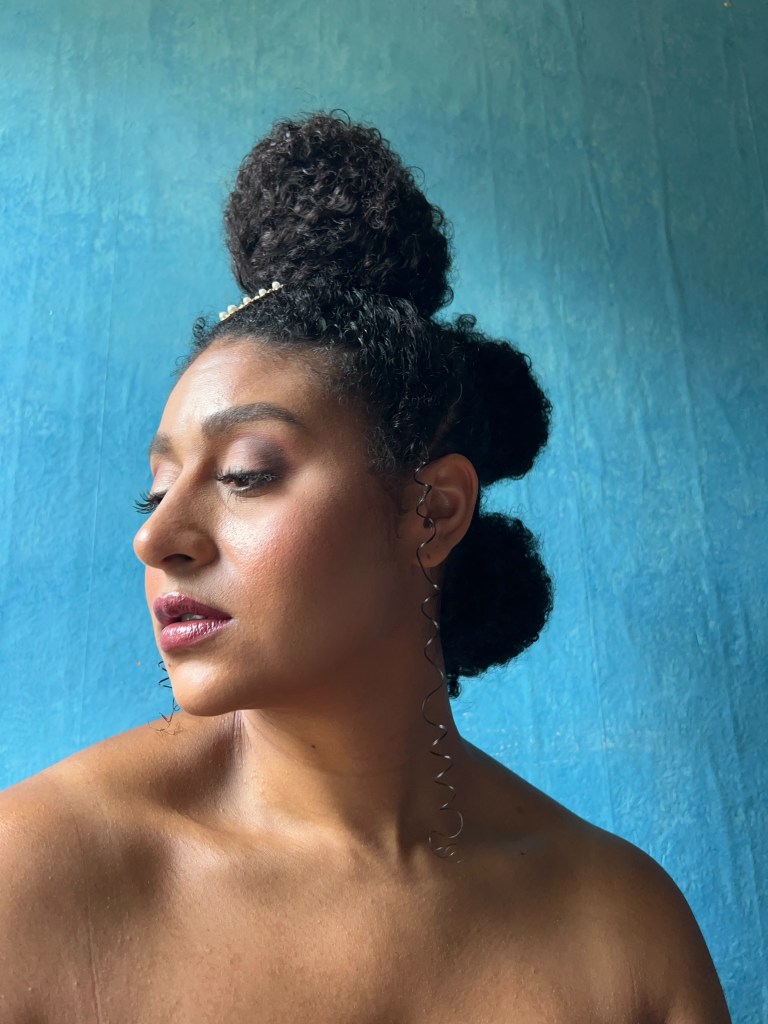
And that’s it! I prefer to air dry my hair rather than use a diffuser, so I tend to leave my microfiber towel on for as long as possible. No matter how I end up styling my hair – whether I leave it down or create a style – this is my base routine!

What Do You Think?
Have you tried any of these products? What are your favorite hair care products? How do you style your natural curls? Let me know in the comments below!
I’ll be back next week with an end-of-summer edition of #SevenDaysOfSlay!
Have a great rest of your week, and remember to SLAY!


Leave a comment