
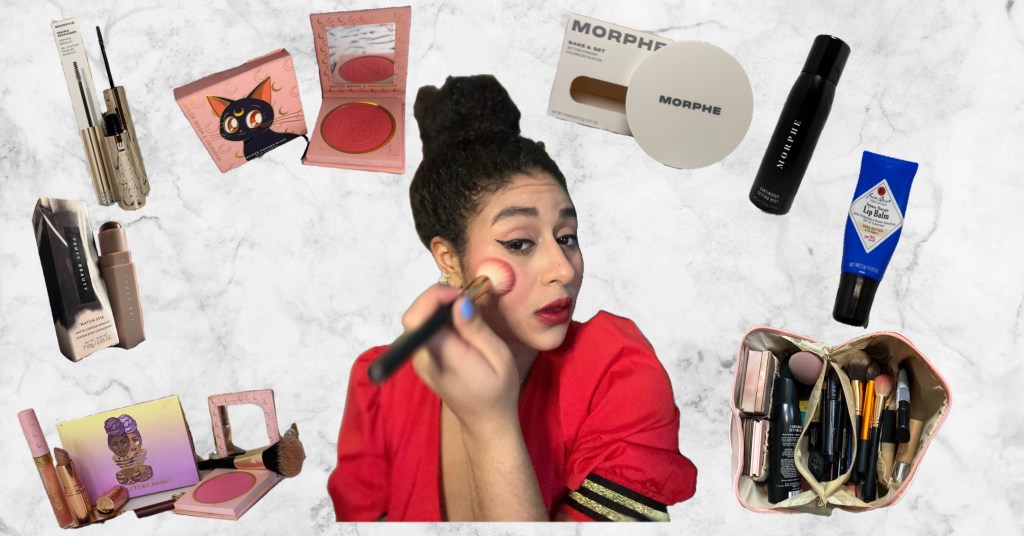
This week I’m walking you through some of the makeup products I’ve purchased recently, and how I’ve used them to create looks for all types of occasions!
Lip Products
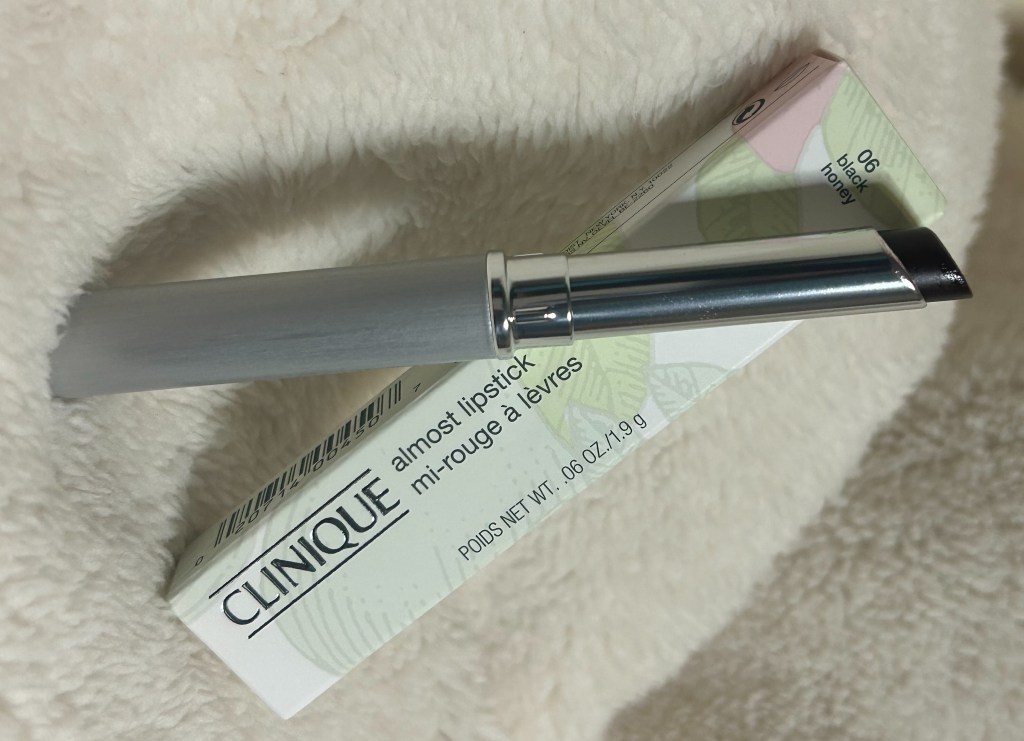
I’m starting with a cult classic – the Clinique Almost Lipstick, in shade Black Honey. It has quickly become one of my favorites, so much so, that I immediately bought a second one to keep in my work bag! Developed in 1971, this lipstick was originally sold in a glass pot. According to the Clinique website, founder Carol Phillips “named it Black Honey because the texture of the gloss looked like actual honey.” The packaging changed in 1989, moving from the honey pot to the sleek tube used today. I couldn’t describe this lipstick better than the website – “A cross between gloss and lipstick, Almost Lipstick feels like nothing on your lips, is shiny without being sticky, and gives lips that just-ate-a-plum look.” If you’re looking for more information on Black Honey and the Almost Lipstick, Harper’s Bazzar wrote a comprehensive history this past June.
I’ve been on the hunt for the perfect nude-lipstick-and-brown-liner duo for a few months now, which led me to purchase the Charlotte Tilbury Matte Revolution Lipstick in shade “Cover Star”. This arrived two days before the photo shoot I covered last week, and I didn’t make the time to do my typical product photos, or color test the product. As a result, I was sitting in the trunk of my car, opening the tube for the first time to discover that I had bought what the website describes as a nude apricot. I’ve only tried this product once or twice so far, but I have a feeling it will always be way too light of a shade to work with my skin tone and lip color.
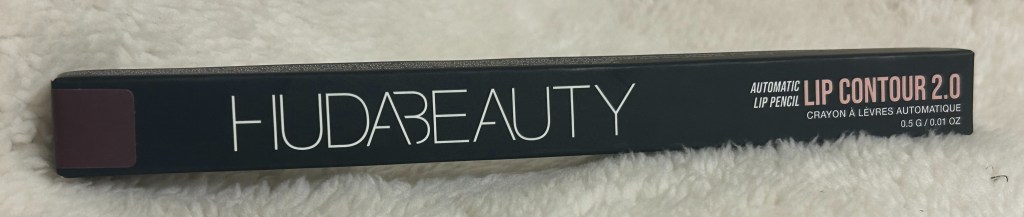
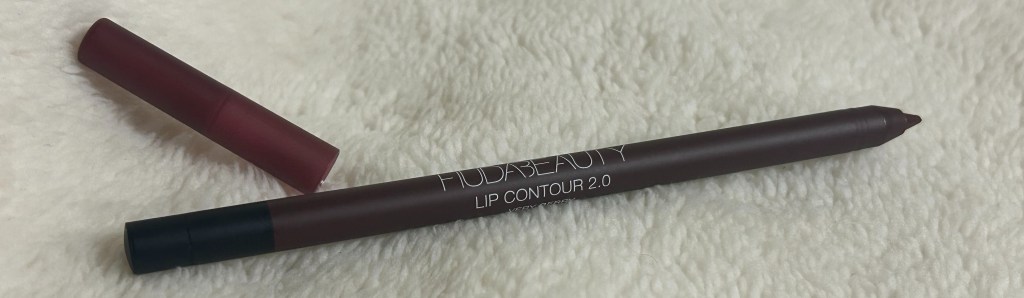
Next up are the Huda Beauty Lip Contour 2.0 Automatic Lip Pencil and I bought two of them – First I bought the shade “Rich Brown” to practice the 90s two tone lip trend. I also bought the shade “Very Berry”, a rich cranberry hue. So far, I’ve found both of these colors to be a tad too dark for me, but my hope is that if I pair the lip contours with the Charlotte Tilbury lipstick, I’ll have found some sort of magical lip combo.
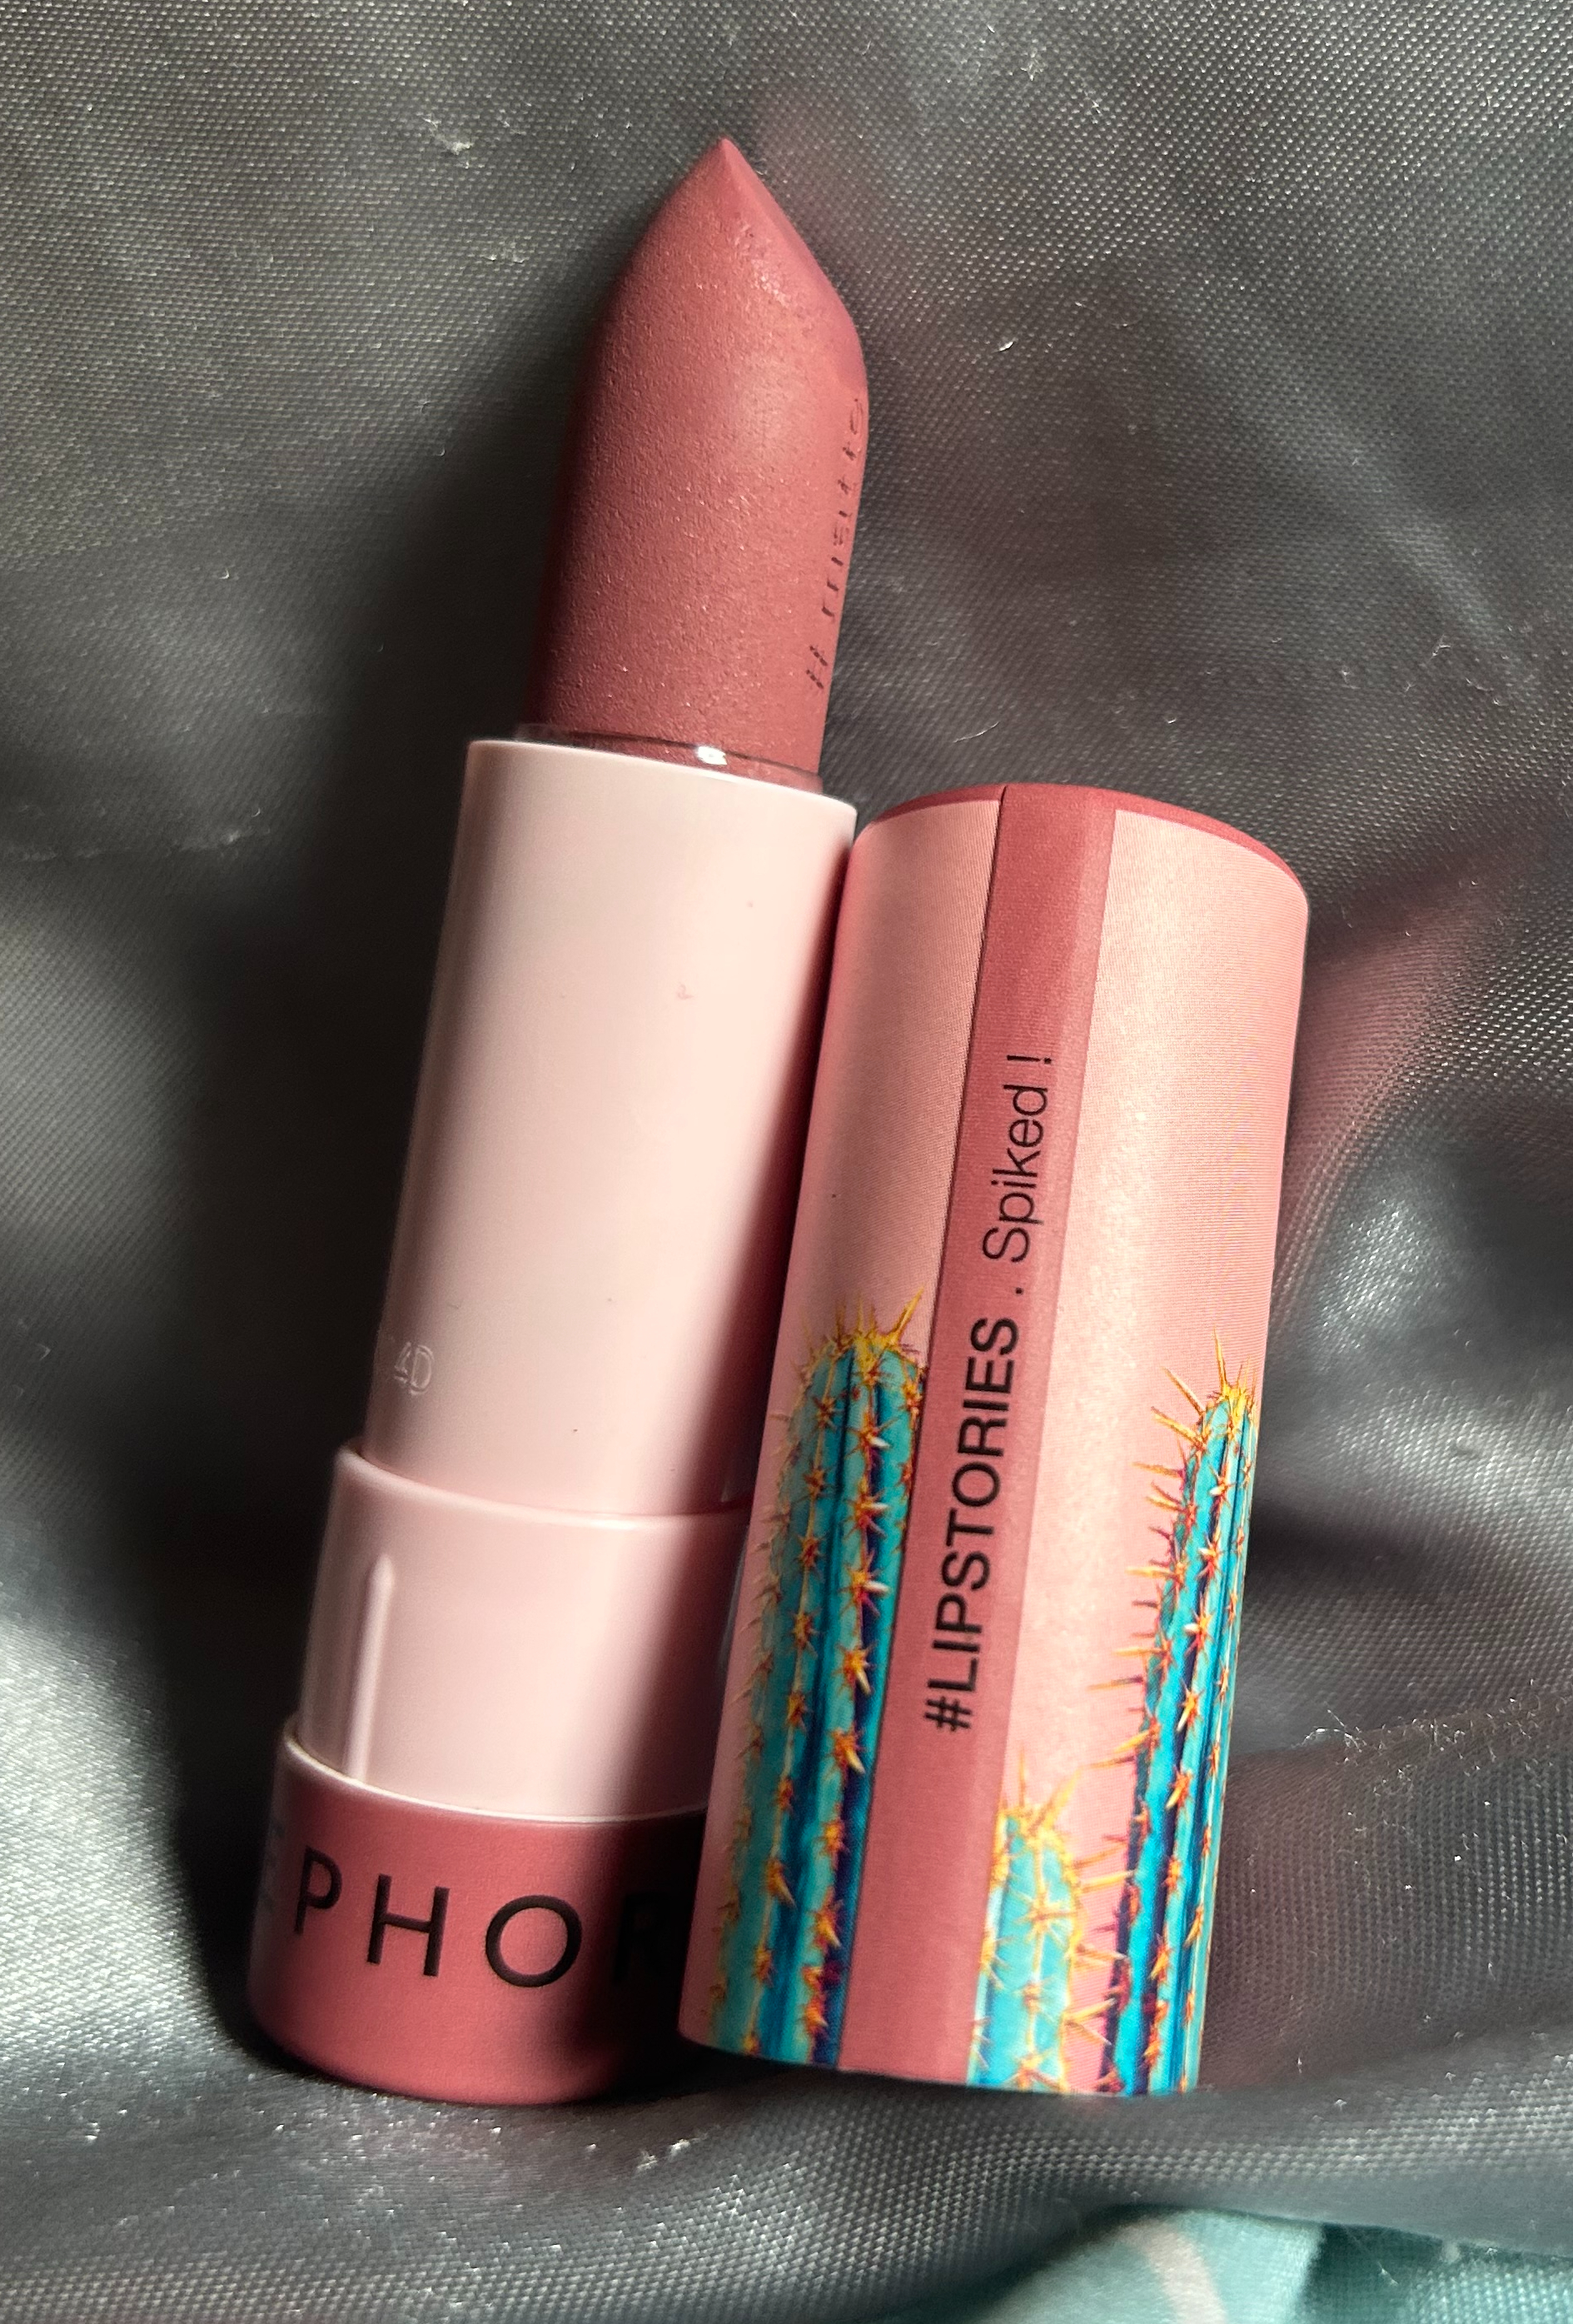
Now onto the Sephora Brand #LIPSTORIES Lipstick in shade Spiked! At first I thought it was a tad too pink, but now I’m noticing it’s actually more of a dusty rose. This is another product that I need to work with more, as I tend to stick to my tried-and-true lip products.
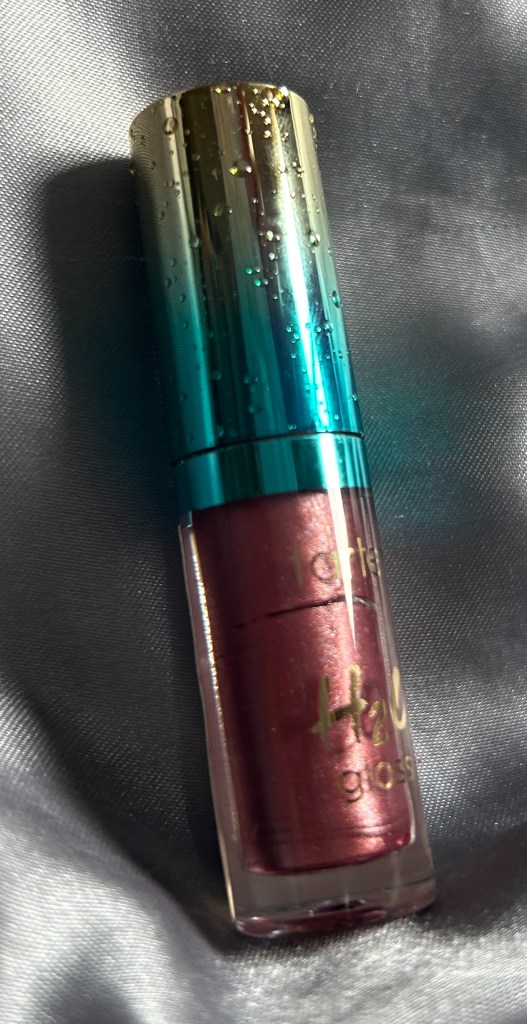
And we’ll finish the lip section with the Tarte H2O Gloss in shade “Getaway” – I’m ambivalent about this one. The shade is very similar to my natural lip color, so I’ll want to create either a much darker or a much lighter lip to start. Truthfully, I need to play around with this product more before I pass judgement!
Face Products
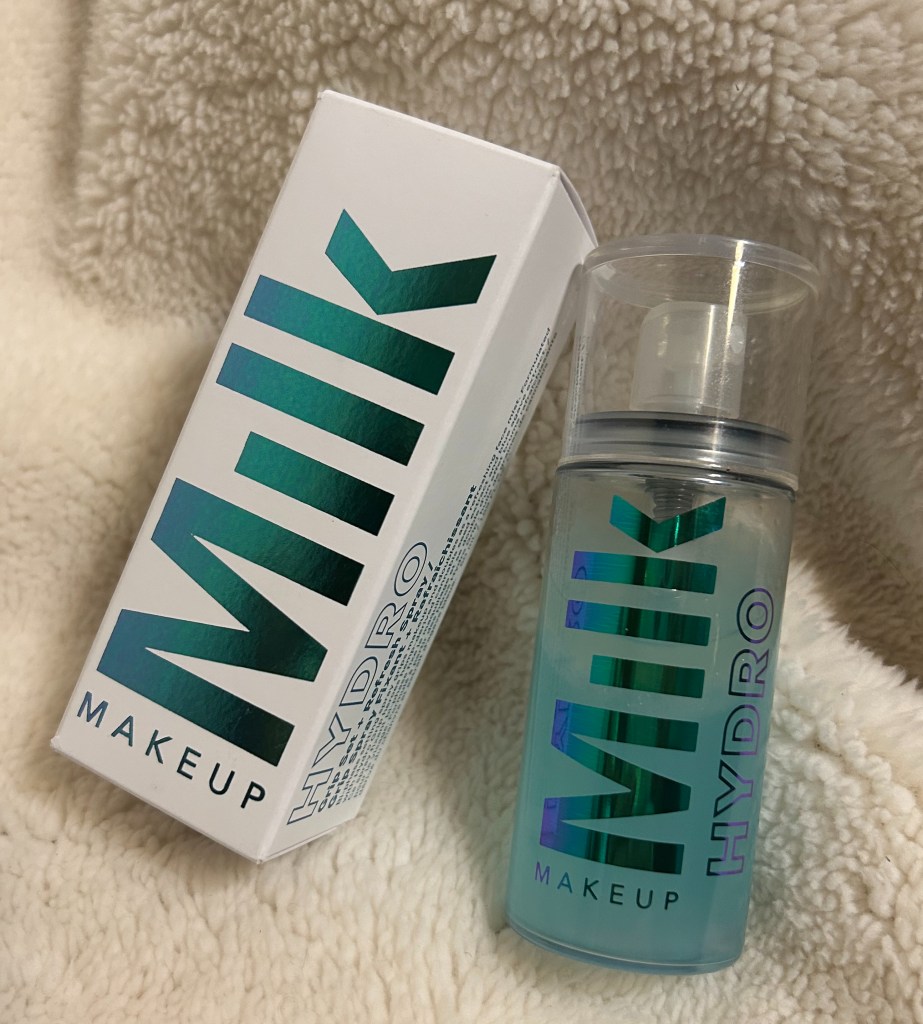
One of my best friends swears by the Milk Makeup Hydro Grip Set + Refresh Spray, so I was disappointed that I didn’t love this as a setting spray – due mostly to the nozzle and how much of the product comes out with each spritz. Sometimes I use it immediately before my primer, if I’m creating a look that I want to withstand abuse – like dancing all night – or if I’m planning to use an eyeshadow as an eyeliner, then I’ll use this to wet my brush.
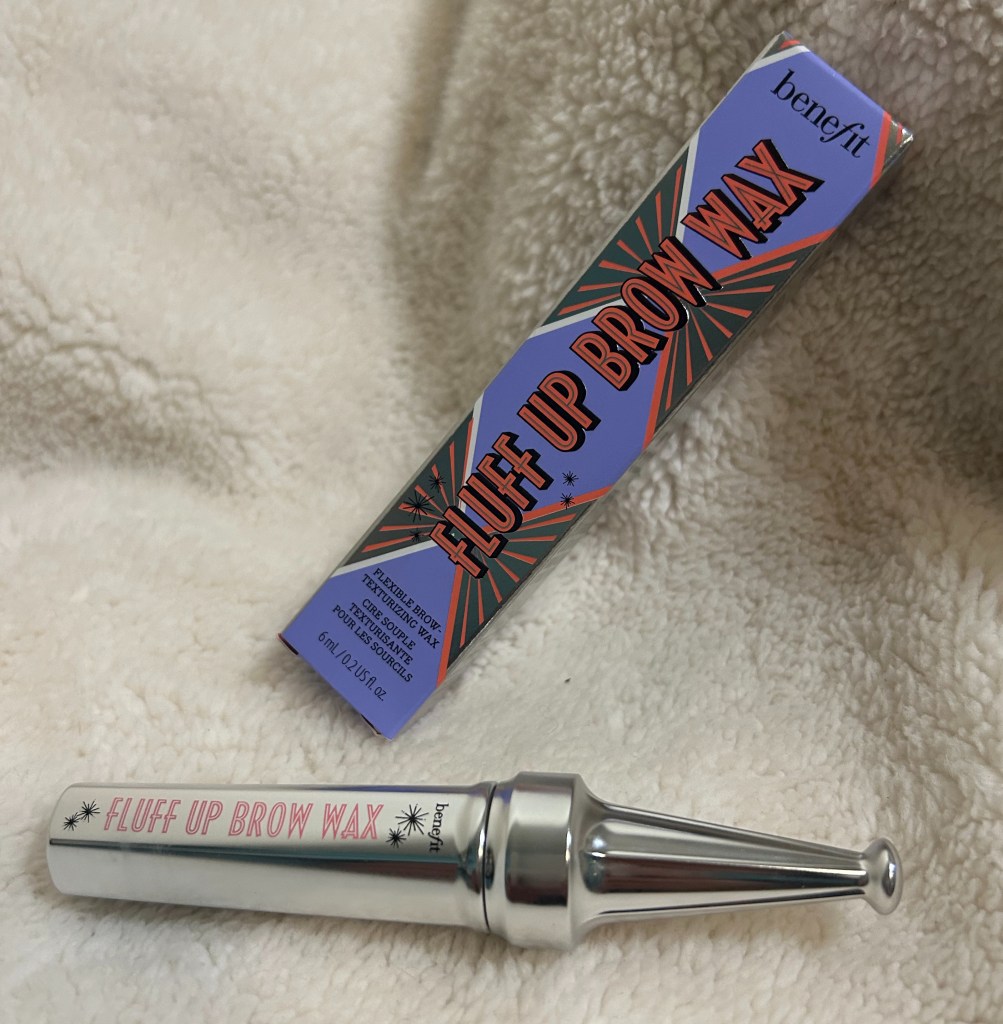
I go back and forth between the Benefit Fluff Up Brow Wax and the Milani Stay Put Liquid Brow Wax and I like them both equally, so I’ll use whichever one my hands land on first! Both are white products that dry clear, but be careful to comb through your brows after applying, in order to avoid clumps of product.
Products for the Eye Area

House of Lashes x Sephora Lashes in “Marigold” – These lashes are beautiful, but there were way too big for my face. I finally used these for the photo shoot with my sister, and I ended up cutting them down, which made them look so much nicer on the eye, and made application so much easier as well!

Sephora Collection False Eyelash Applicator – When I first bought these I had trouble making them useful. But, it turns out that my lashes were too big! I finally used these to apply the trimmed H.O.L x Sephora lashes and it works really well! There’s even a rounded edge that helps you to secure the lashes to your eyelid.
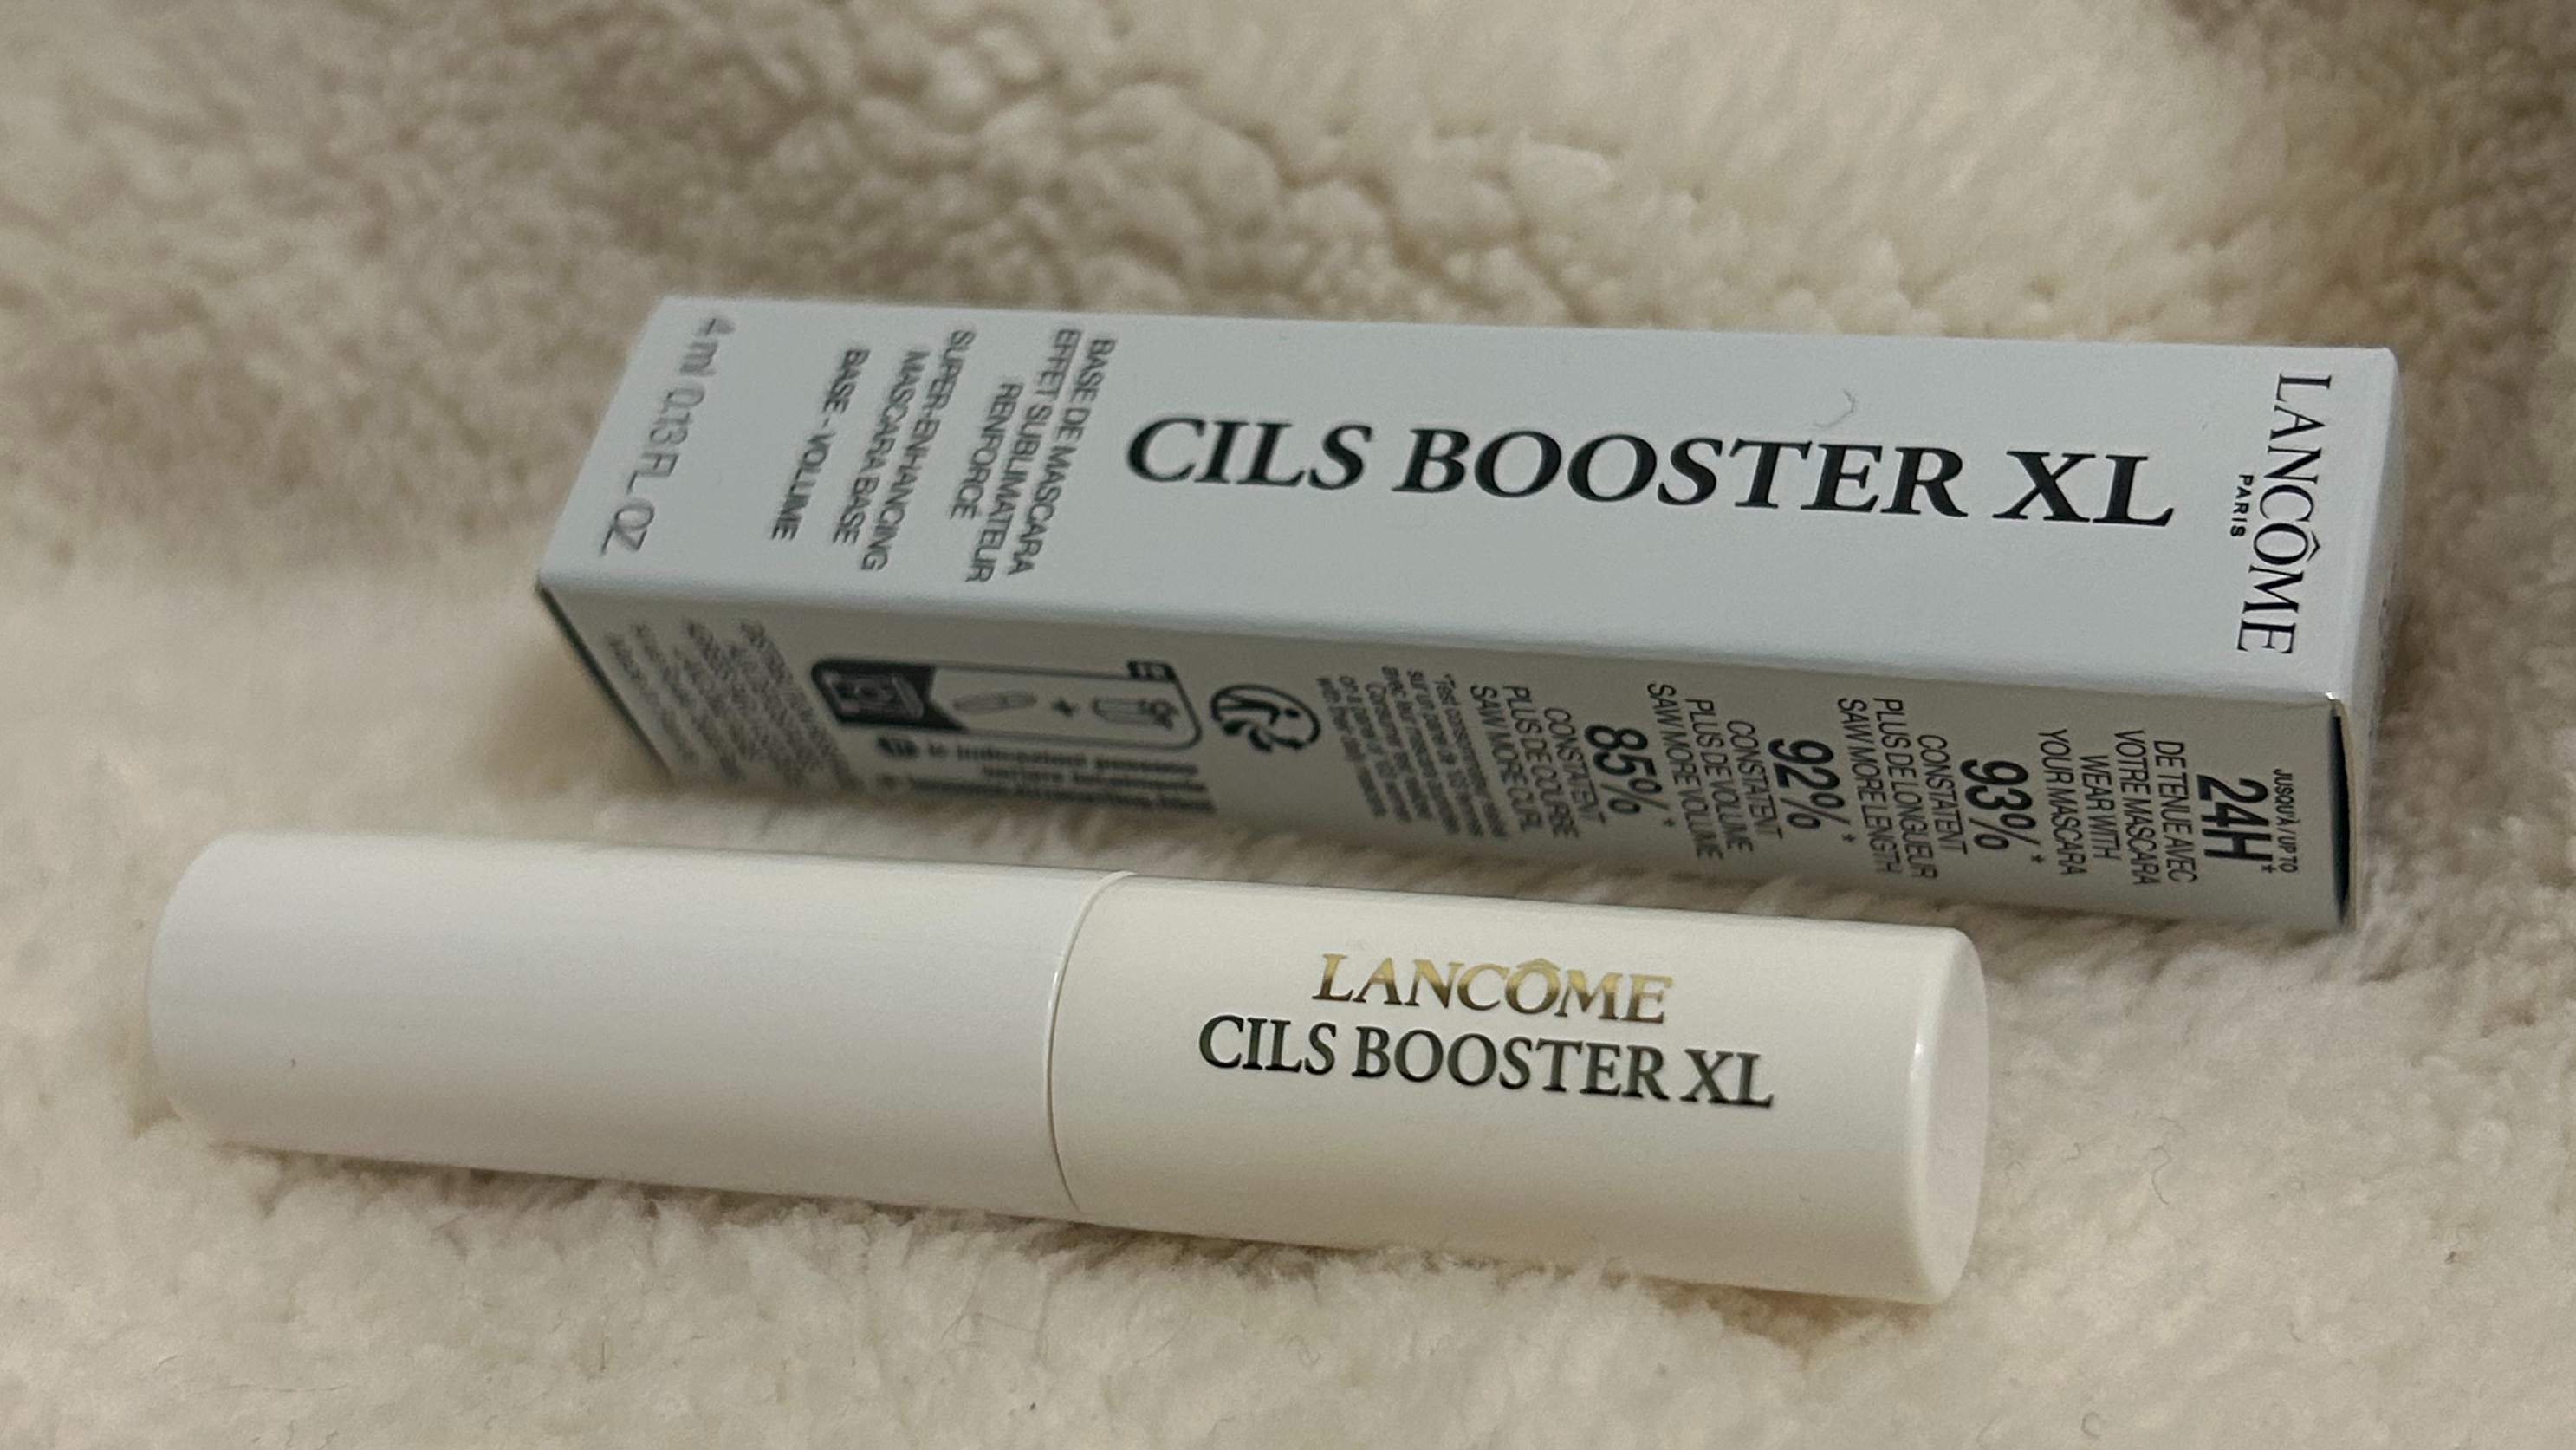
Lancome Cils Booster XL Lash Serum & Mascara Primer – I love this product if I’m creating a dramatic look, because it enhances my lashes by creating a base for my mascara to build off of, adding volume and length that I wouldn’t have otherwise.
Benefit BADgal BANG! Mascara – I’m somewhat ambivalent to this mascara. It takes a bit longer than I’d like to dry after application, and has a tendency to clump. But, if I take the time to comb through my lashes after applying a couple of coats, it does make my lashes look great!
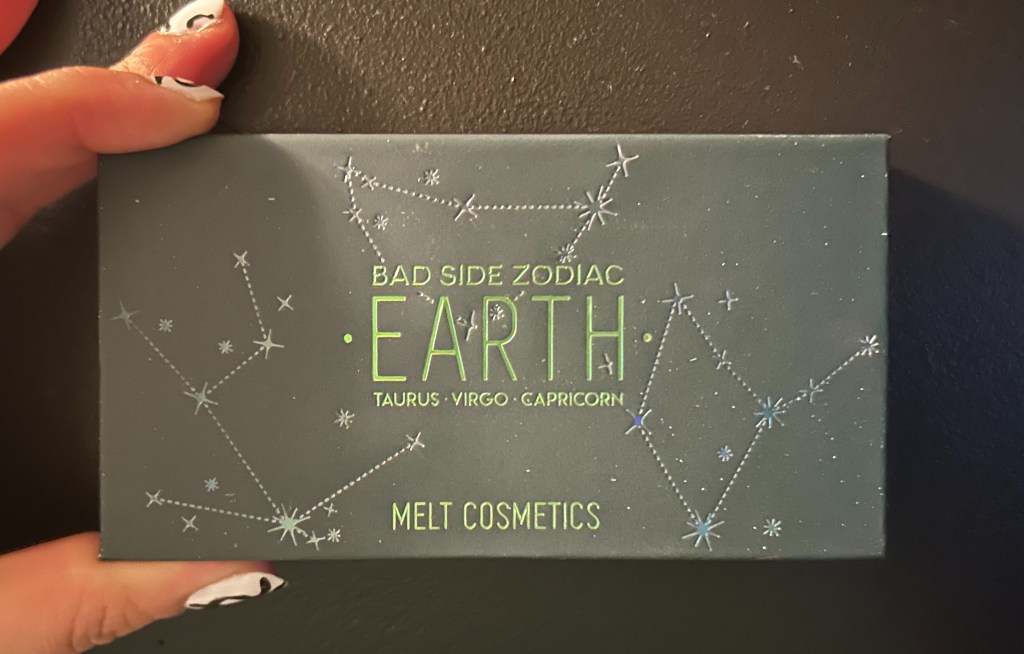
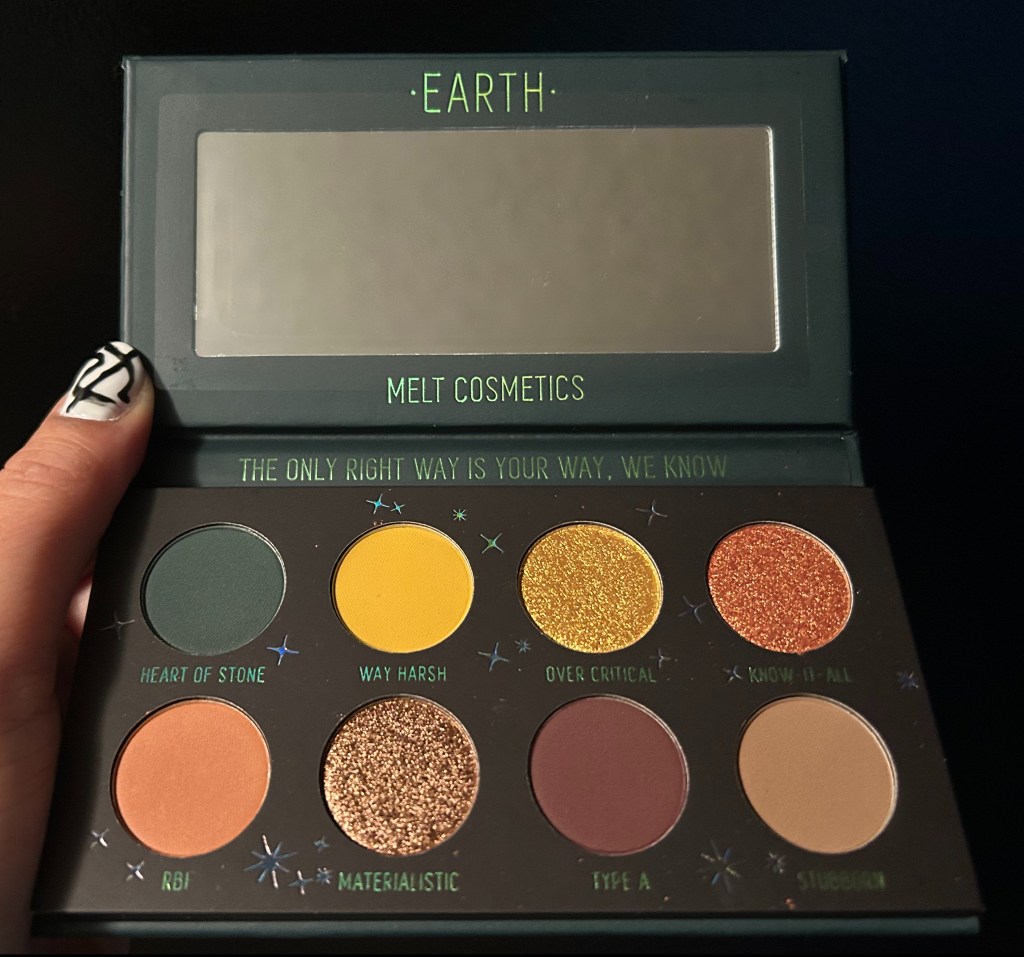
Melt Cosmetics Bad Side Zodiac Earth Signs Palette – As an Earth sign, I have to admit that I was swayed by advertising – because I have every single shade in this palette, in almost every palette I own. The packaging is cute, and I clearly love the color way, but I’ve only used this palette a handful of times, so I’ll need to get more use out of it before I truly pass judgement!
…And the Looks
Graphic Eyeliner
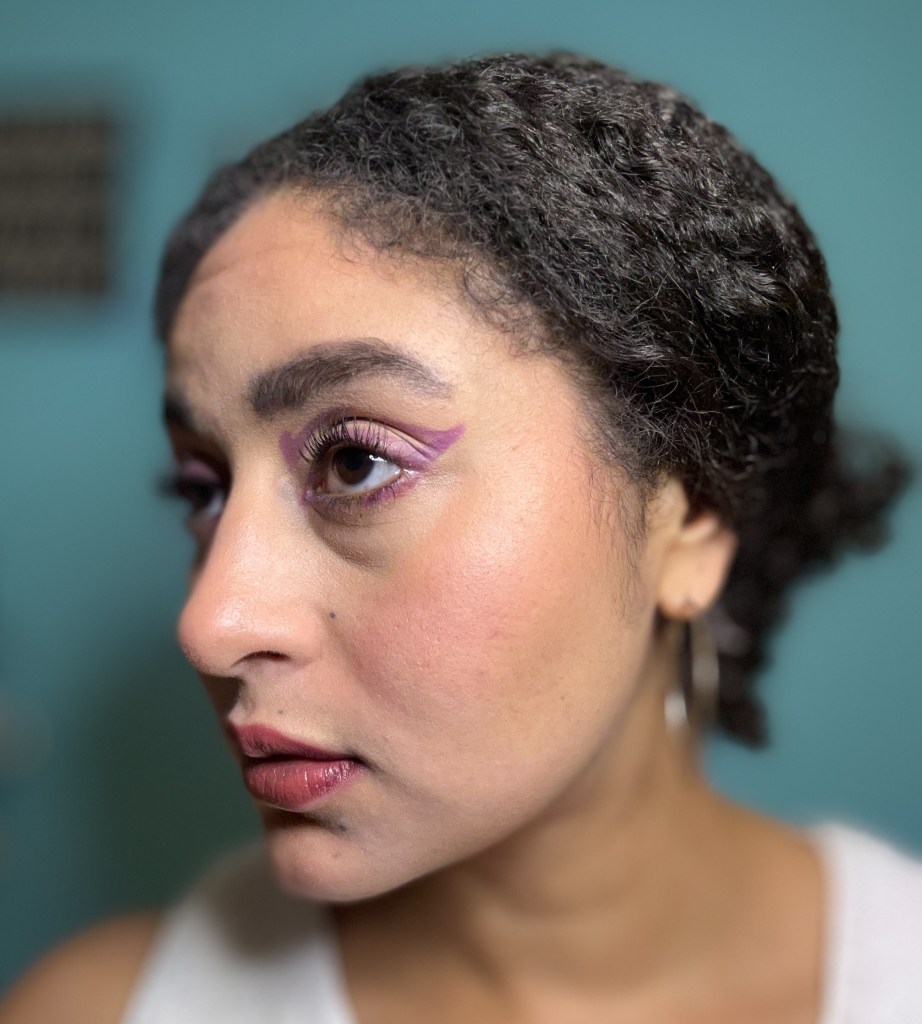
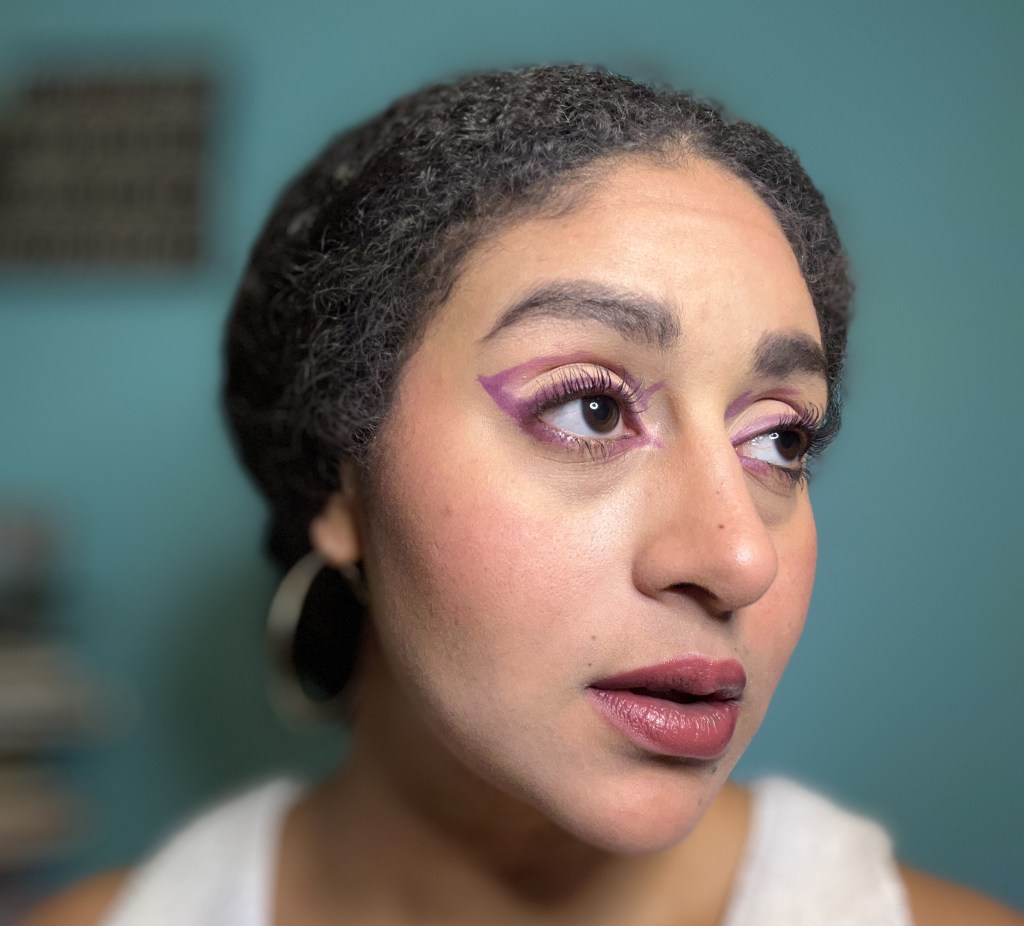
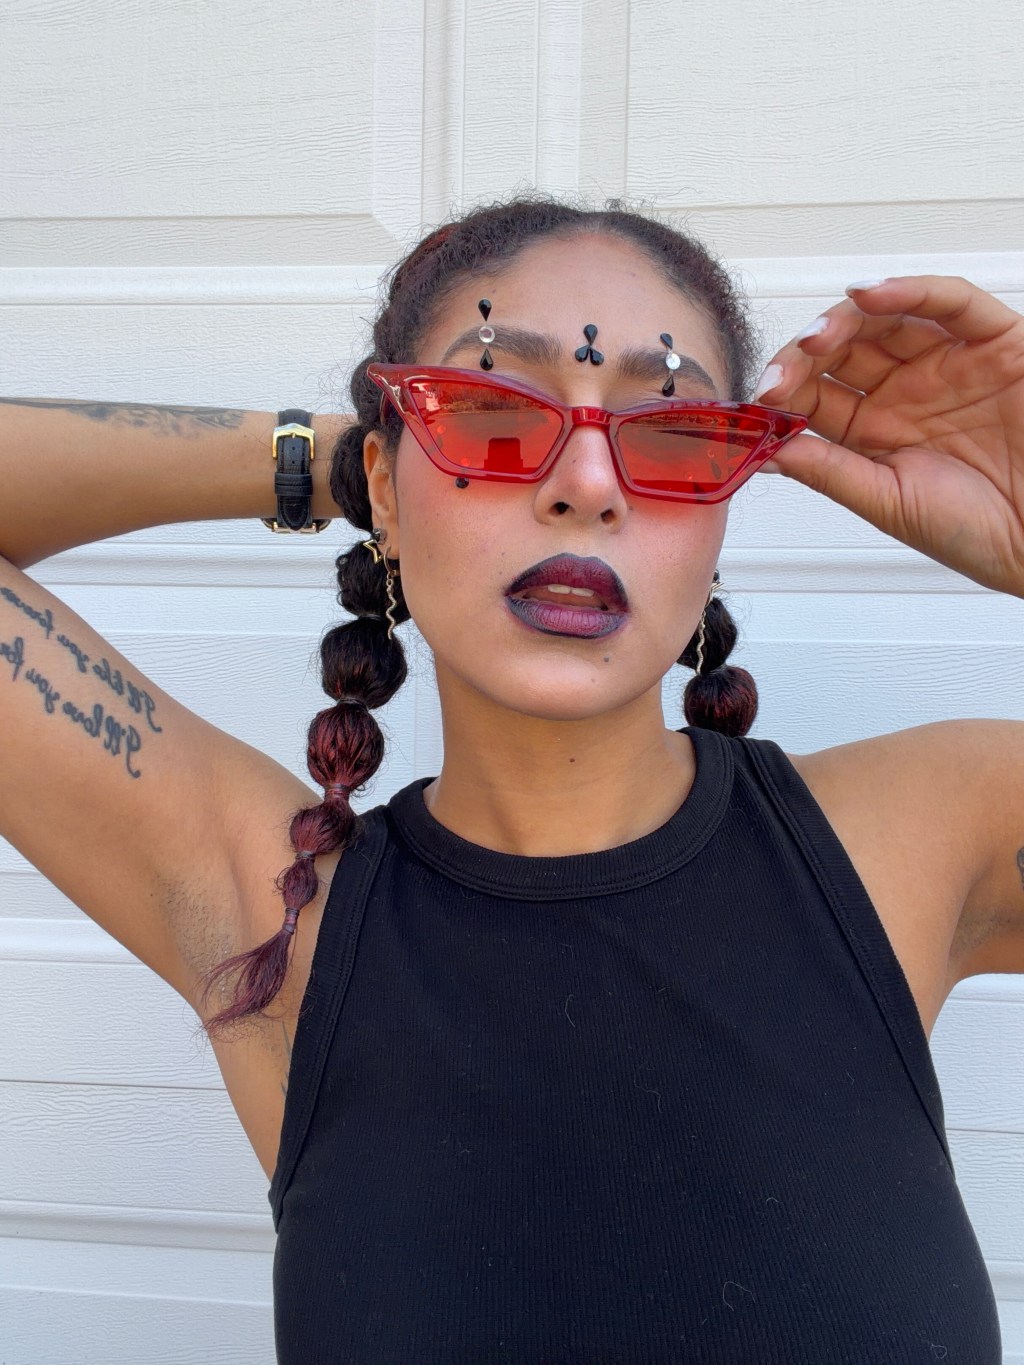
I did two of these looks, one in purple using The Zulu by Juvia’s palette and the Melt Zodiac palette. I tried a new technique for these looks, aka, I was being lazy and didn’t want to create two full face looks. So I started directly into the eye looks, using only concealer as the base. I did the purple look first, and I wish I had put some sort of base color under the purple shadow, as I think it would have popped more. I did more prep work for the yellow look, and I think it came out the best of the two! I’ll definitely be playing with more yellow shades in the spring! To use the eyeshadows in place of eyeliner, I dampened my angled brush using Milk Hydro Grip spray.

Invisible Liner
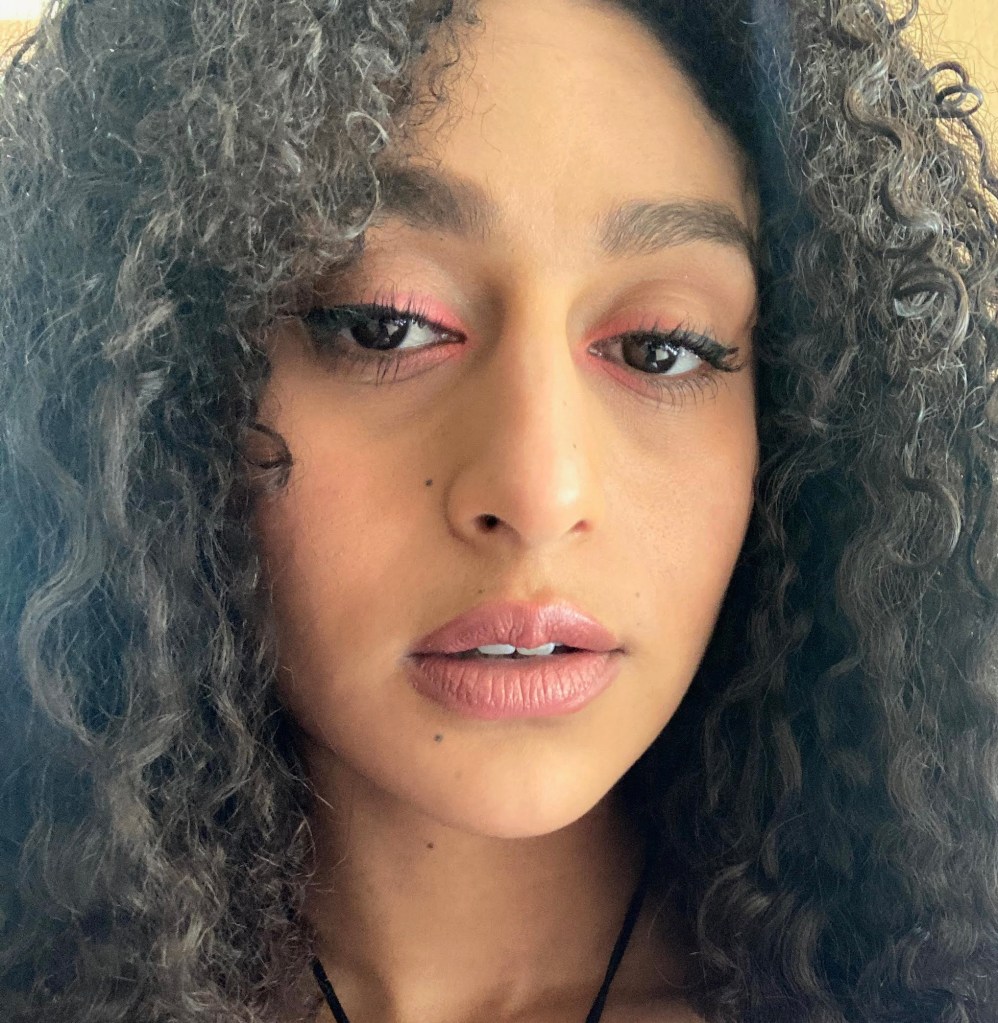
I first saw this look in the Autumn and knew I had to give it a try. I ended up liking it so much that I created it twice – first in the standard gray scale that was shown in the video, and the second time in a pink color way to create the Barbie-inspired Halloween look. The key to creating invisible eyeliner is to create your eye look, and then using a liner brush and micellar water, you remove the shadow in the shape of your winged liner. To make the liner really pop, I’ll use the same brush to fill in the line with concealer, and add a beige or white shadow on top.

Slavic Winter Look
Inspired by this winter’s “cold girl makeup” trend, I created this makeup look to evoke the feelings of a winter wonderland! I started with my full base, detailed in this post, and then used the Pony Effect That Girl Fever eyeshadow palette white shade, the Urban Decay 24/7 Glide-On Eye Pencil in shade “Yeyo”, a very subtle blue shade to line my bottom lashes, and the BADGal BANG! mascara.


Martini Makeup
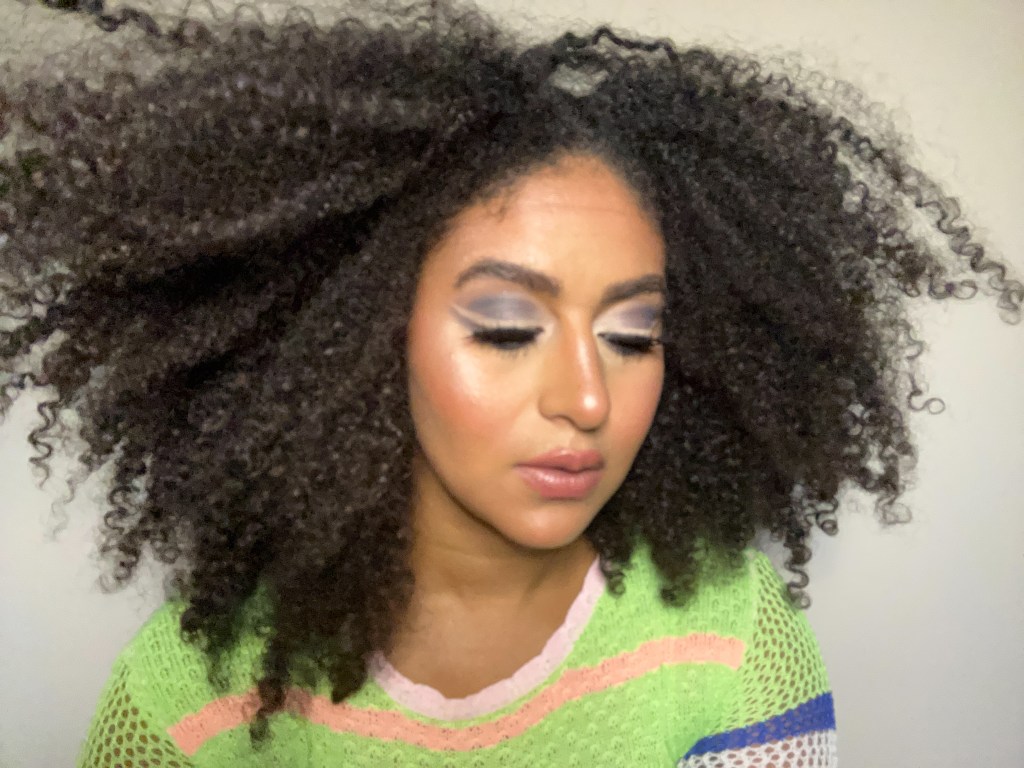
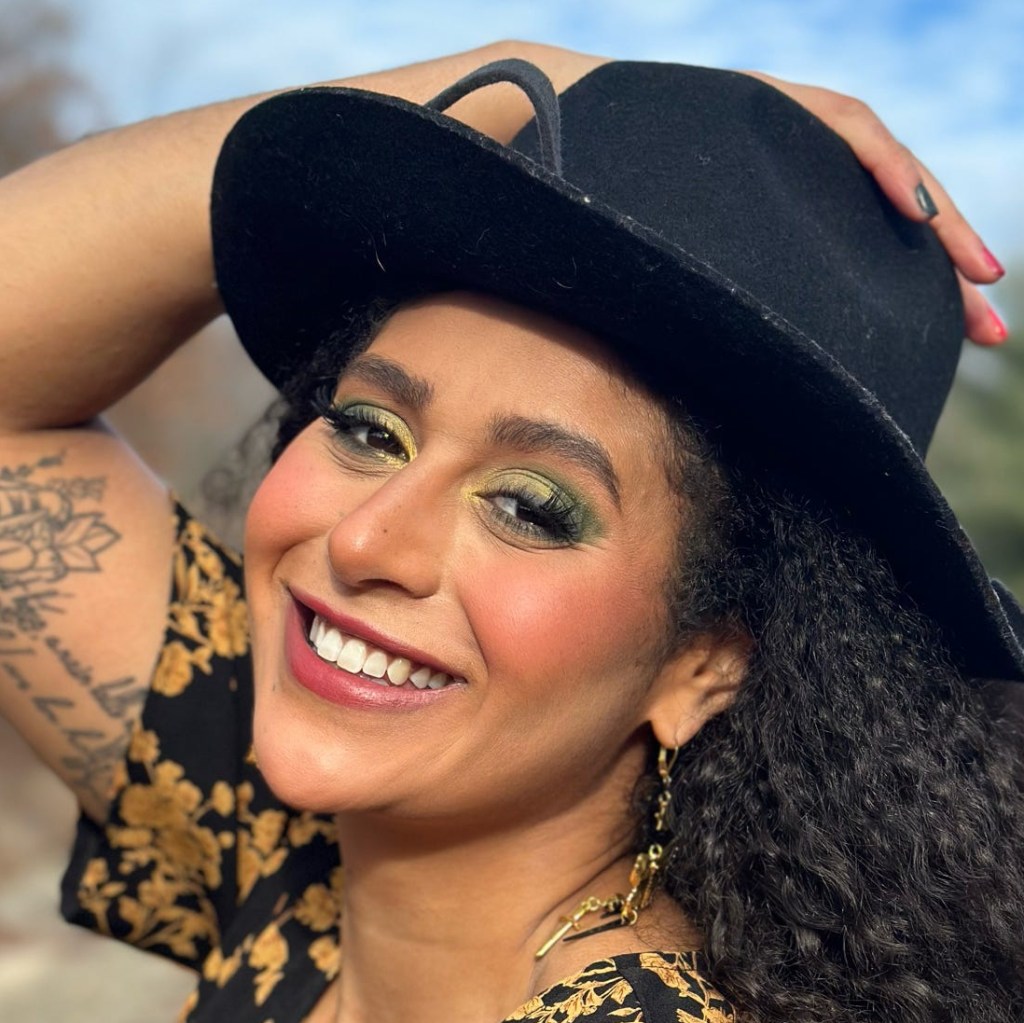
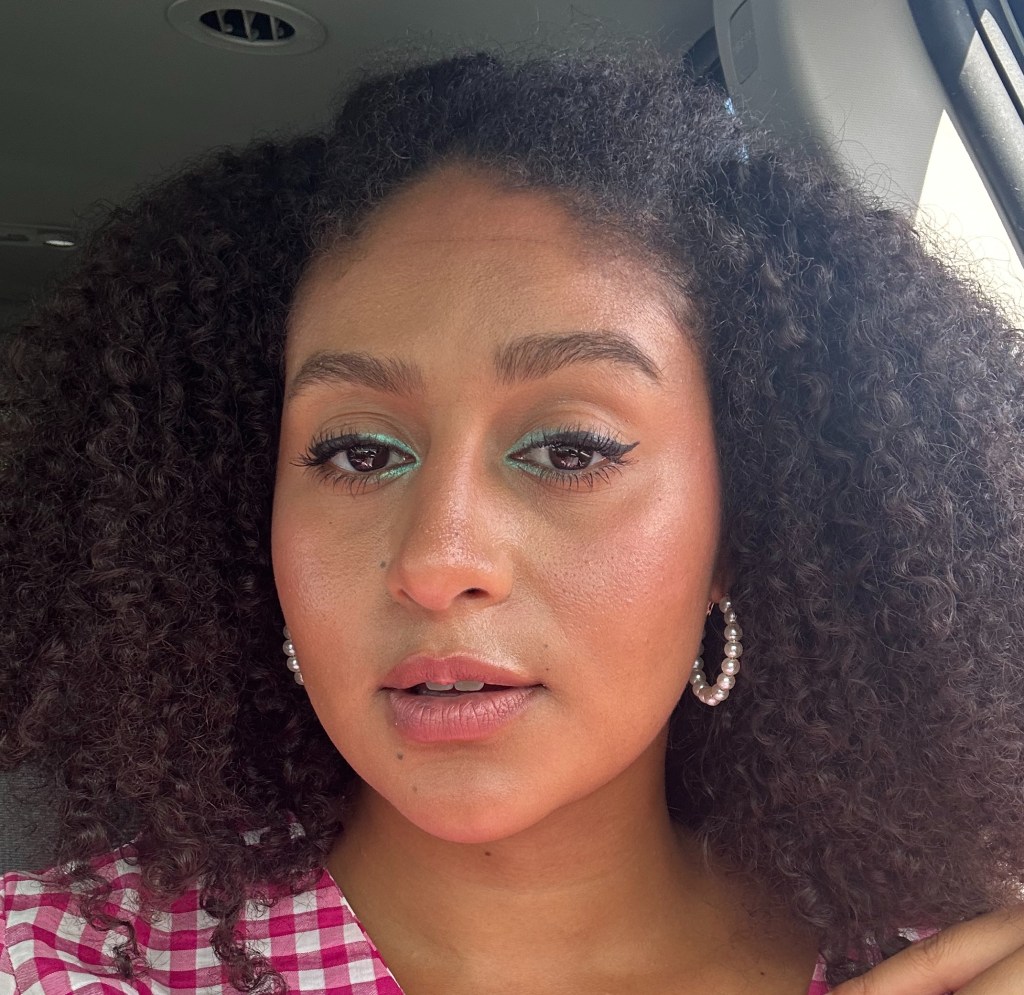
This is a makeup look that is trending currently, but I actually did a photo shoot with this look two years ago! This time around, I used the the Melt Zodiac and Profusion Cosmetics Emeralds palettes, starting with a lighter shade of green and building to a deeper hue. I brightened up the eyelid and inner corner using the gold shade from the Zodiac palette.

Office Siren Makeup
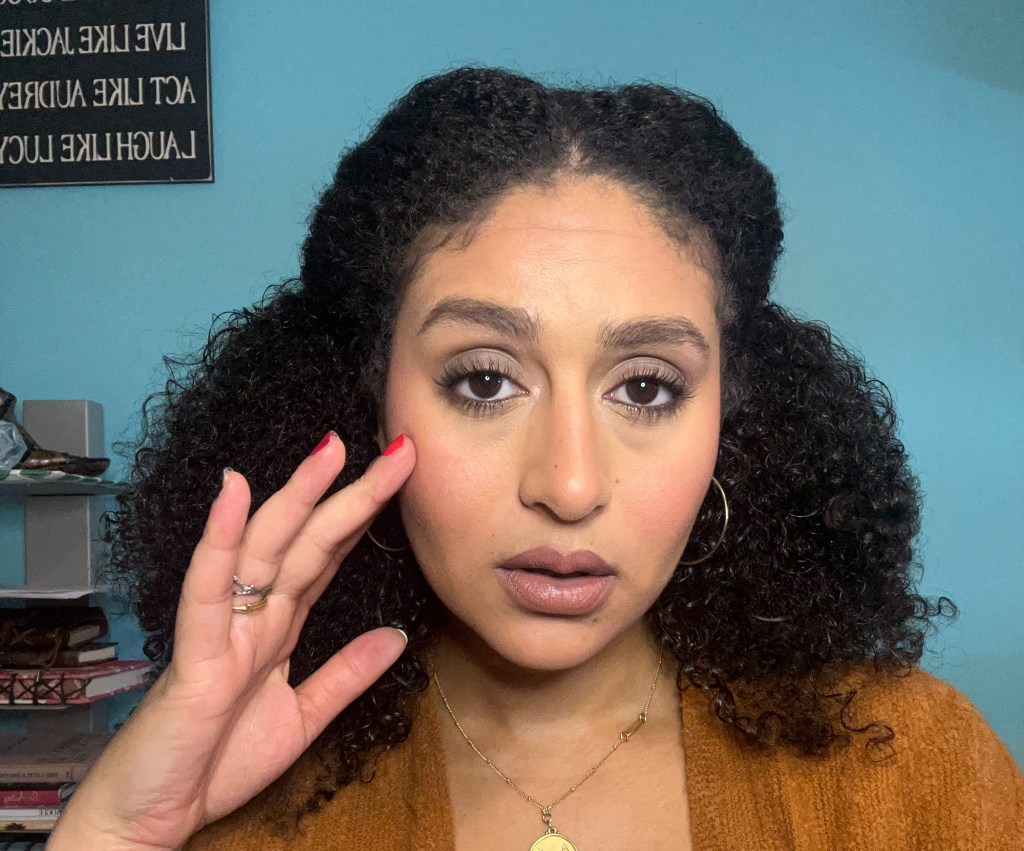
I used the Makeup Revolution Forever Flawless palette mainly, then the pony palette for the white shade but ended up putting something else on top of that. Using a blend of a gray-ish brown and a beige-brown, I swiped the shadows across the entire lid of the eye and up into the crease using a fluffy brush. As I apply, I’m also using the brush to blend and diffuse the shadow. Next use a white or champagne shade of beige as a highlighter shade under the brow bone. Finish up by tight lining the entire eye, using a dark brown or black eyeliner. Finish with mascara and your eyebrow preference.

Highlighter Eye Makeup
I started wearing this look years ago, inspired by a look on Kylie Jenner. Essentially, you are creating a highlighting effect by applying a vibrant shade of eyeshadow to the inner corner of your eye, and finish off with a subtle winged eyeliner.
What Do You Think?
What products have you tried recently? I’m always on the hunt for the “next best product,” and I’d love to hear the products you swear by! I’ll be back next week discussing all of the ways you can make green makeup work for you and everyday wear – just in time for St. Patrick’s Day!
Have a great rest of your week, and remember to SLAY!


Leave a reply to Ladies Night at Renee’s Resale Boutique! – We Aim To Slay Cancel reply