I don’t know about you, but I hate how my hands look when my nails are unpainted. There’s something about a manicure – even an aged manicure – that just says “My look is complete from head to toe.” But, as prices continue to rise, it’s become too expensive to get a professional manicure done every 3 to 4 weeks.
This past summer I encountered the most fascinating Instagram ad for an at home gel manicure system – Le Mini Macaron! According to their website, co-founder Christina Kao developed the system in 2015 because they wanted to “create an easy, inexpensive at-home gel manicure that gives everyone the freedom to do their nails when and where they want, without breaking the bank.”
BACKGROUND
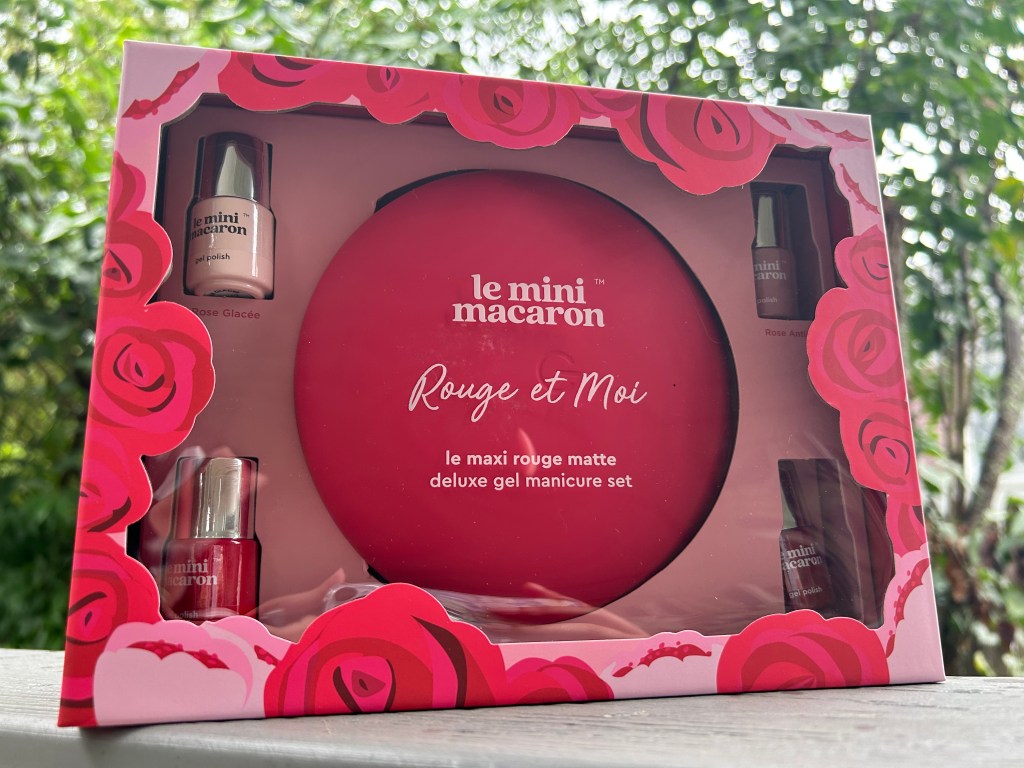
A typical Le Mini Macaron Gel Kit includes the polish and a matching mini UV lamp, a cuticle pusher that doubles as an edge cleaner, two manicure prep pads, and ten remover wraps. The name, Le Mini Macaron, stems from the fact that the mini lamp is shaped and approximately the size of a macaron – adorable, right?
The thought process behind the manicure kits is that you can plug in this USB mini UV lamp to quickly and effectively paint your nails at home or even on the go! I haven’t tried one of their mini lamps, so I’m curious if anyone has and what their experience has been!
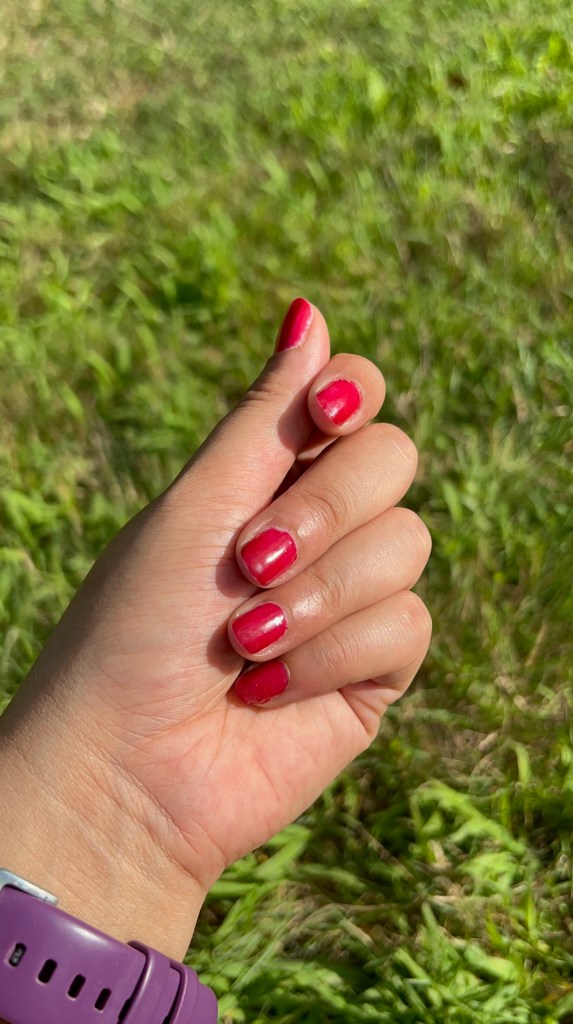
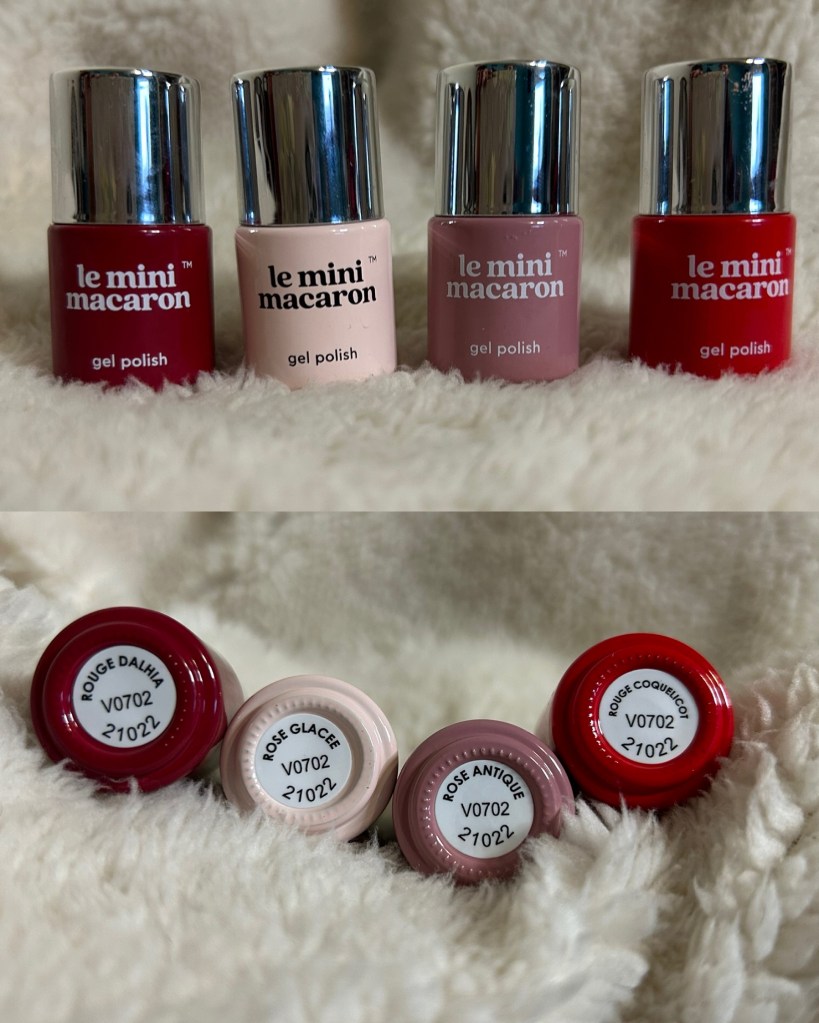
I bought the Maxi Rouge & Moi collection, so my set came with a larger lamp that can fit my entire hand, and four mini bottles of polish in the shades Rouge Dahlia (a burgundy), Rose Glacee (a baby pink), Rose Antique (a mauve-ish nude), and Rouge Coquelicot (a true red).
WHAT I THINK
I love the overall aesthetic and concept – such cute packaging and a super cute idea for the lamps. And they’re correct – it is super easy, and you don’t even need to stress about a base or top coat of polish unless you want to; I happen to be one of those people. I purchased the L.M.M Gel Shine Top Coat, but I’ve been using the base (and some shades) from the Beetles Gel Polish my mom is letting me borrow.
The only downsides I’ve encountered is that if you don’t properly prep your nails (i.e., there cannot be a spot of oil on your nail) the polish will begin to separate and won’t apply evenly. I’ve also tried their removal wrap system and I found it to be lackluster. These wraps look similar to the alcohol wipes that are used at a doctors office, except that they are pink and you don’t take out the wipe. Instead, you stick your finger into the wrap, which has convenient little sticky tabs on the back that you use to seal the wrap closed. Maybe I got a bad set of removal wraps, but they have not been my favorite removal method. They do have a removal tool which I love to use to scrape the lifting gel away and as a cuticle pusher. I’m on the hunt for a gel polish removal system that doesn’t wreck my nails in the process, so any suggestions would be greatly appreciated!
Can you use this system to do at home pedicures? I’ve done at least three pedicures with my system, and I think it’s only effective because I have the bigger sized lamp. If you’ve used one of the mini lamps successfully for pedicures, please let me know in the comments section!
COLORS I’VE PURCHASED
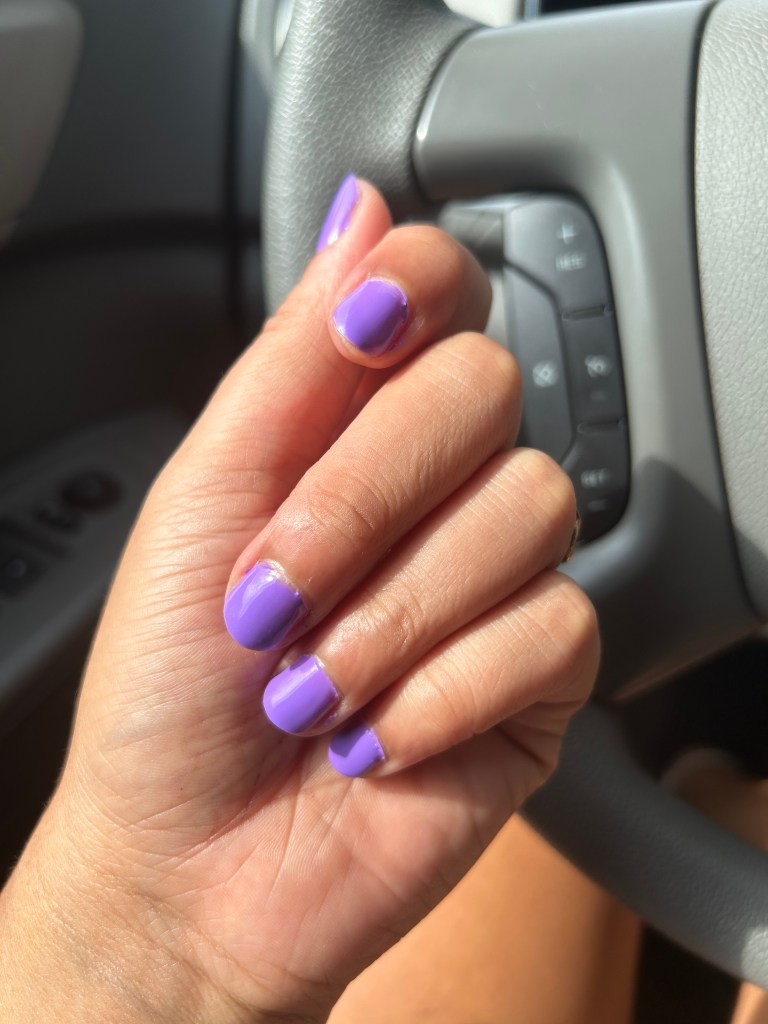
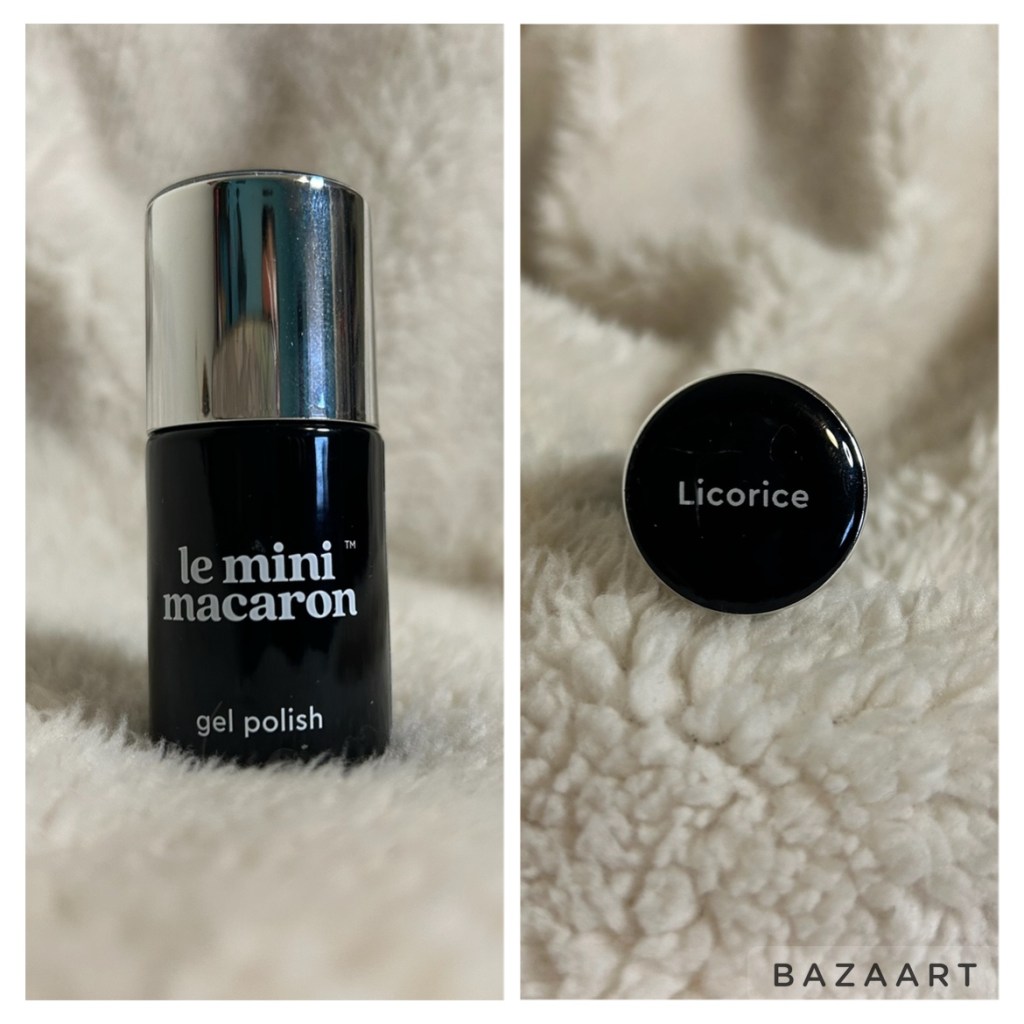
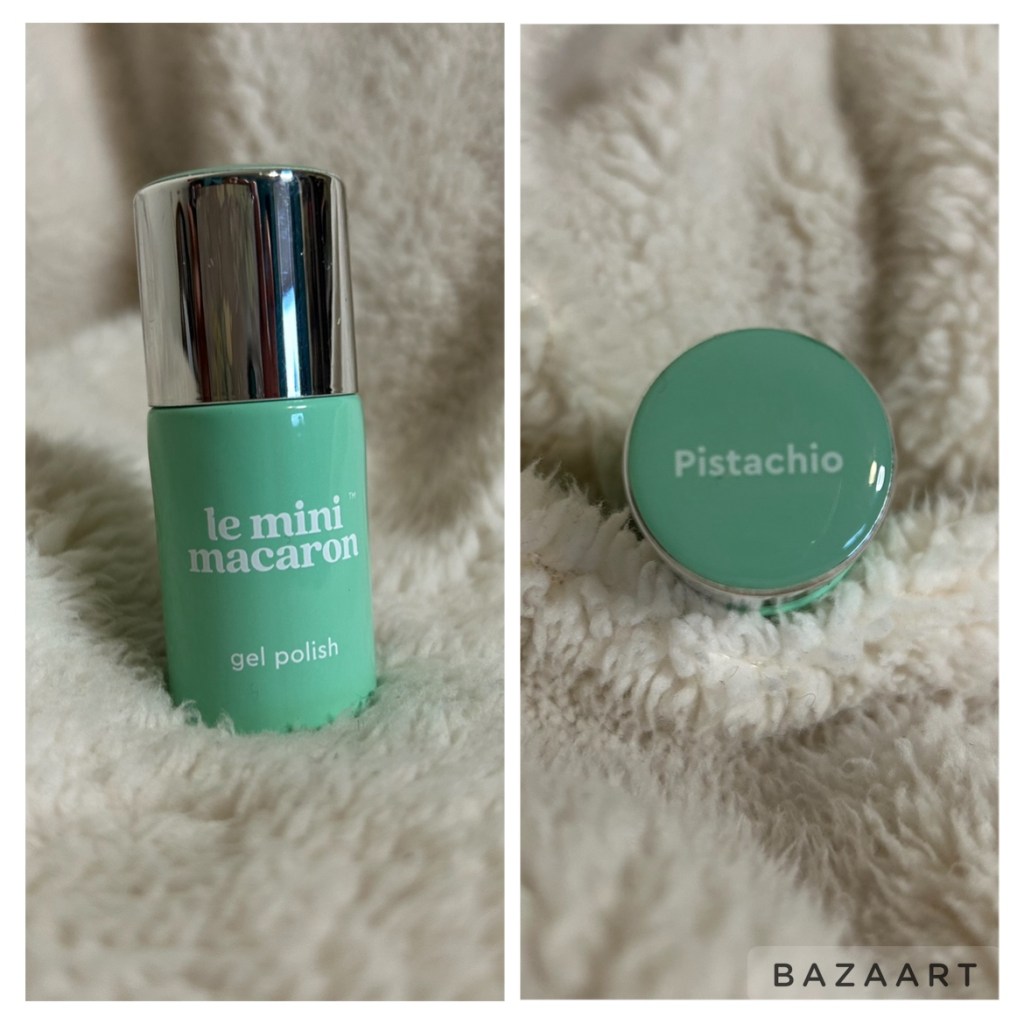
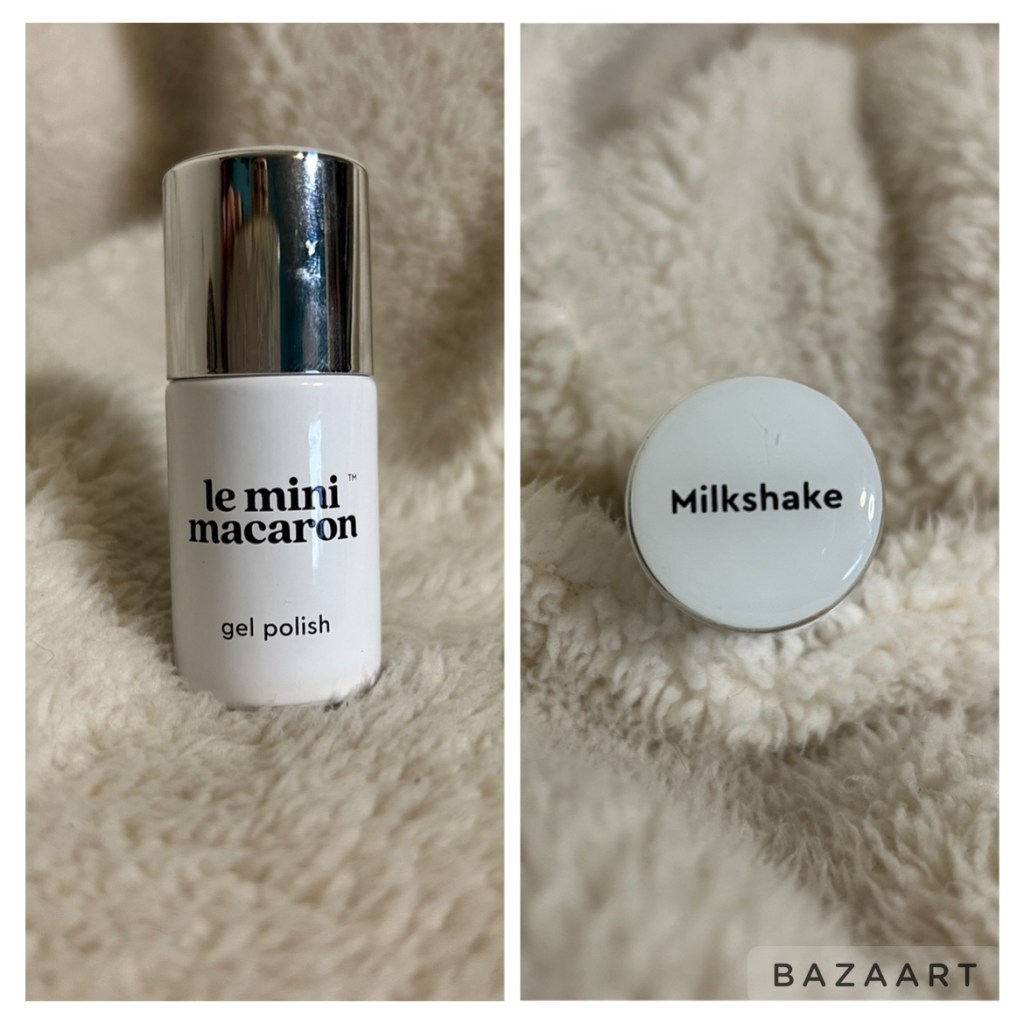
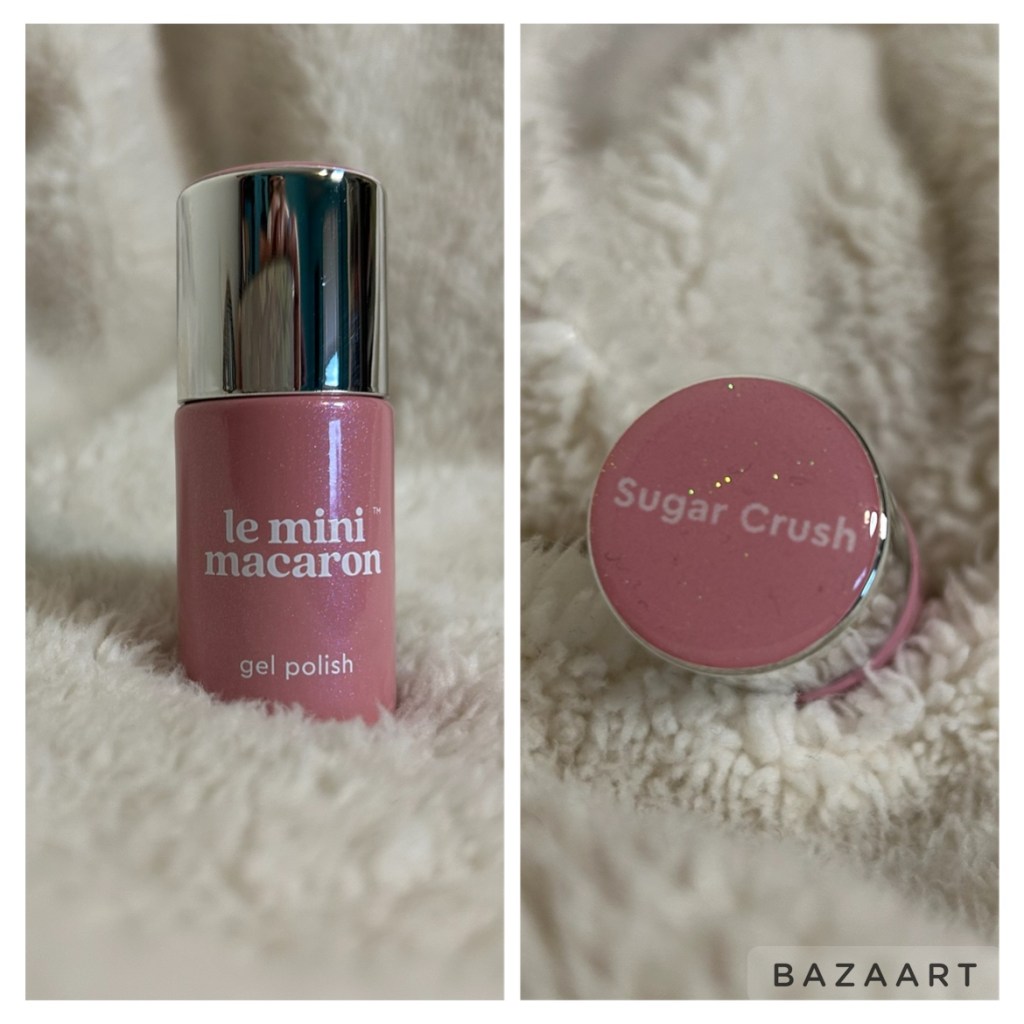
After playing around with the shades that came in the Maxi Rogue & Moi set, I ordered a several more from Ulta Beauty; Licorice (black), Fleur Bleue (a pastel blue), Ultra Violet (a neon purple), Pistachio (a pastel green), Milkshake (white), Sugar Crush (an iridescent and sparkly sheer pink), and the top coat.


LOOKS I’VE CREATED
Since purchasing the Le Mini Macaron system I’ve been able to create some pretty cool looks on myself and some family members. I’ve noticed that precision designs are the hardest for me currently – i.e., when I tried to create the snowflakes – but I’ve had great luck with anything that doesn’t require precise line work. To achieve these nail art looks, I bought the Sally Hansen Nail Salon Pro Tool Kit which includes a dotting tool and two detailing brushes.
A WINTER FRENCH
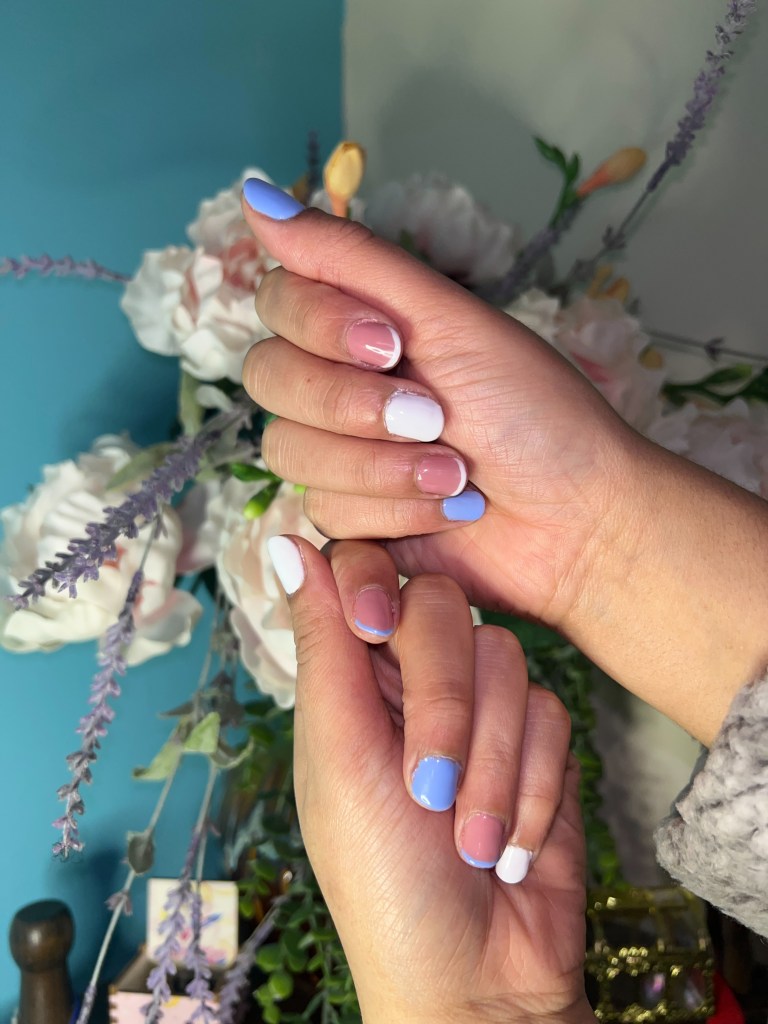
One of my favorite ways to wear many nail polishes at once is to do what I call “yin yang nails” – where I’ll paint one hand one way, and then paint the other hand in the opposite way. For this winter look, I started with the pinkies and thumbs, keeping them each a solid color – Milkshake and Fleur Bleue. For my pointer and ring fingers I used Rose Antique as the base and painted a French tip; for my left hand, the French tips were Fleur Bleue, as was the middle finger. For these three fingers on the opposite hand, the middle finger and French tips were done in Milkshake.
SNOWFLAKES
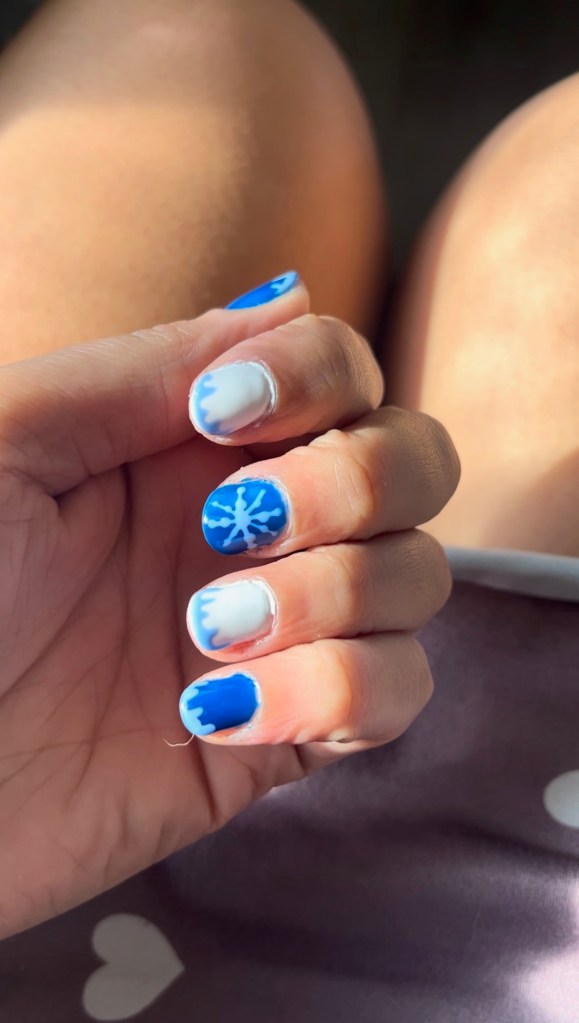
Creating these snowflakes was actually a lot harder than I thought it would be! I’ve only tried them once, but I hope to give them another go before the end of this winter. I started by painting bases in shades Milkshake and a dark blue shade from the Beetles set. Then I went in with my dotting tool to create little icicle drips in place of French tips, in the shade Fleur Bleue. To create the snowflakes, I watched a video that suggested painting dots and then connecting them with the lines, but this was messy because my hand was shaking. On the other hand I also started with the dots, but I drew on the lines in the opposite direction and I’m not sure I liked either hand. This is a design that I’ll need to practice several more times!
ZIG-ZAG PATTERN
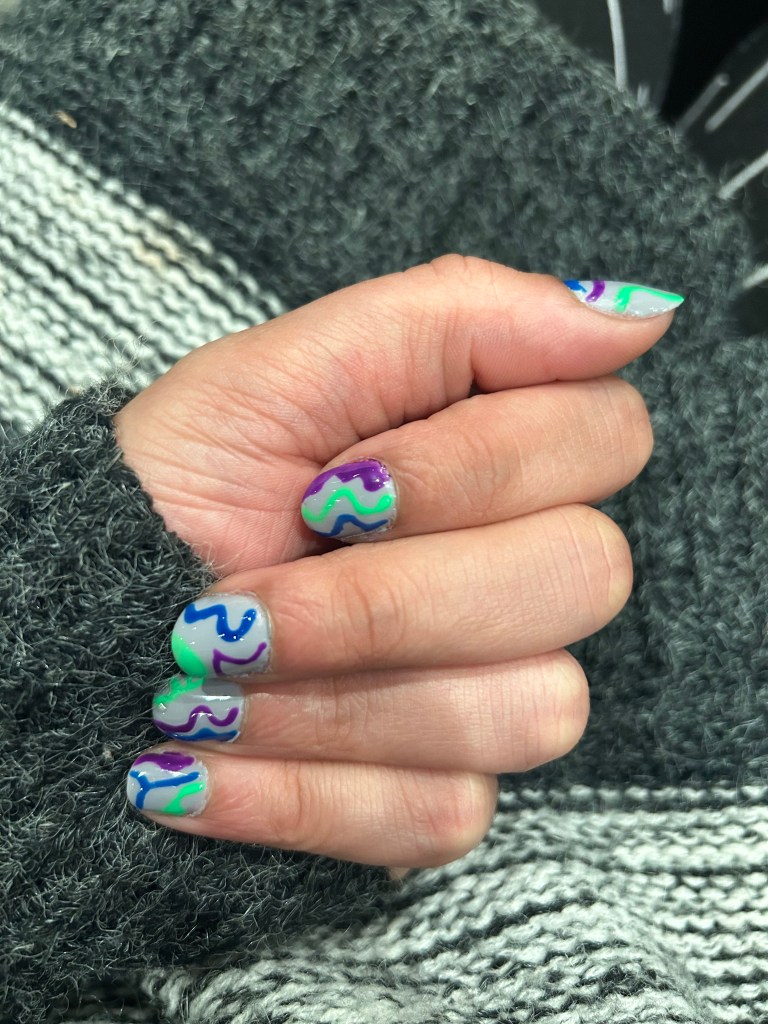
I used the Beetles set to create this geometric look. I started with a dark gray base, and used the dark blue, a purple, and a neon green to add zig-zagging lines across the nail. These geometric lines and shapes are one of my favorite, quick and easy designs – I highly recommend it if you’re learning how to do your own nail art!
I tried this design again with the Le Mini Macaron set, but I had to paint it twice because the first set peeled off really quickly – clearly I didn’t prep my nails properly. Both times I used Milkshake as my base and created the zig-zag pattern with my accent color. For the first set, I only used Licorice, and for the second set I started with the gray from the Beetles set and layered Licorice on top of that!
GOLDEN STARS
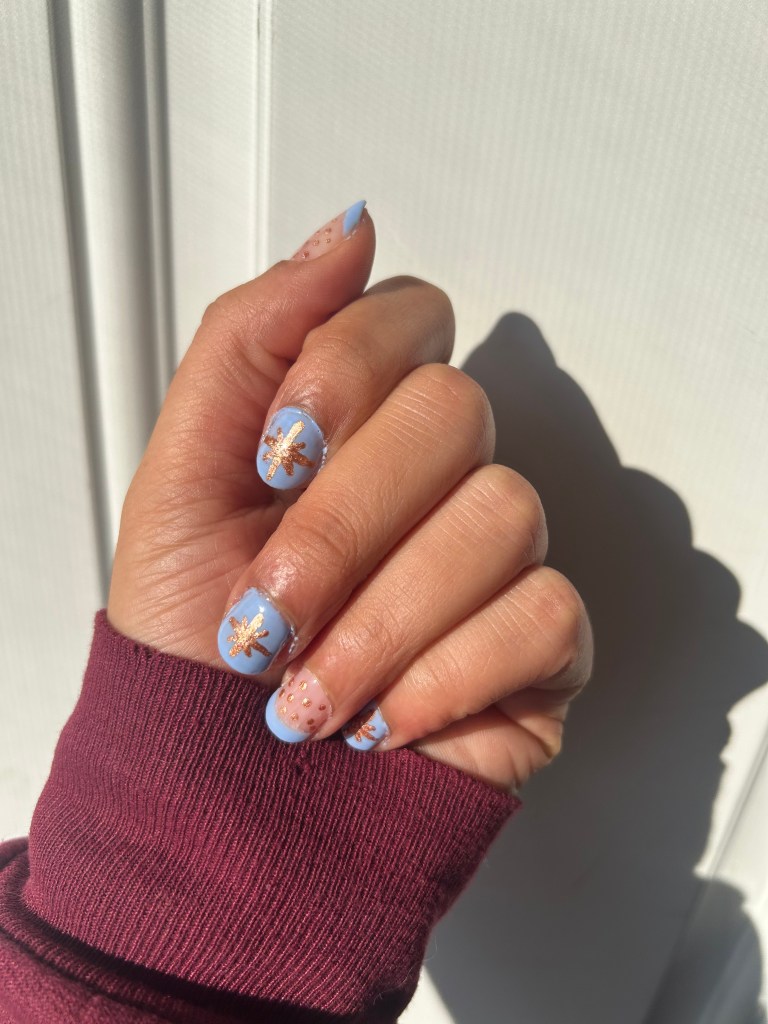
This was another set that I had to do twice because they peeled off. I used Fleur Blue for the solid nails and for the French tips. This is where I think I messed up – I used a regular polish (a non-gel) to do these stars and dots. Also, I didn’t use a base coat or a nude base polish, I just painted these dots directly onto my nails. I don’t think I gave them enough time to dry before trying to seal them in with a gel top coat, and the whole look just peeled off. I’m also still working on sealing the edges of the nails without allowing the polish to clump or stick to my cuticles.
FRANKENSTEIN’ S MONSTER
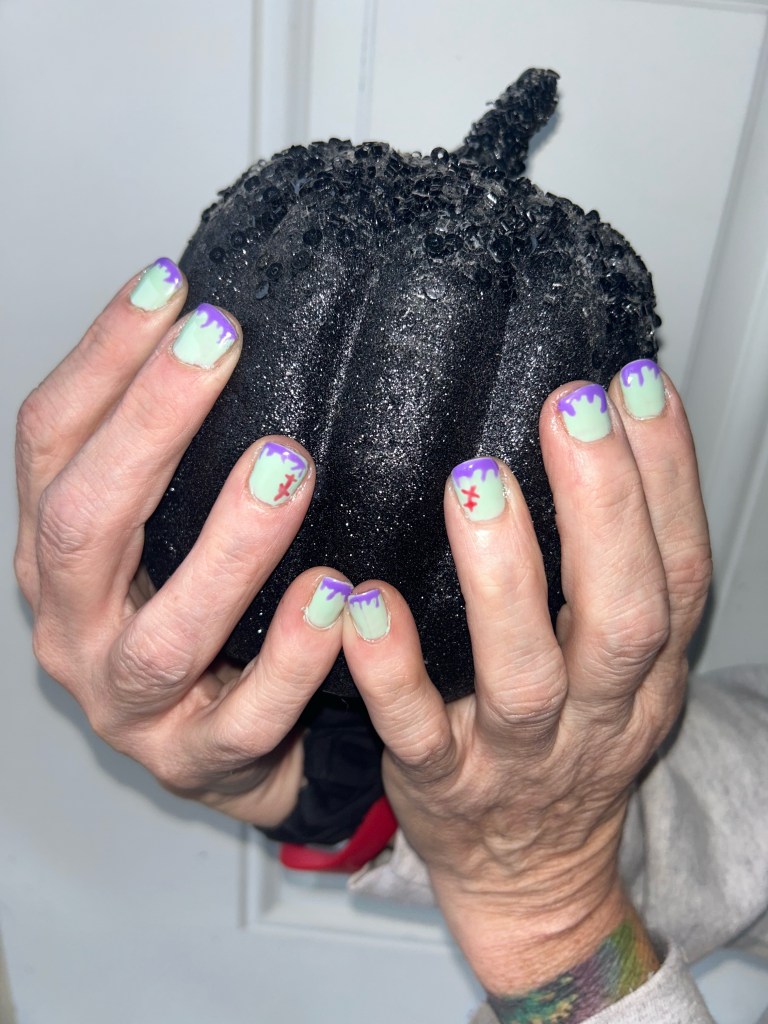
Around Halloween time my mom asked me to create this super fun Halloween look, inspired by Frankenstein’s Monster! I started with Pistachio as my base, and used the dotting tool to create the Monster’s hair using Ultra Violet. Then I created little stitches using Rouge Coquelicot and a detailing brush.
PINK WITH FLOWERS

This was an instance when I just wanted to use as many colors as possible. I used Rose Glacee as my base shade, Pistachio as the flower stems on my middle fingers, and a combination of Fleur Bleue, Ultra Violet, Rouge Dahlia, and Pistachio for my flowers. To create the flowers, I used the larger end of the dotting tool to dot the center of the flower, and the smaller end of the dotting tool to place little dots all around the central dot. I will definitely be trying this design again once spring has come back!
RED ACCENTS ON NEUTRAL
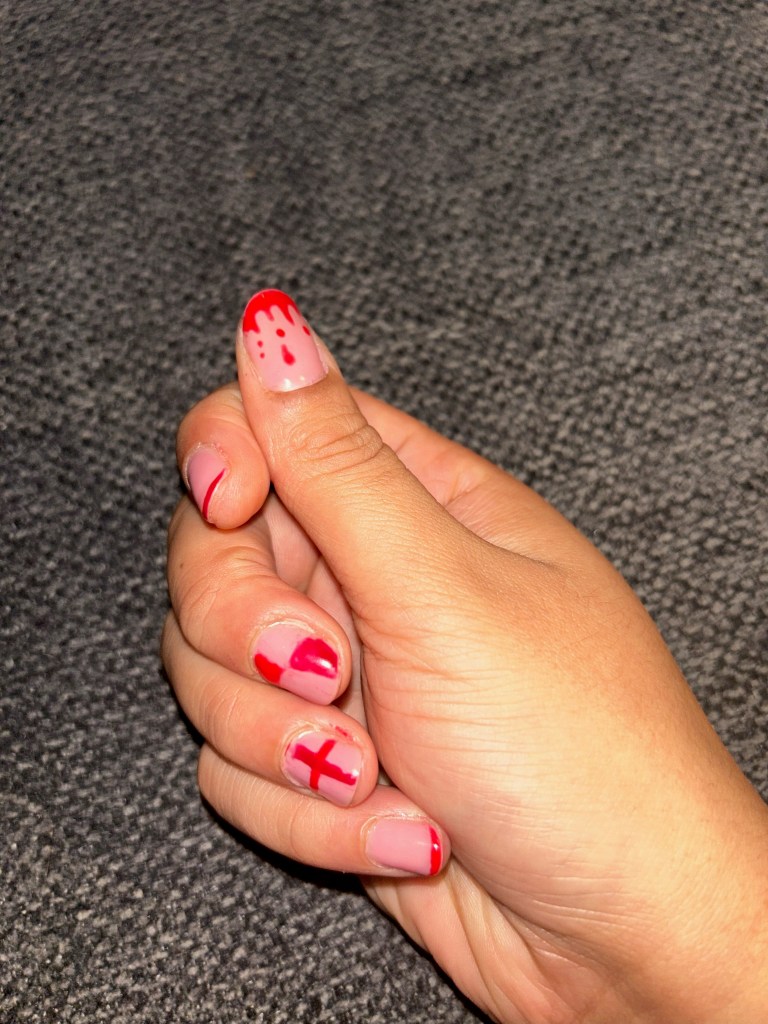
Here I was testing different design ideas, including using strips of tape to help achieve straight lines – not my favorite technique. I used Rose Antique as my base, and Rouge Dahlia and Rouge Coquelicot as my detail colors. I practiced the tape and detailing brushes to create a checkered look, an off-centered line work design, and French tips, and the dripping technique using the dotting tool.
VALENTINE’S FRENCH
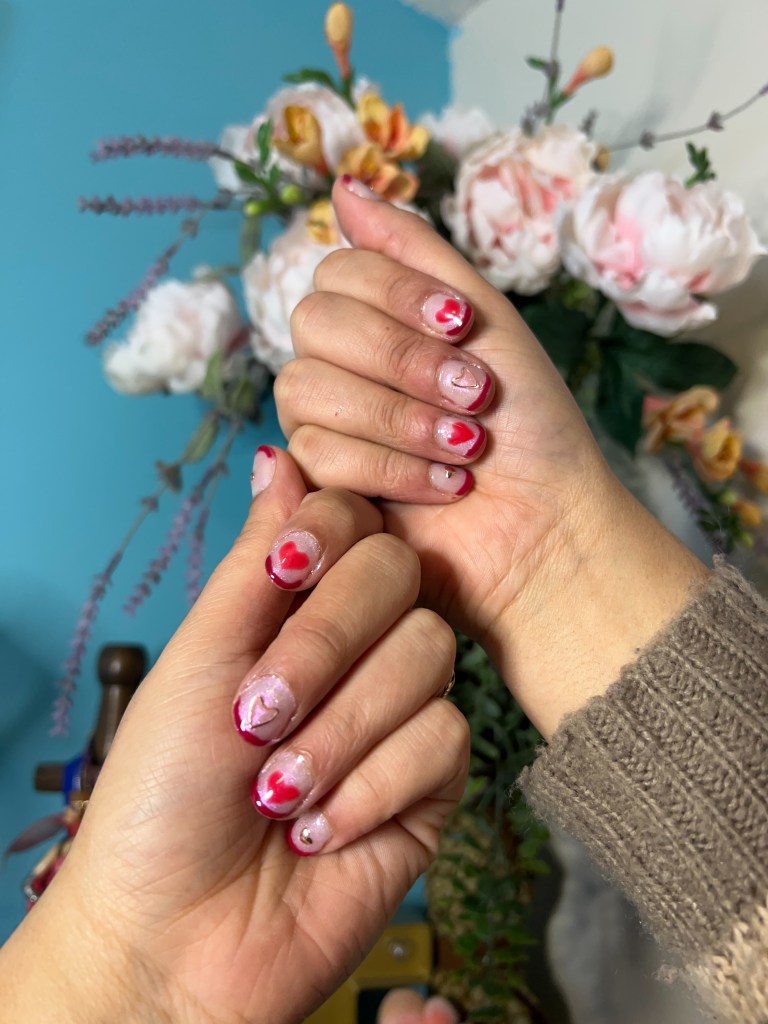
I just got the pink shade, Sugar Crush, and was so excited to test it out with a Valentine’s Day inspired French! I used the pink as my base, and used Rouge Dahlia as my French tip, with Rouge Coquelicot as the little heart design on my ring and pointer fingers. Recently, Hubby gifted me a set of manicure appliqués and I decided to give them a test run! Keeping on theme, I picked little hearts for my thumb and pinky nails, and bigger hearts for my middle finger. I love how the appliqués look on the nails, but I’ll need to practice using them; after just a week I had already lost the large hearts from my middle finger nails. Having used this pink shade, I will likely paint a base of white or pale pink so the iridescent sheen can really pop!
COLORS I WANT TO BUY NEXT
As I continue to build my LMM polish collection, I want to start branching out into the colors I don’t typically choose – like this warm orange shade called Mango, this deep green called Emerald Green, and this rich shade of brown called Creme de Chocolat.
Have you tried an at home nail system? Or, do you prefer the salon for the overall experience? Let me know your thoughts in the comments section!
I’ll be back next week to share four looks that will help you channel Valentine’s Day all day long! Have a great rest of your week, and remember to SLAY!


Leave a reply to How I Maintain Camera Ready Nails – We Aim To Slay Cancel reply