
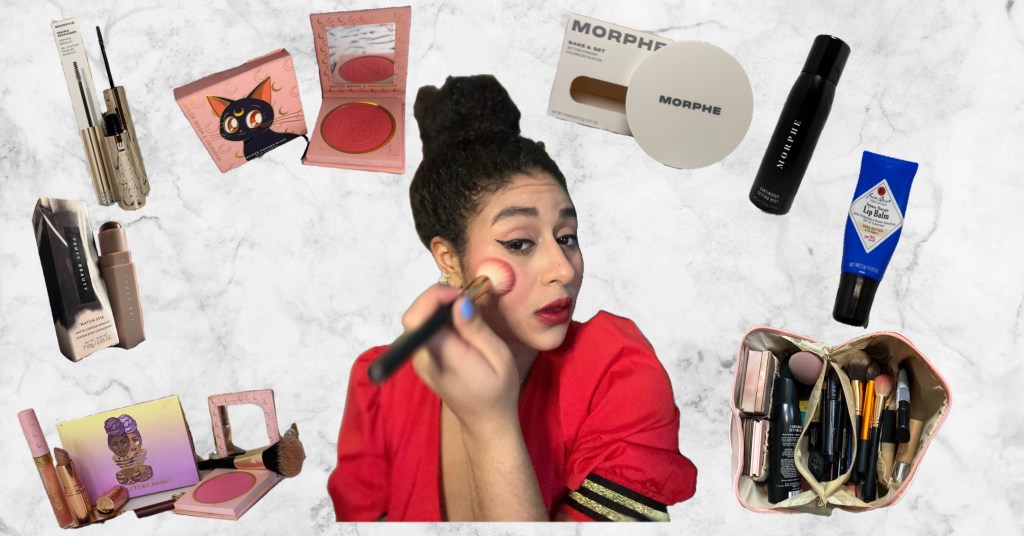
Tomorrow is American Independence Day, and to celebrate I decided to channel the red-white-and-blue through my makeup!
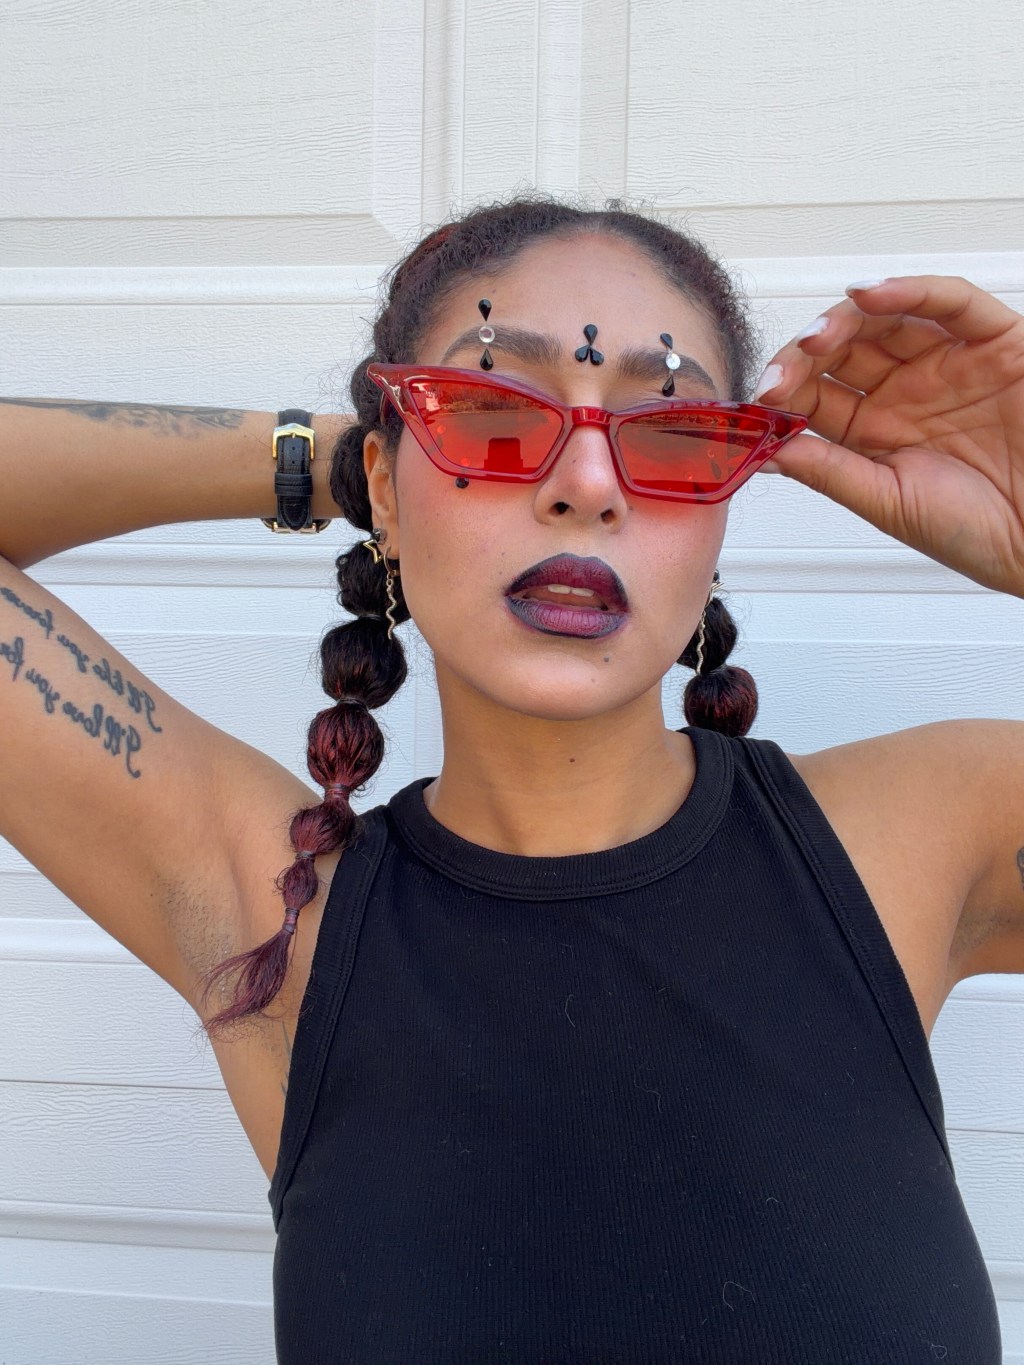
I wanted to create a look that I would actually wear out in public, so, before I even picked up a brush I knew I was going to finish off this look with a red lip – a matte one, in fact, so it wouldn’t slide around as I’m enjoying a family barbecue or watching fireworks light up the night sky!

I began by prepping my skin – washing my face, then applying eye cream and moisturizer. My face-washing routine and favorite skin care products will be available on We Aim To Slay soon!

After washing my face, I applied a generous amount of the “Formula 10.0.6 Seriously Shine Free Mattifying Oil-Free Moisturizer with aloe vera and bamboo.” Even though this is a moisturizer, I like to use it as a primer in the summer. The bamboo extract helps to minimize shine, while the aloe vera soothes and hydrates!
I had previously reviewed this product in a post about an Ulta haul, which is linked here! And, also coming soon, is a post where I’ll discuss the finite details of how I apply my favorite makeup products!

Next it’s time to conceal the fact that I hardly ever sleep! Currently I’ve been using the “Clinique Beyond Perfecting Super Concealer” in shade Medium 18, which I blend using my ring fingers.
Then I apply my favorite foundation: the “Urban Decay Naked Skin One & Done Hybrid Complexion Perfector” in shade Medium Dark.
With my main base applied, I begin the first round of an uncountable series of blending, starting with the Real Techniques Miracle Complexion Sponge.

Now I set these products with the “Coty Airspun Loose Face Powder” with a Morphe R2 brush.
After I apply the powder all over my face, I use my blending sponge to bake my under eyes. I first mentioned the baking technique in my 2017 New Years Eve Get Ready With Me post. It’s not something that I do frequently, but every time I do I’m impressed.
Next I applied the “Tarte Amazonian Clay 12 Hour Blush” in shade Quirky, and the “Urban Decay Naked Illuminated Shimmering Powder” in shade Aura as highlighter to finish off my base.

Moving to the eye – the focal point of this look – I started by sculpting my eyebrows. To do so I used the “Nyx Wicked Dreams” eyeshadow palette.
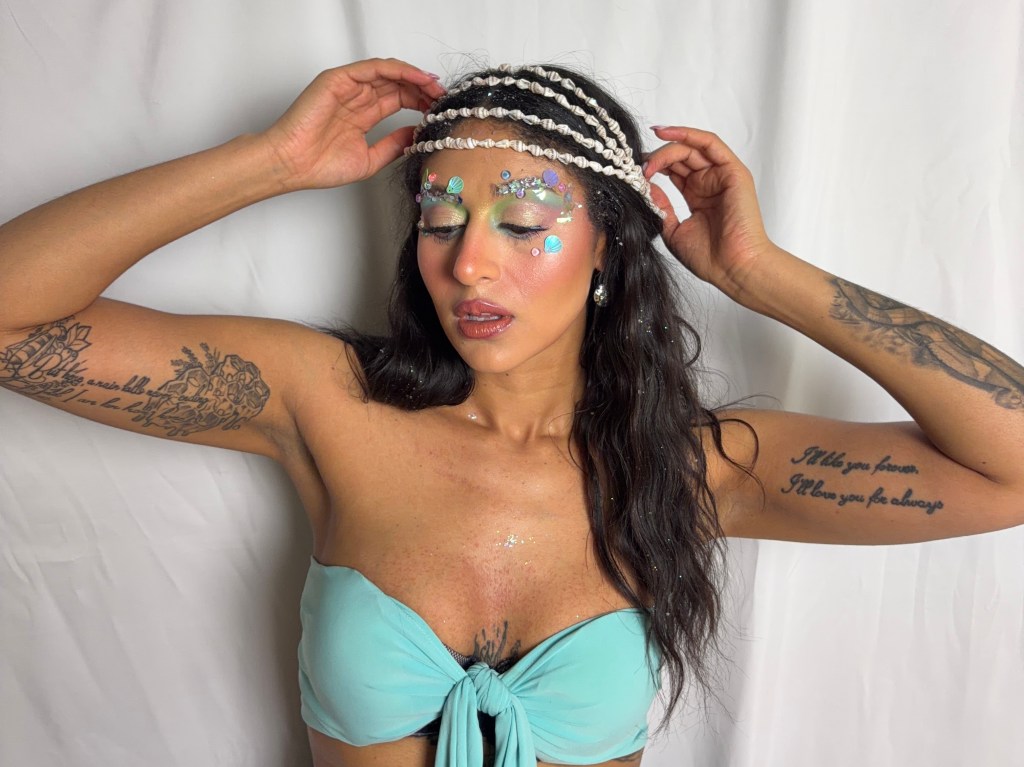
Now the fun begins! To create this blue eyeshadow look I used two shadow palettes – “Kylie Cosmetics Blue Honey” and “Alamar Cosmetics Reina Del Caribe.”
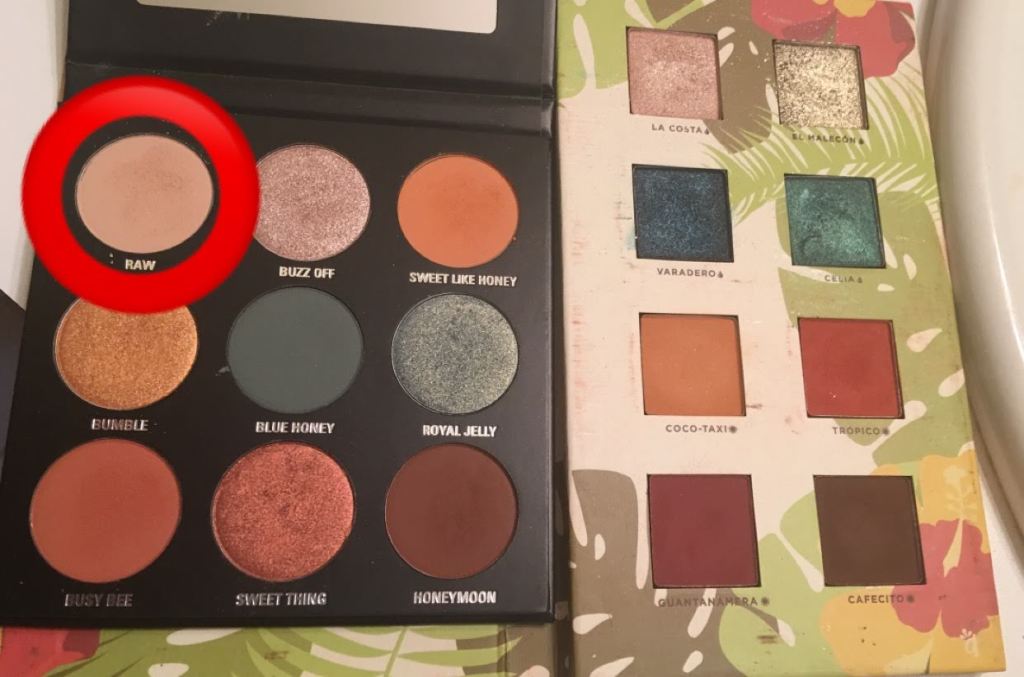


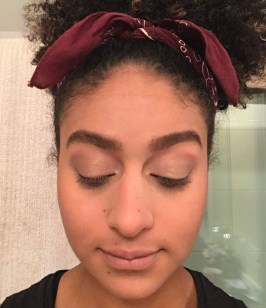
Step one – apply the shade “Raw” from the Kylie palette all over the eye area, from the lash line up under the brow bone. I used a fluffy eyeshadow brush, and it’s the brush I’ll be using for most of this look.
Next I applied the Kylie shade “Buzz Off” as my lid color. This is a shimmery silver color, which will help give the illusion of sparklers and fireworks – pretty festive, right?
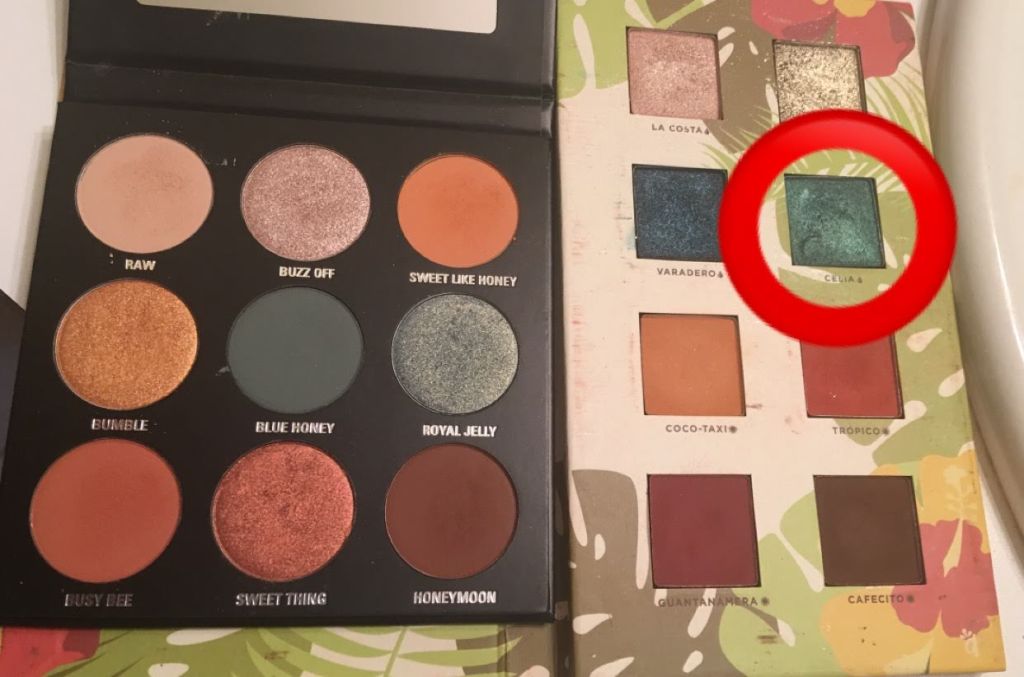
On to the color of the hour: blue! I used the Alamar shade “Celia” to begin carving out my crease and outer corner. This shade is closer to a teal, but eye makeup is like an artist’s gradient scale – color should be built gradually to allow for a buildable depth and shadowy darkness.
Back to blending: this time I’ll be using a fluffy shadow blending brush to smooth the lines between shadow shades.

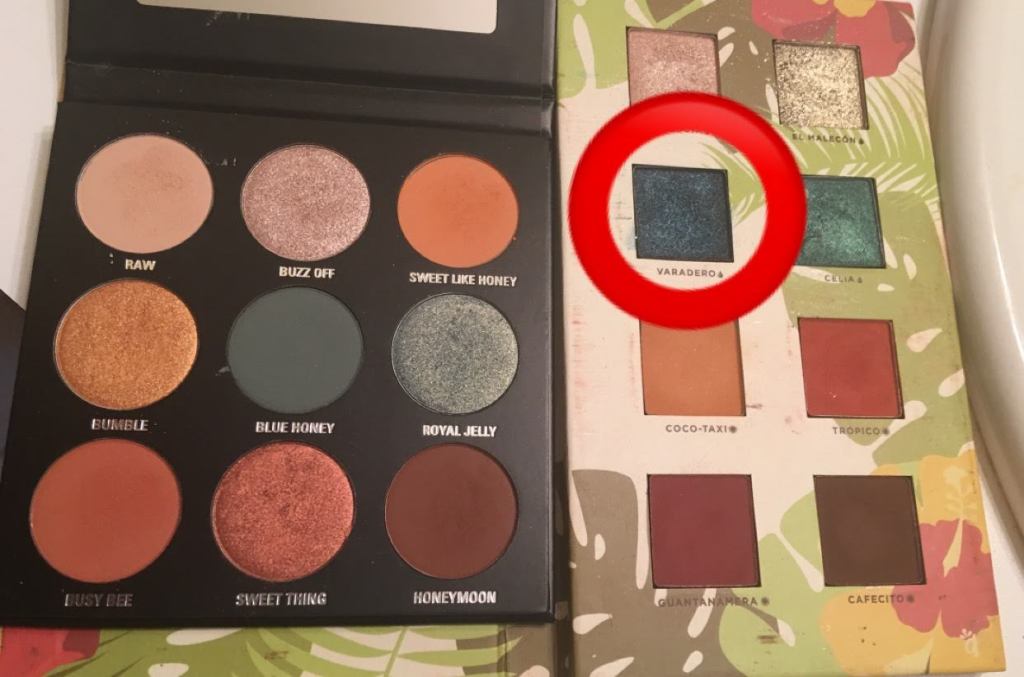
Then I added that shadow and depth by adding the Alamar shade “Varadero” on top of the shade “Celia”. I recommend tapping excess powder off of the brush before applying it to your eye. This will reduce powder fall out, but also allows you to deepen the color little by little for your desired effect. At this point I’ll blend again, and add another layer or two of “Varadero” until I reach my desired shade of blue, blending between layers.
Because I just spent so much time with a dark shade, I’m going to use a flat packing brush to apply another layer of “Buzz Off” to the inner third of my eye (from the inner corner to just over the curve of the eye). Using the same blending brush, I’ll use one side to blend from the inner corner to just over the curve, and then flip the brush and use the other side to blend from the outer corner in, just over the curve.
Using a Nyx B-18 eyebrow brush, I lined my bottom lash line in the shade “Varadero,” which I brought from the outer corner until my lashes stop being visible. To finish off the eyeshadow, I used the Alamar shade “El Malecon” to highlight my inner corner. I brought this shade out to meet the bottom liner shade.

To finish the eye, I applied the “Maybelline Master Precise All Day Liquid Liner” in black to the top liner, bringing the line out into a wing. And, I topped it off with the “Maybelline Lash Stiletto Ultimate Length” waterproof mascara in black.
To complete the look, I lined my lips with the “Urban Decay 24/7 Glide-On Lip Pencil” in shade Uptight, and went over that with the “NARS Velvet Matte Lip Crayon” in shade “Cruela.”
And there you have it, a fun and barbecue-approved, 4th of July makeup look! If you give this or a similar look a try, post it on Instagram with the hashtag #WeAimToSlay, so that I can see what you create! Happy Independence Day, and remember to SLAY!


Leave a reply to How I Apply My Makeup – We Aim To Slay Cancel reply