
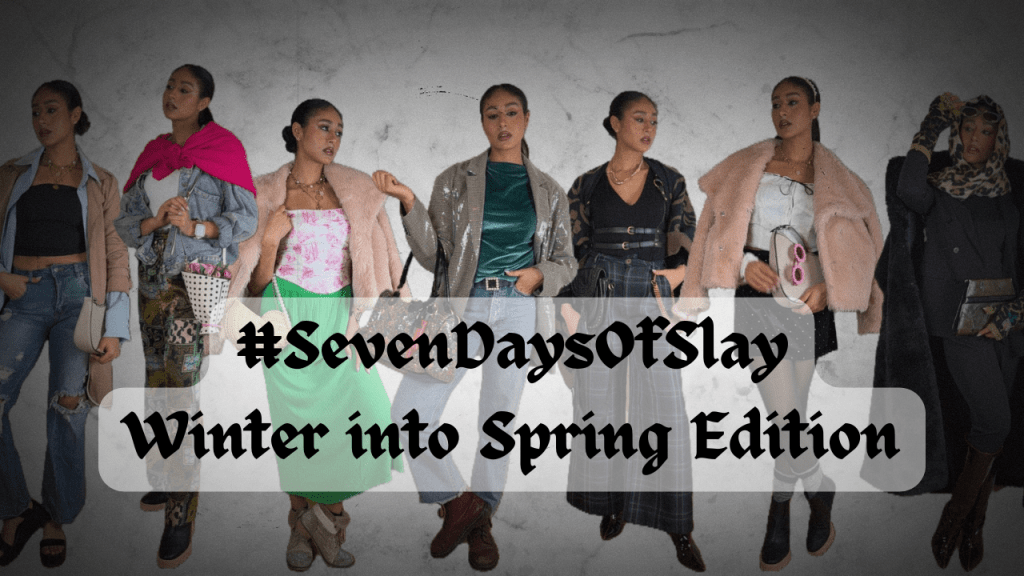
One of my New Year’s resolutions was styling my hair in more creative ways – and this week I’m going to showcase some of my ‘dos and how I created them!
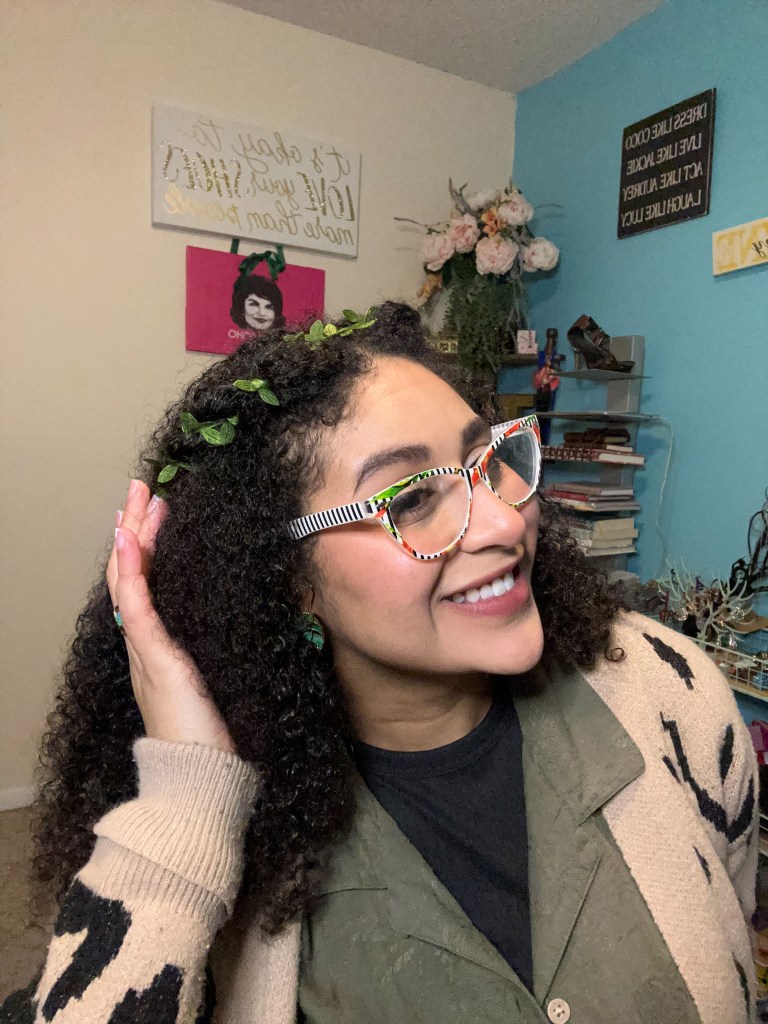
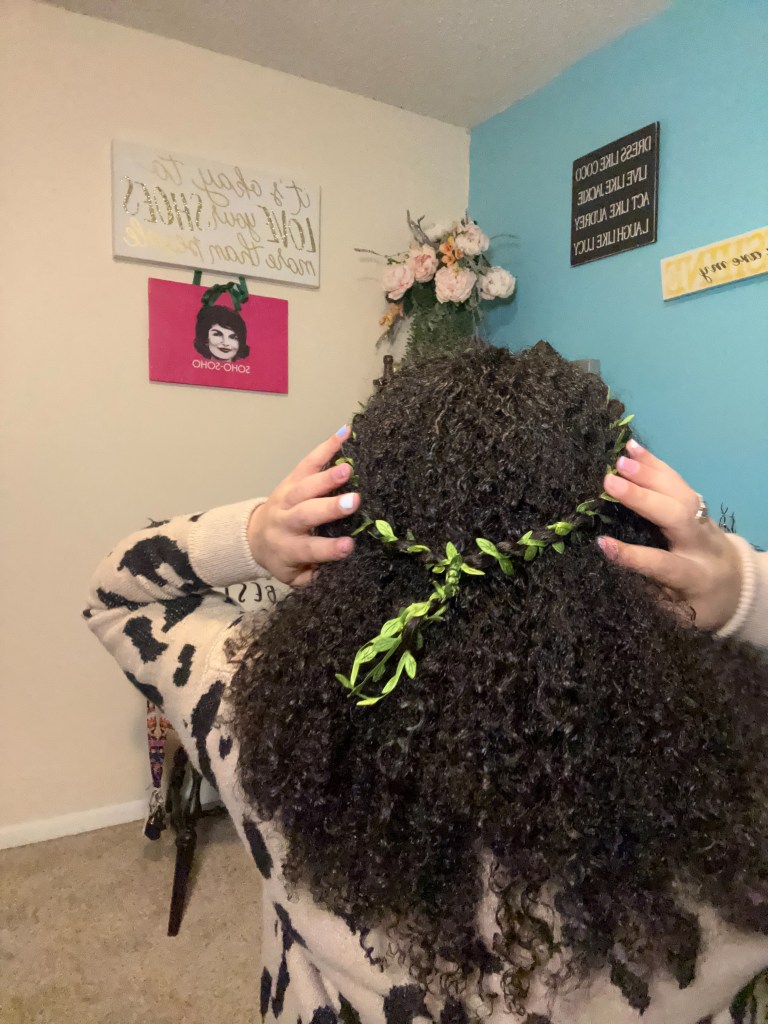
Leaf-Ribbon Crown
I bought two spools of this ribbon for my wedding two summers ago from Hobby Lobby, and I’ve been wanting to use it in my hair ever since.
To achieve this woven crown, I folded the ribbon in half, and clipped the center of the ribbon to the center of my hair, right in line with my part. I then proceeded to twist and wrap the ribbon around the two sections of hair, securing the ends with a braiding band.
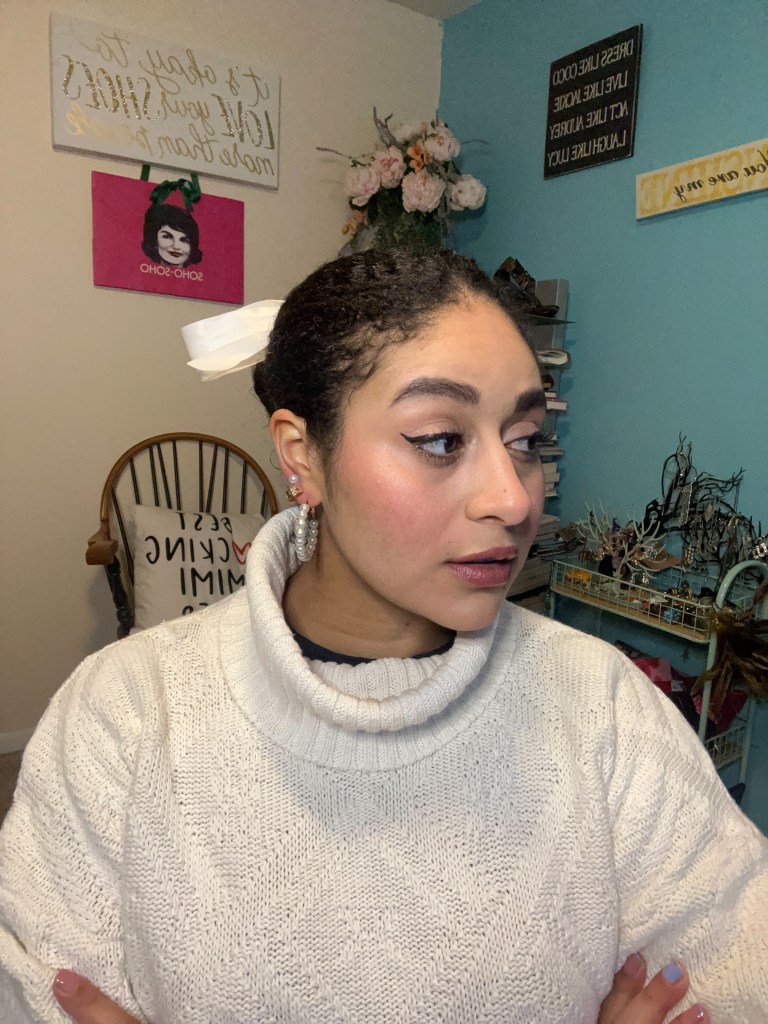
Ballet Bun with Bow
The internet may say that the clean girl aesthetic is out, but nothing jazzes up your hair quite like a ribbon bow! I simply slicked my hair back into a low bun, and then wrapped the ribbon around the bun until it reached my desired length, and tied the ends into a bow!

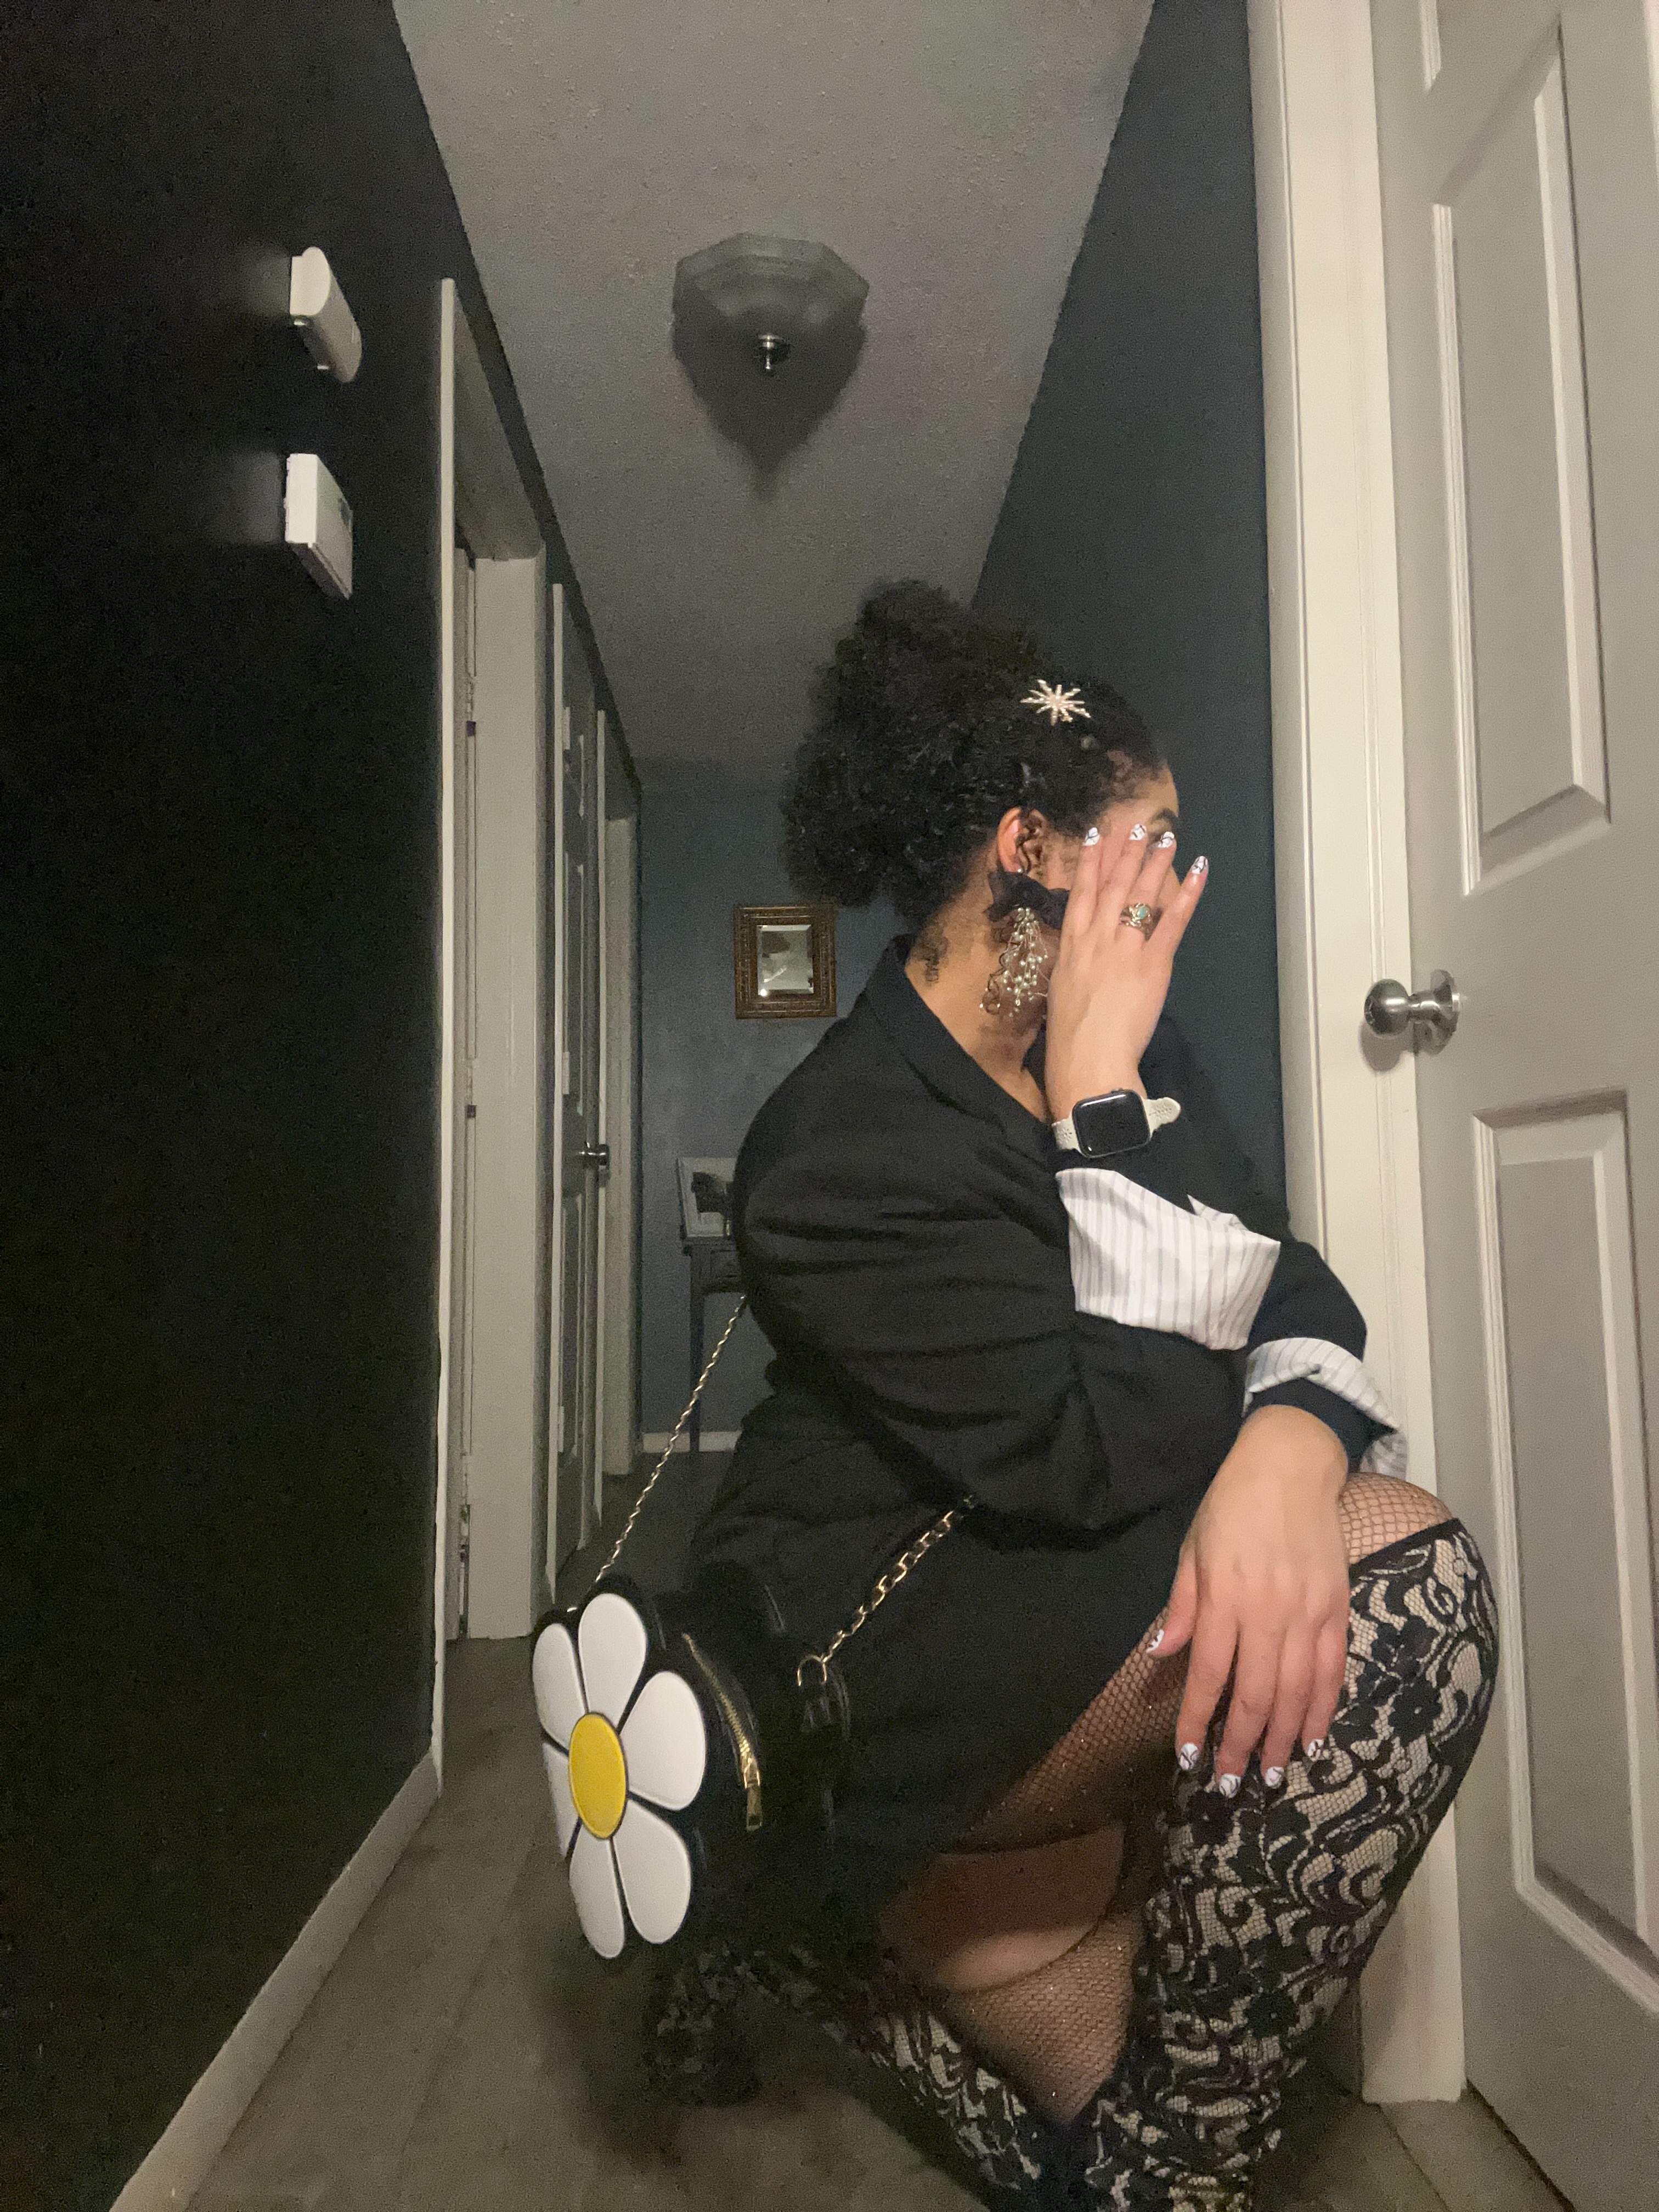
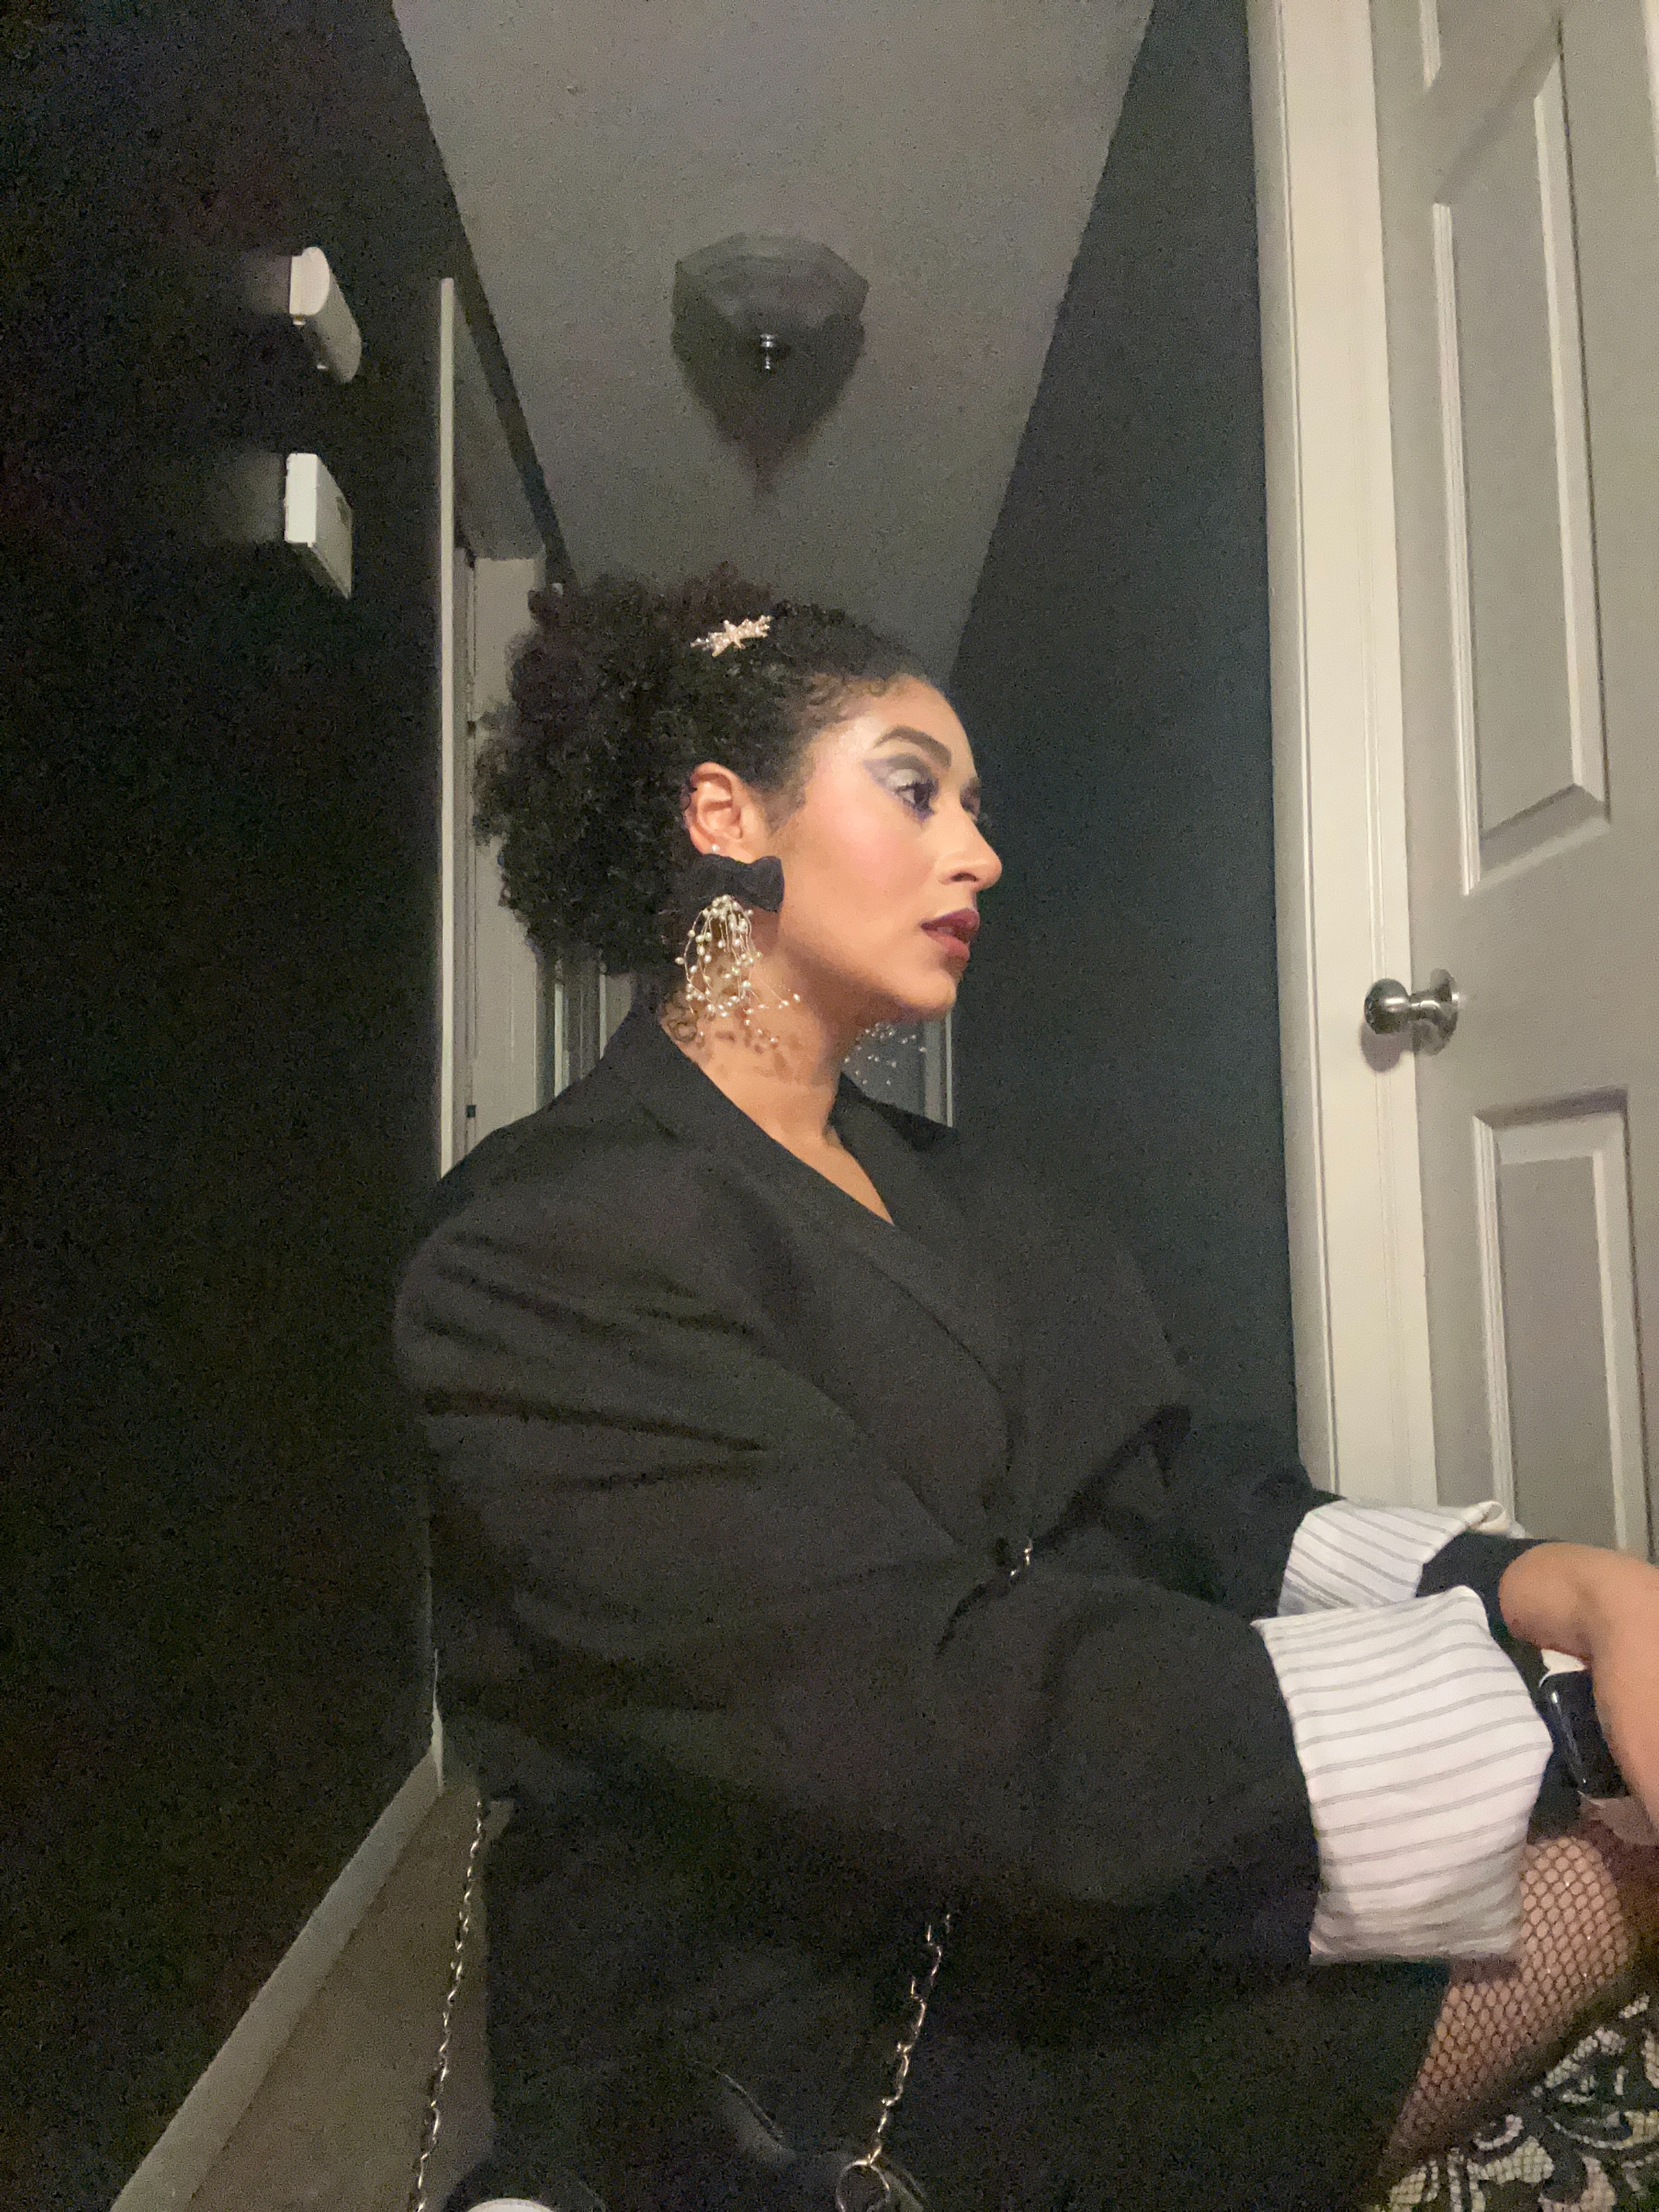
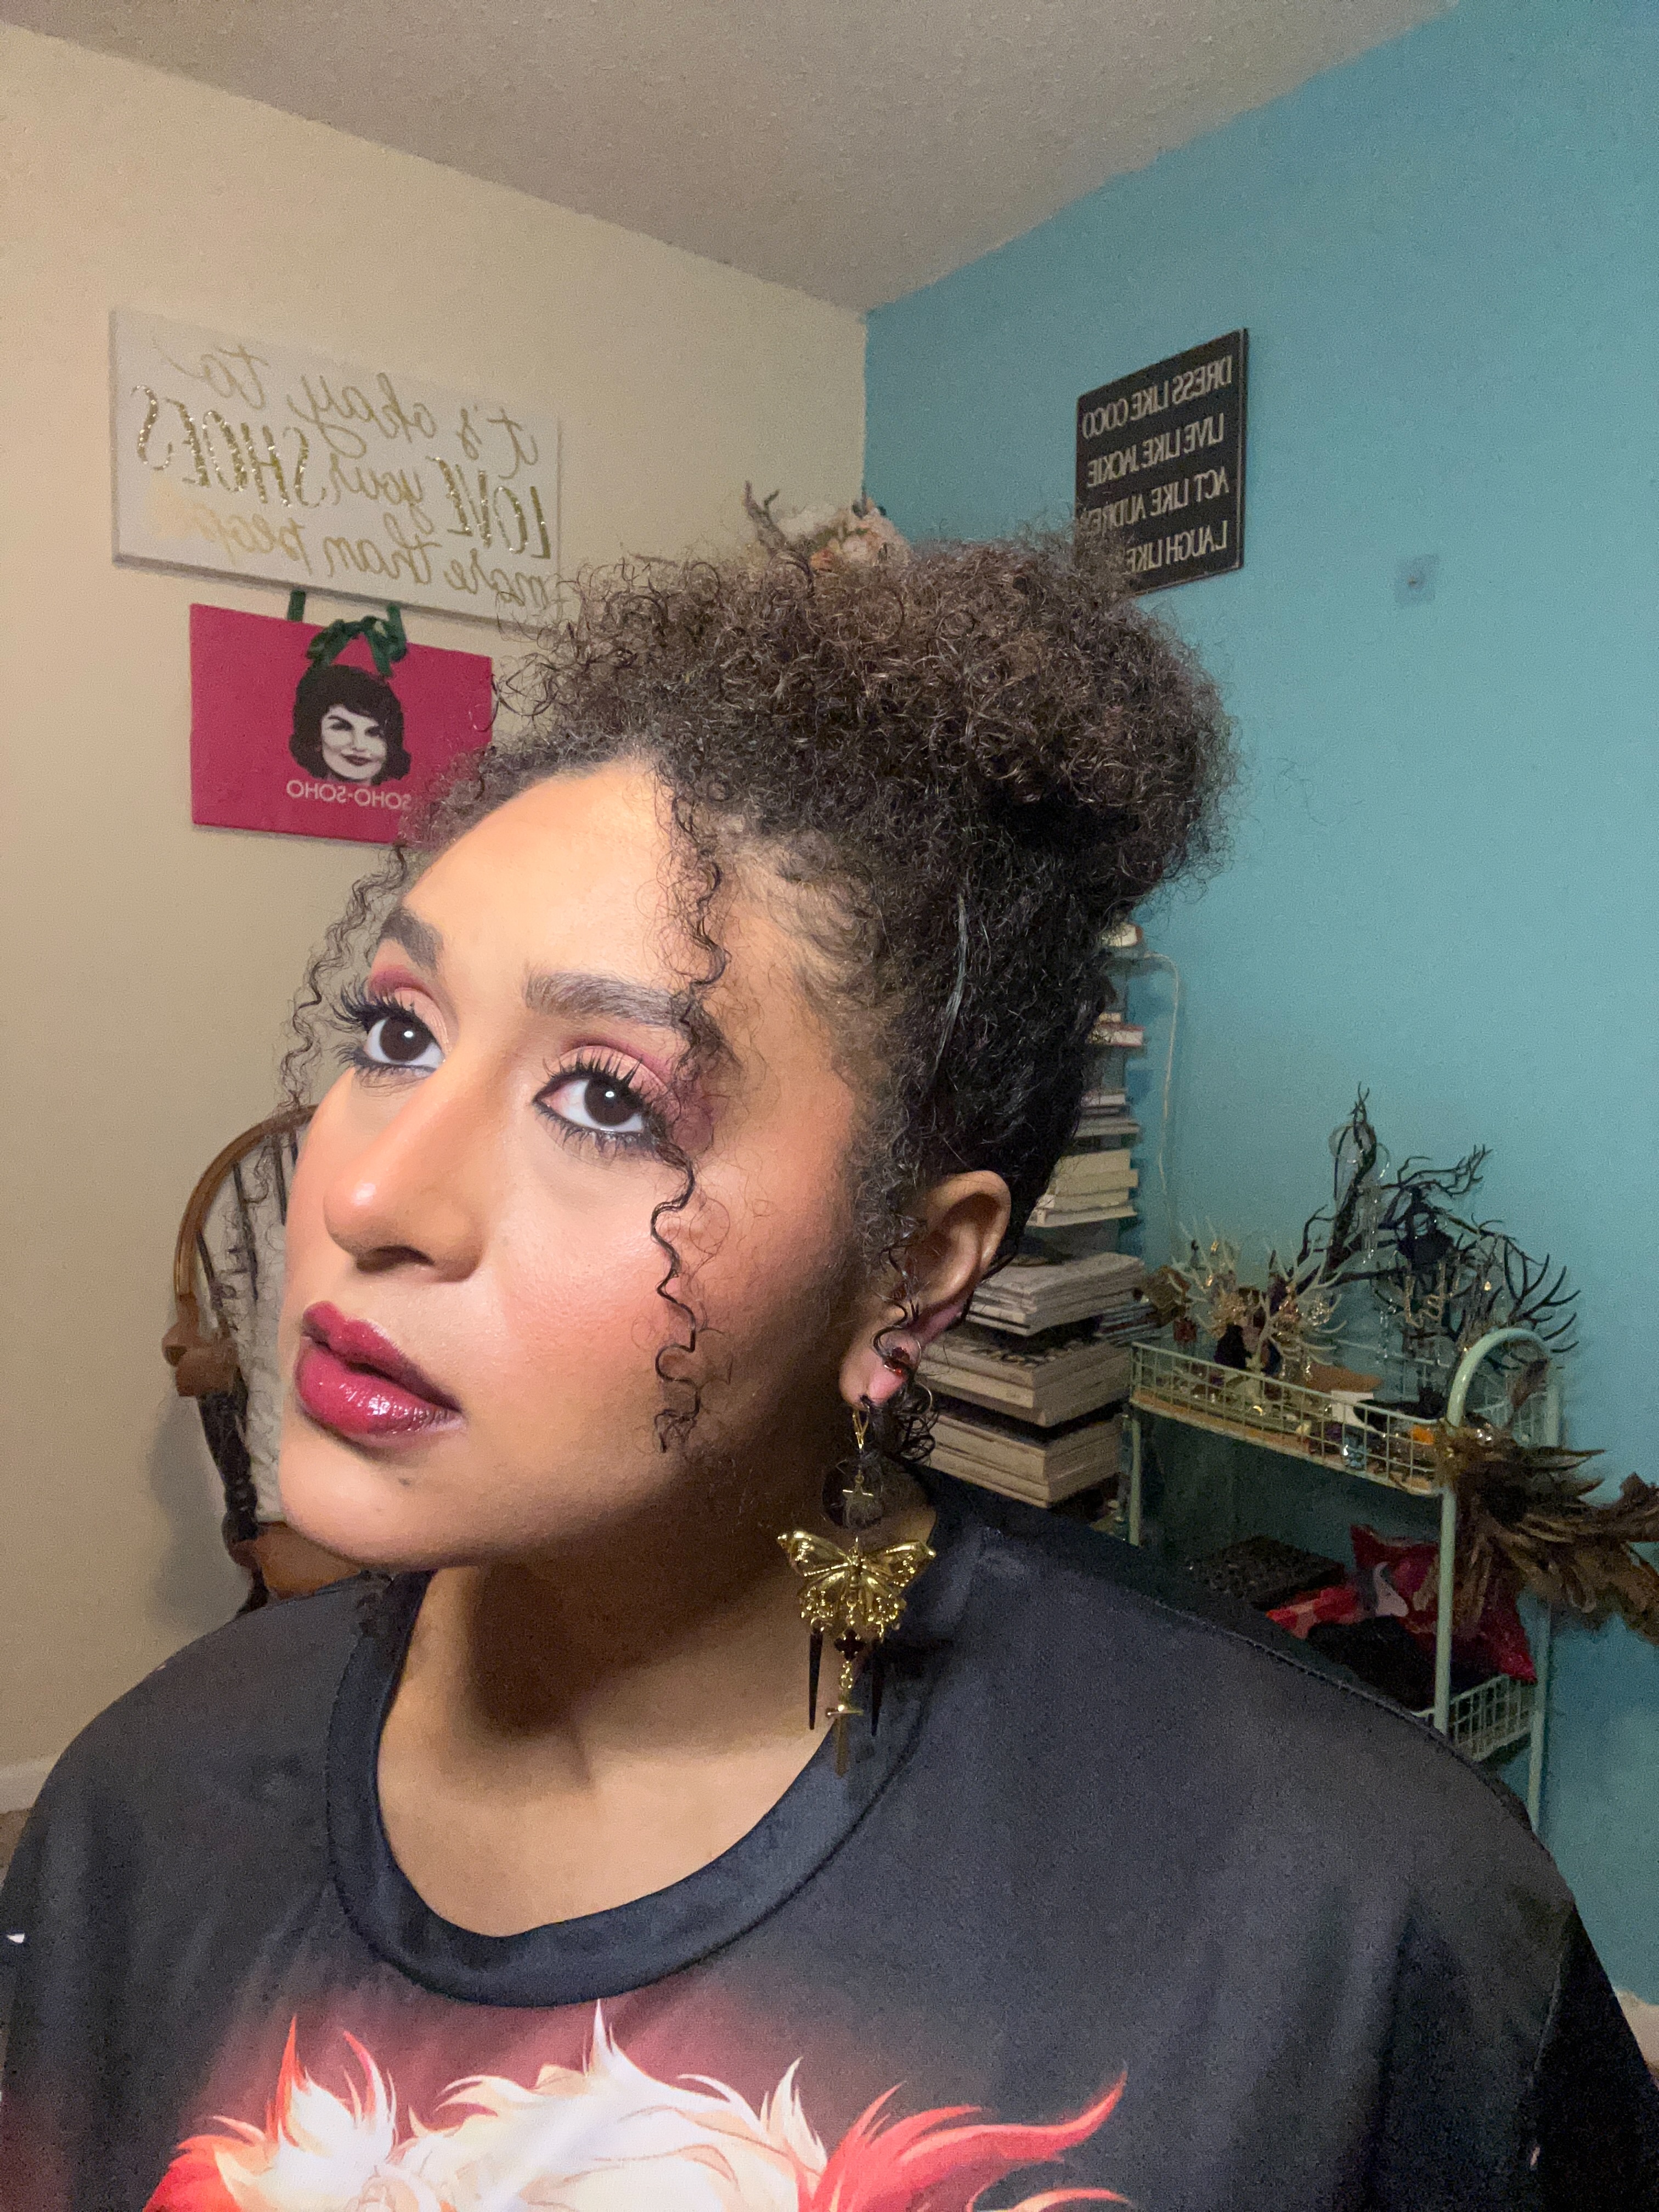
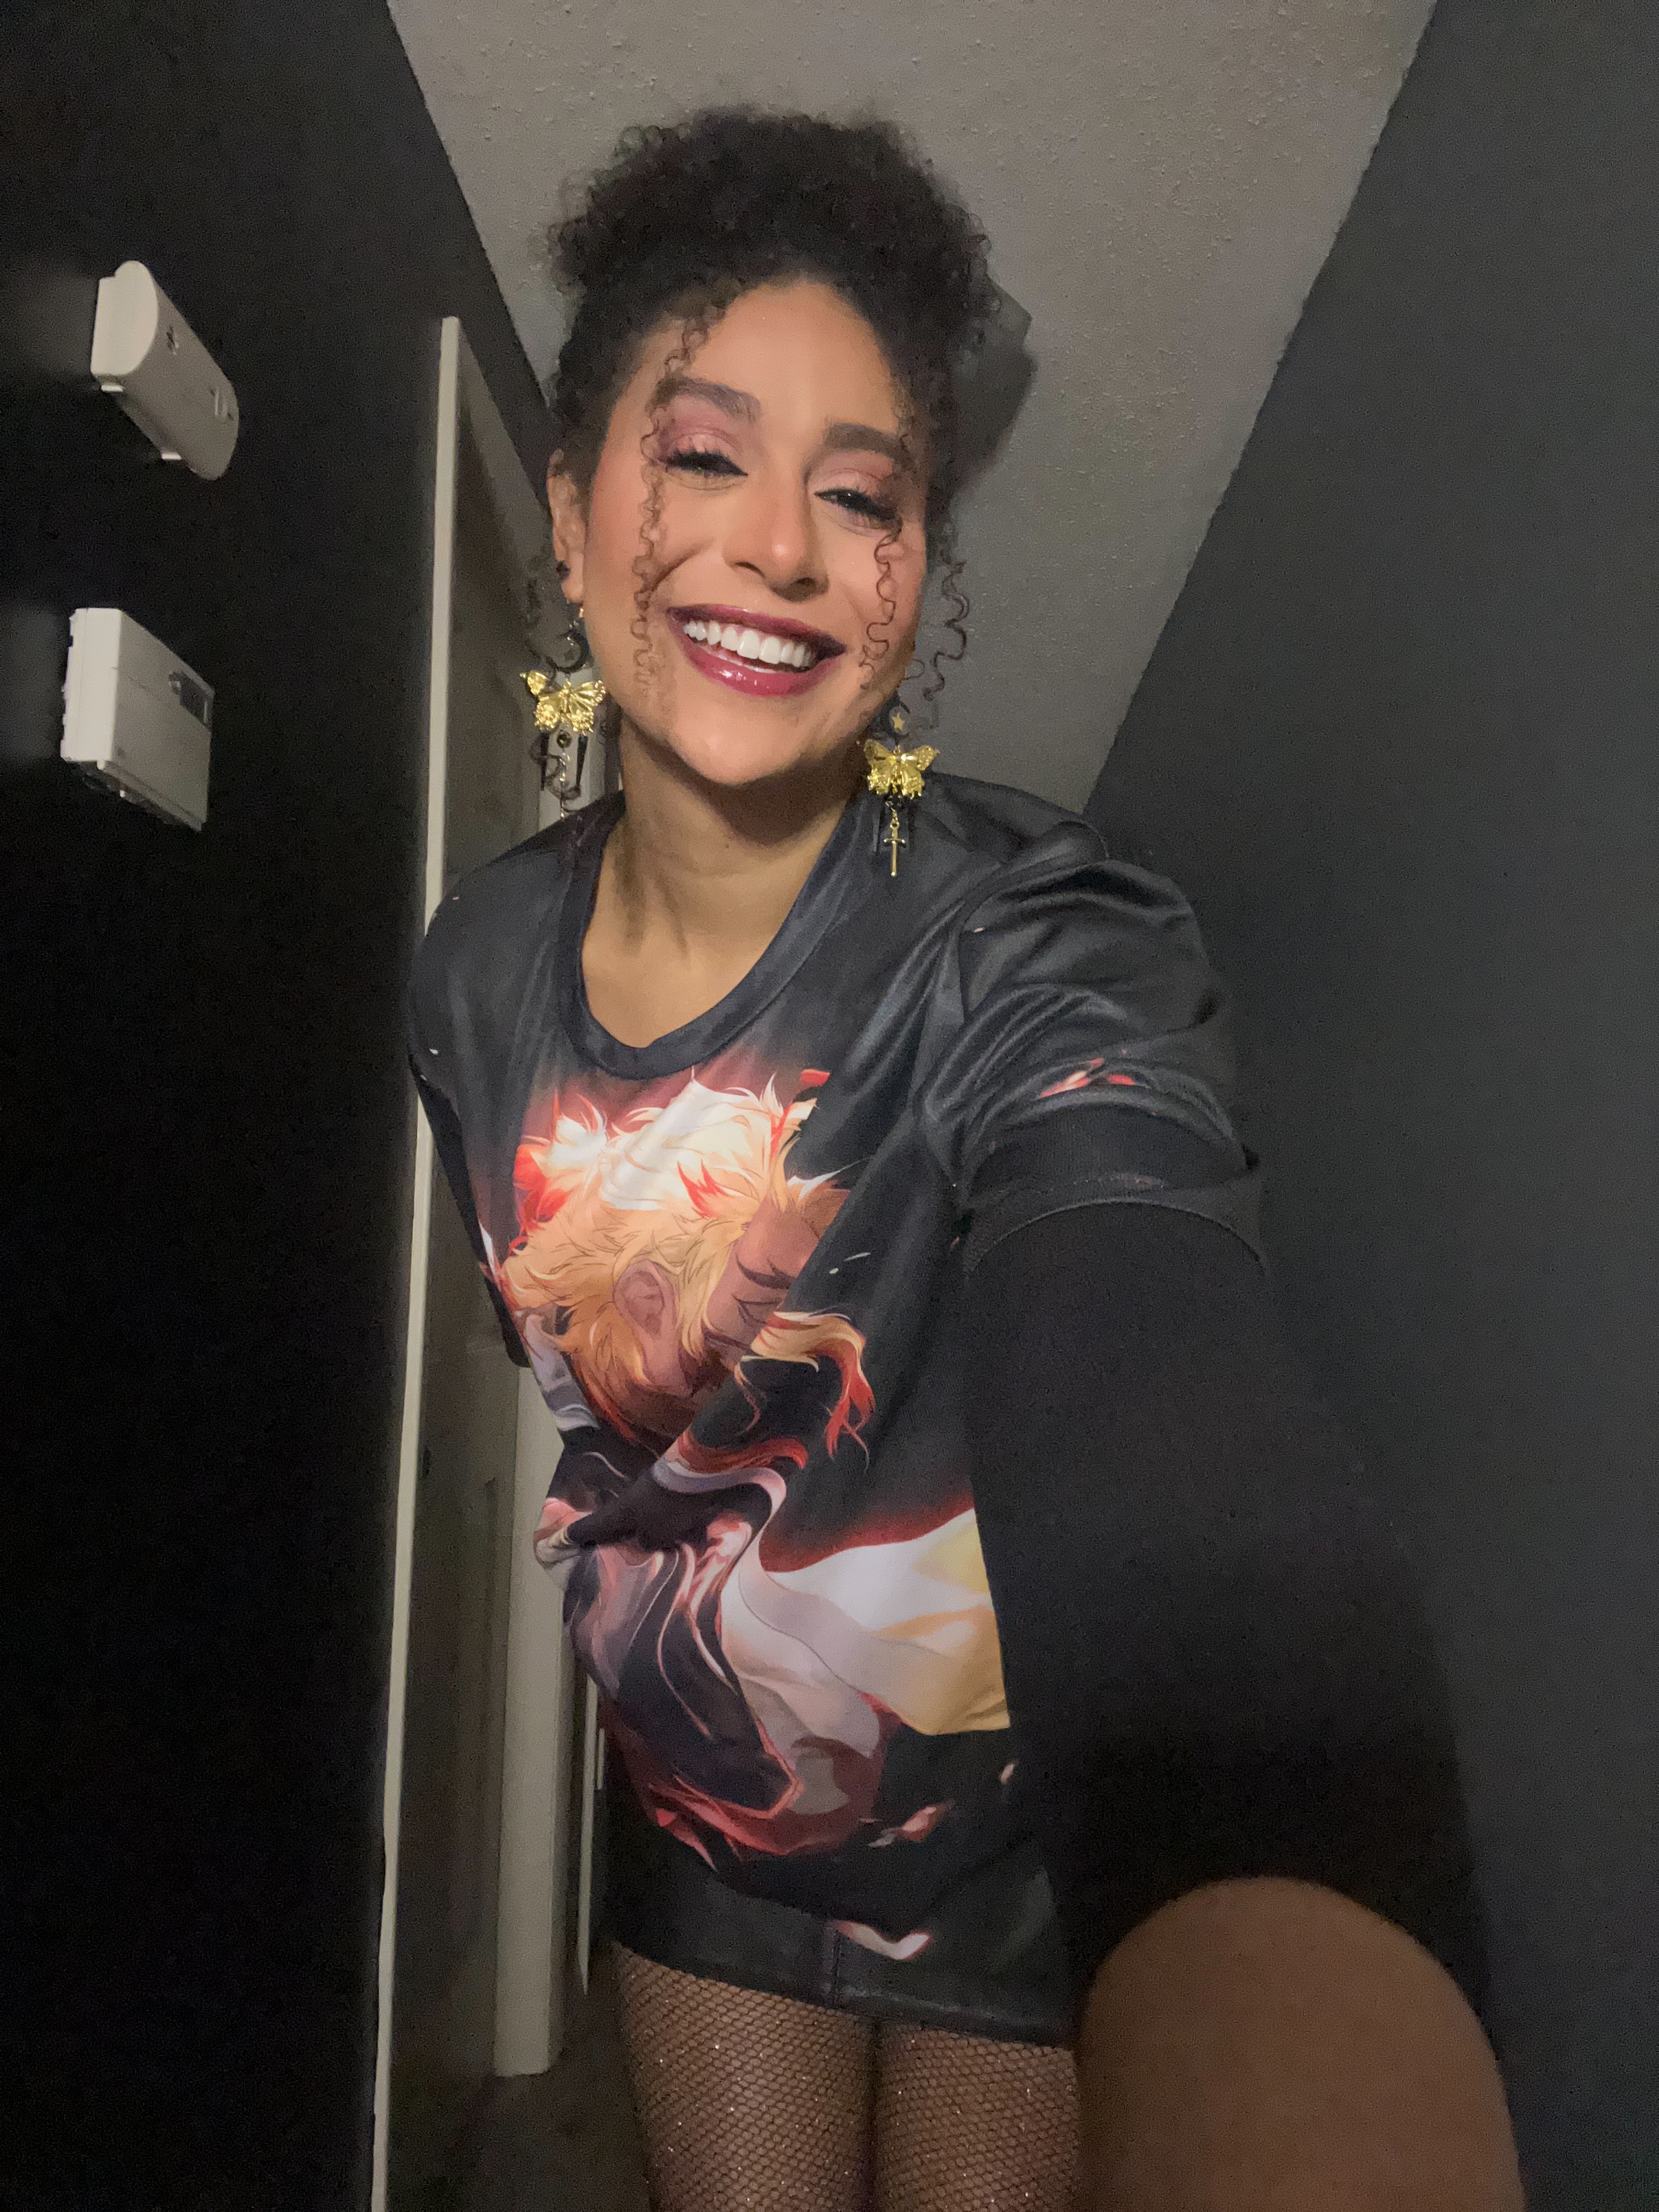
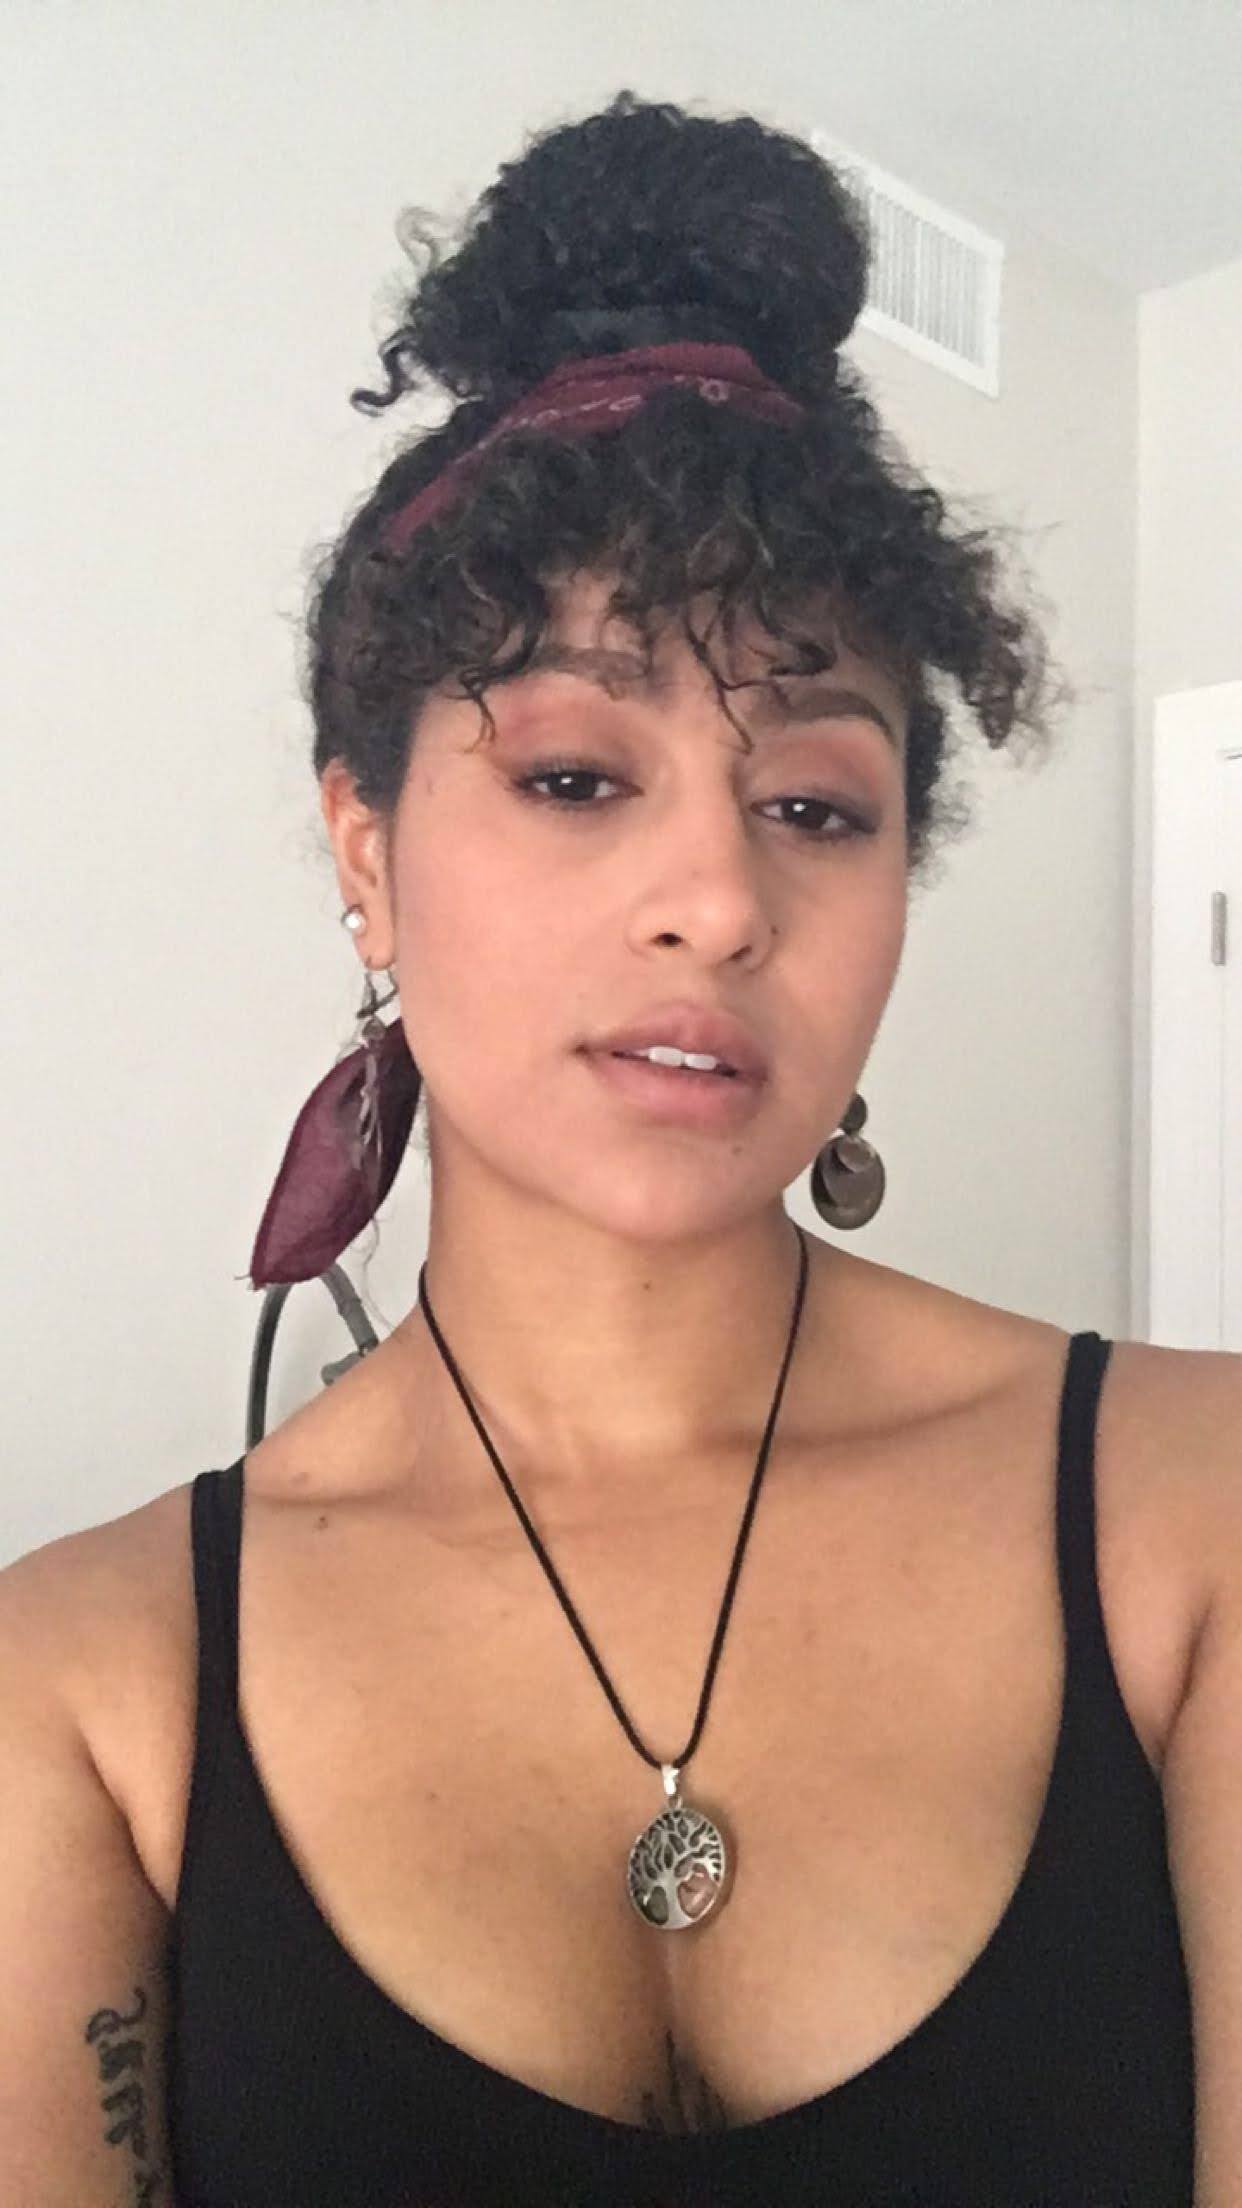
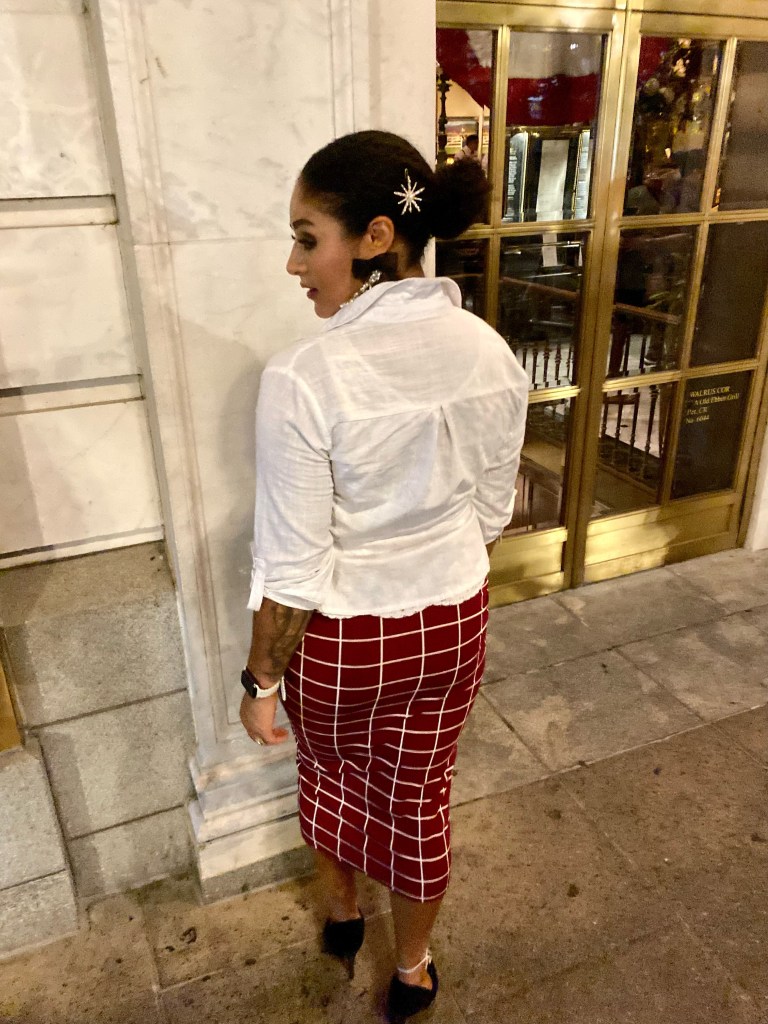
Pamela Anderson-Inspired Bun
I first tried this look for New Year’s Eve and I didn’t hate how it turned out, but I knew I could do better. So, I tried it again for the second anniversary of our first date dinner back in January and it came out so much better! If you’re a curly girl like me, I recommend making a messy bun as high up on your head as possible, and forget using hair pins – just use a regular hair tie to secure your bun and manipulate the curls that stick out. Don’t forget to leave some face-framing pieces out – I like to finger coil these pieces for added definition!
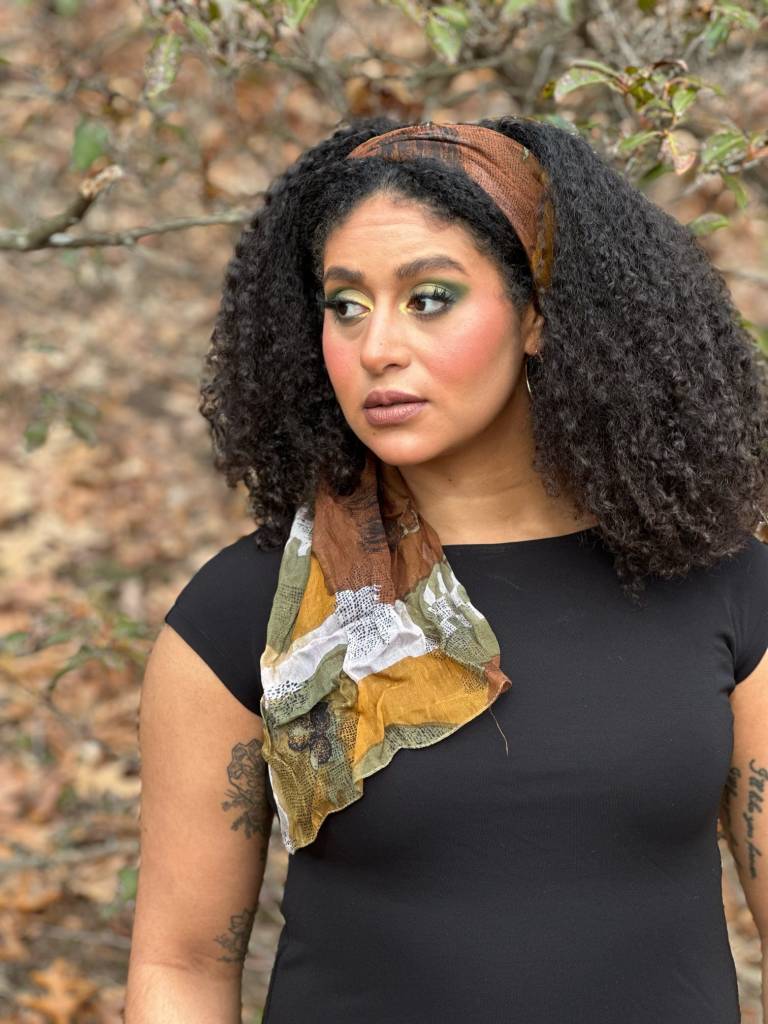
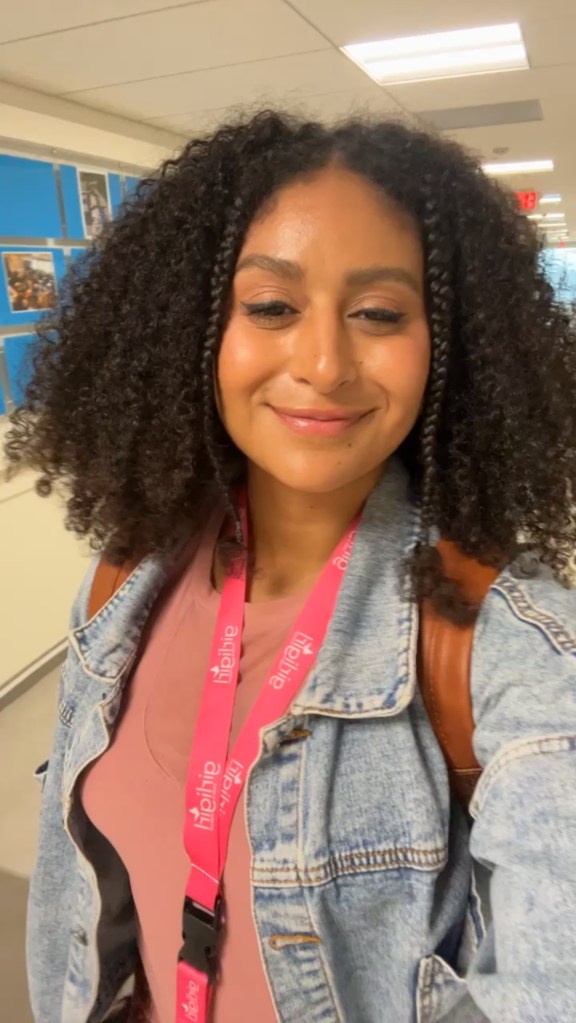
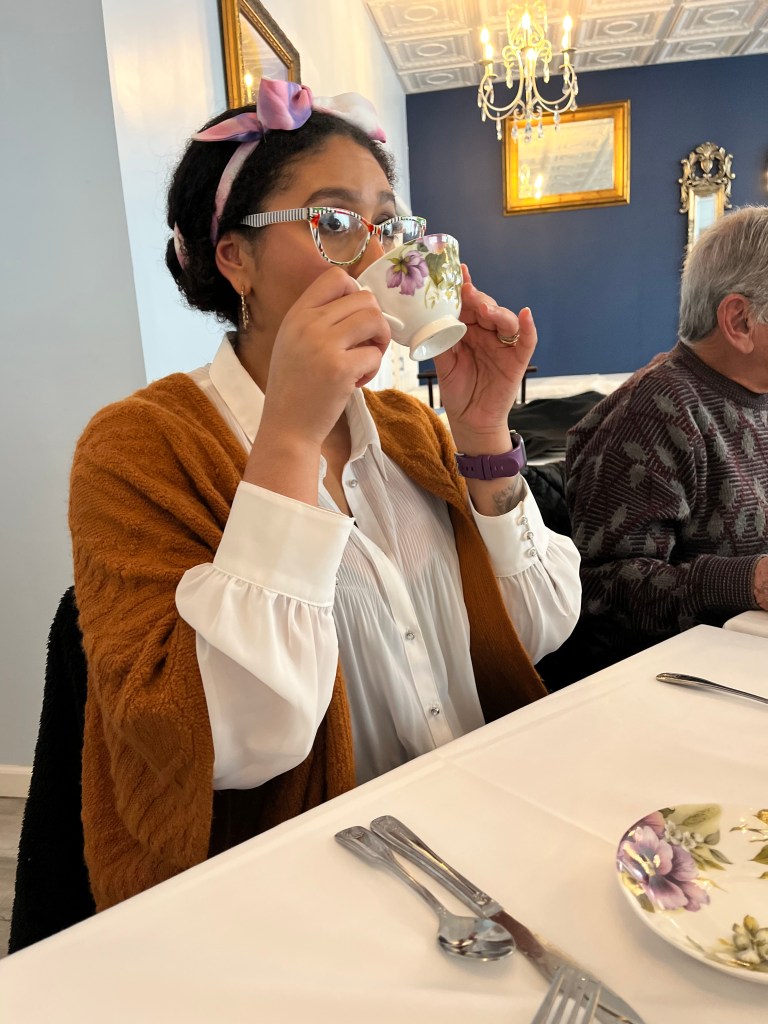
Scarf as Headband
This is one of my go-to hairstyles, and can be created using any scarf or large scrap of fabric you have! You’ll want to begin by placing the scarf across your forehead, tying it behind your head. Them slide the scarf back until it’s placed exactly where you want it!
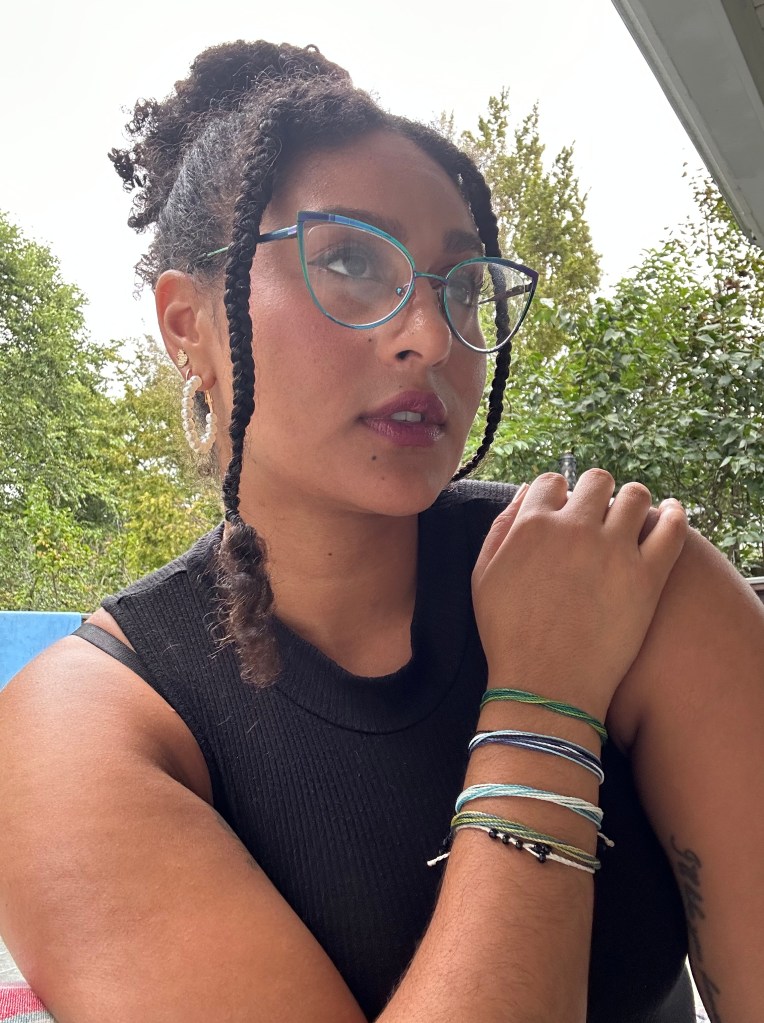
Braided Bangs
I do a couple variations, styling my hair up or down. This style, for me, developed out of necessity – the sections of my curls that are closest to my face tend to be very, very frizzy, so I’ve gotten into the habit of braiding them to keep them out of the way! This now leads to several hairstyles itself; leaving all of the hair down, pulling the braids and the rest of the hair back, or even leaving the braids down and crafting a giant bun with the rest of your hair!
Tying Back Curls with a Ribbon
I’m not sure if this style has a proper name, but this has long been one of my favorite ways to restrain my curls without leaving crease marks. Similarly to using a ribbon or scarf as a headband, you’ll want to begin by draping the ribbon over your shoulders from the back of your neck. Once you have an even amount of ribbon on both sides, you’ll bring the ends up. Cross them once (without tying at this step), and slide the ribbon back into place. The placement will be determined by how secure you want your hair, and exactly where you’d like to secure your hair. I like to bring my ribbon down into “low ponytail” territory. Depending on how long your ribbon is, you can wrap the ribbon around your hair more than once, or, you can tie it off into a bow and let the lengths trail free!
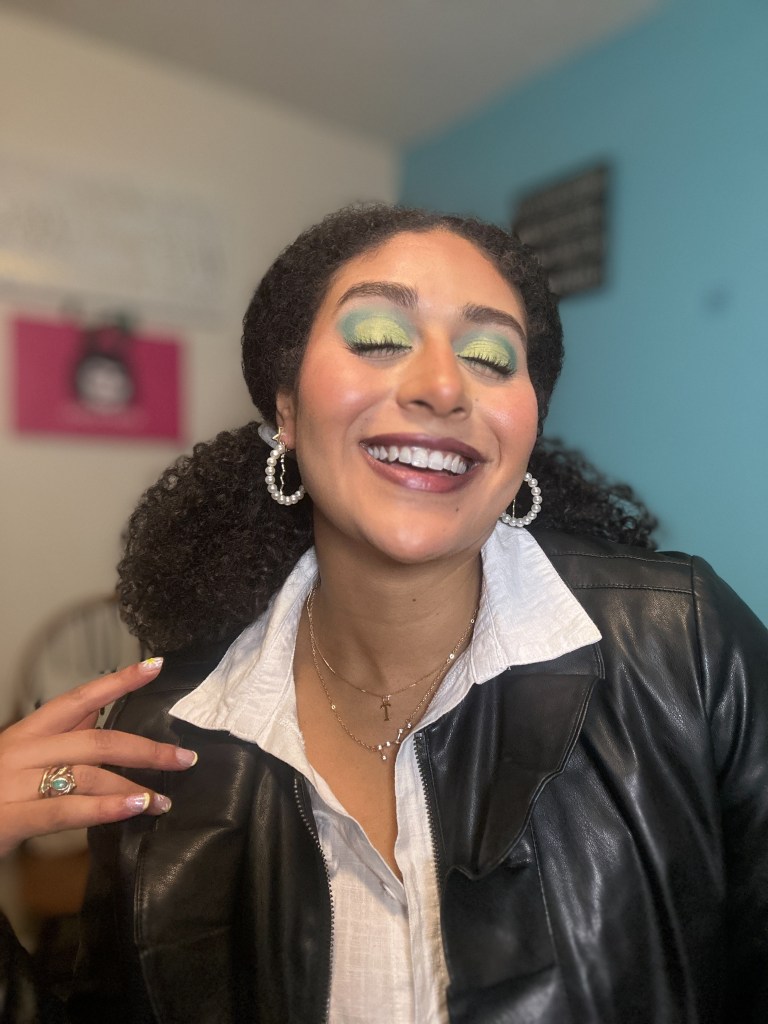
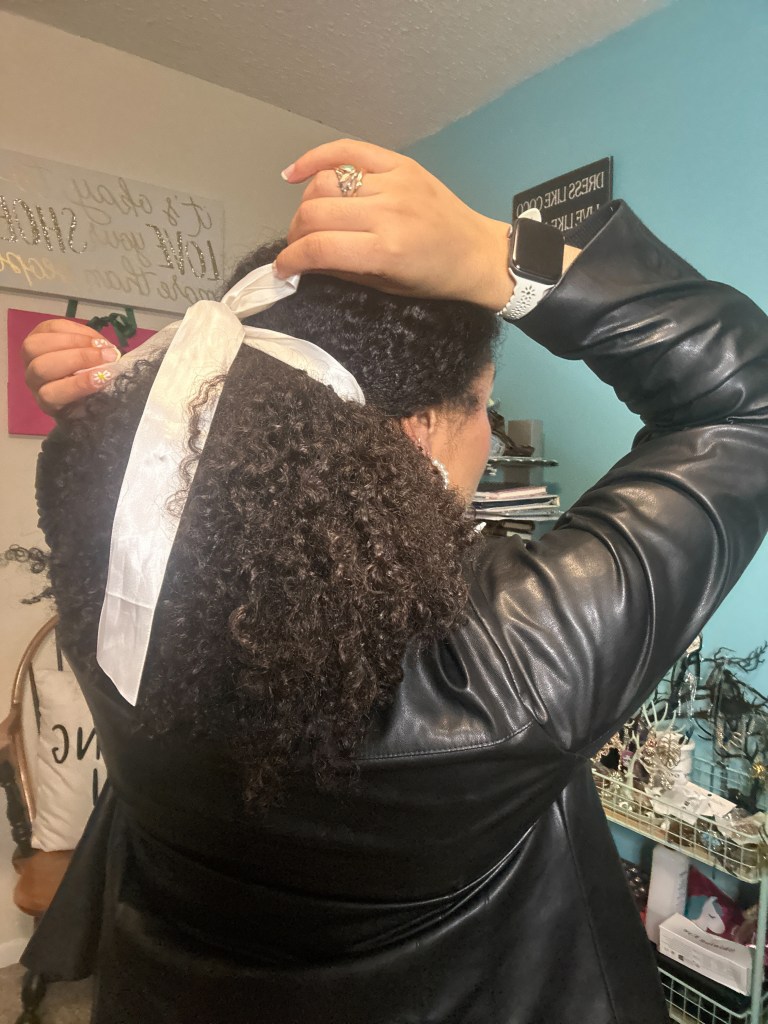
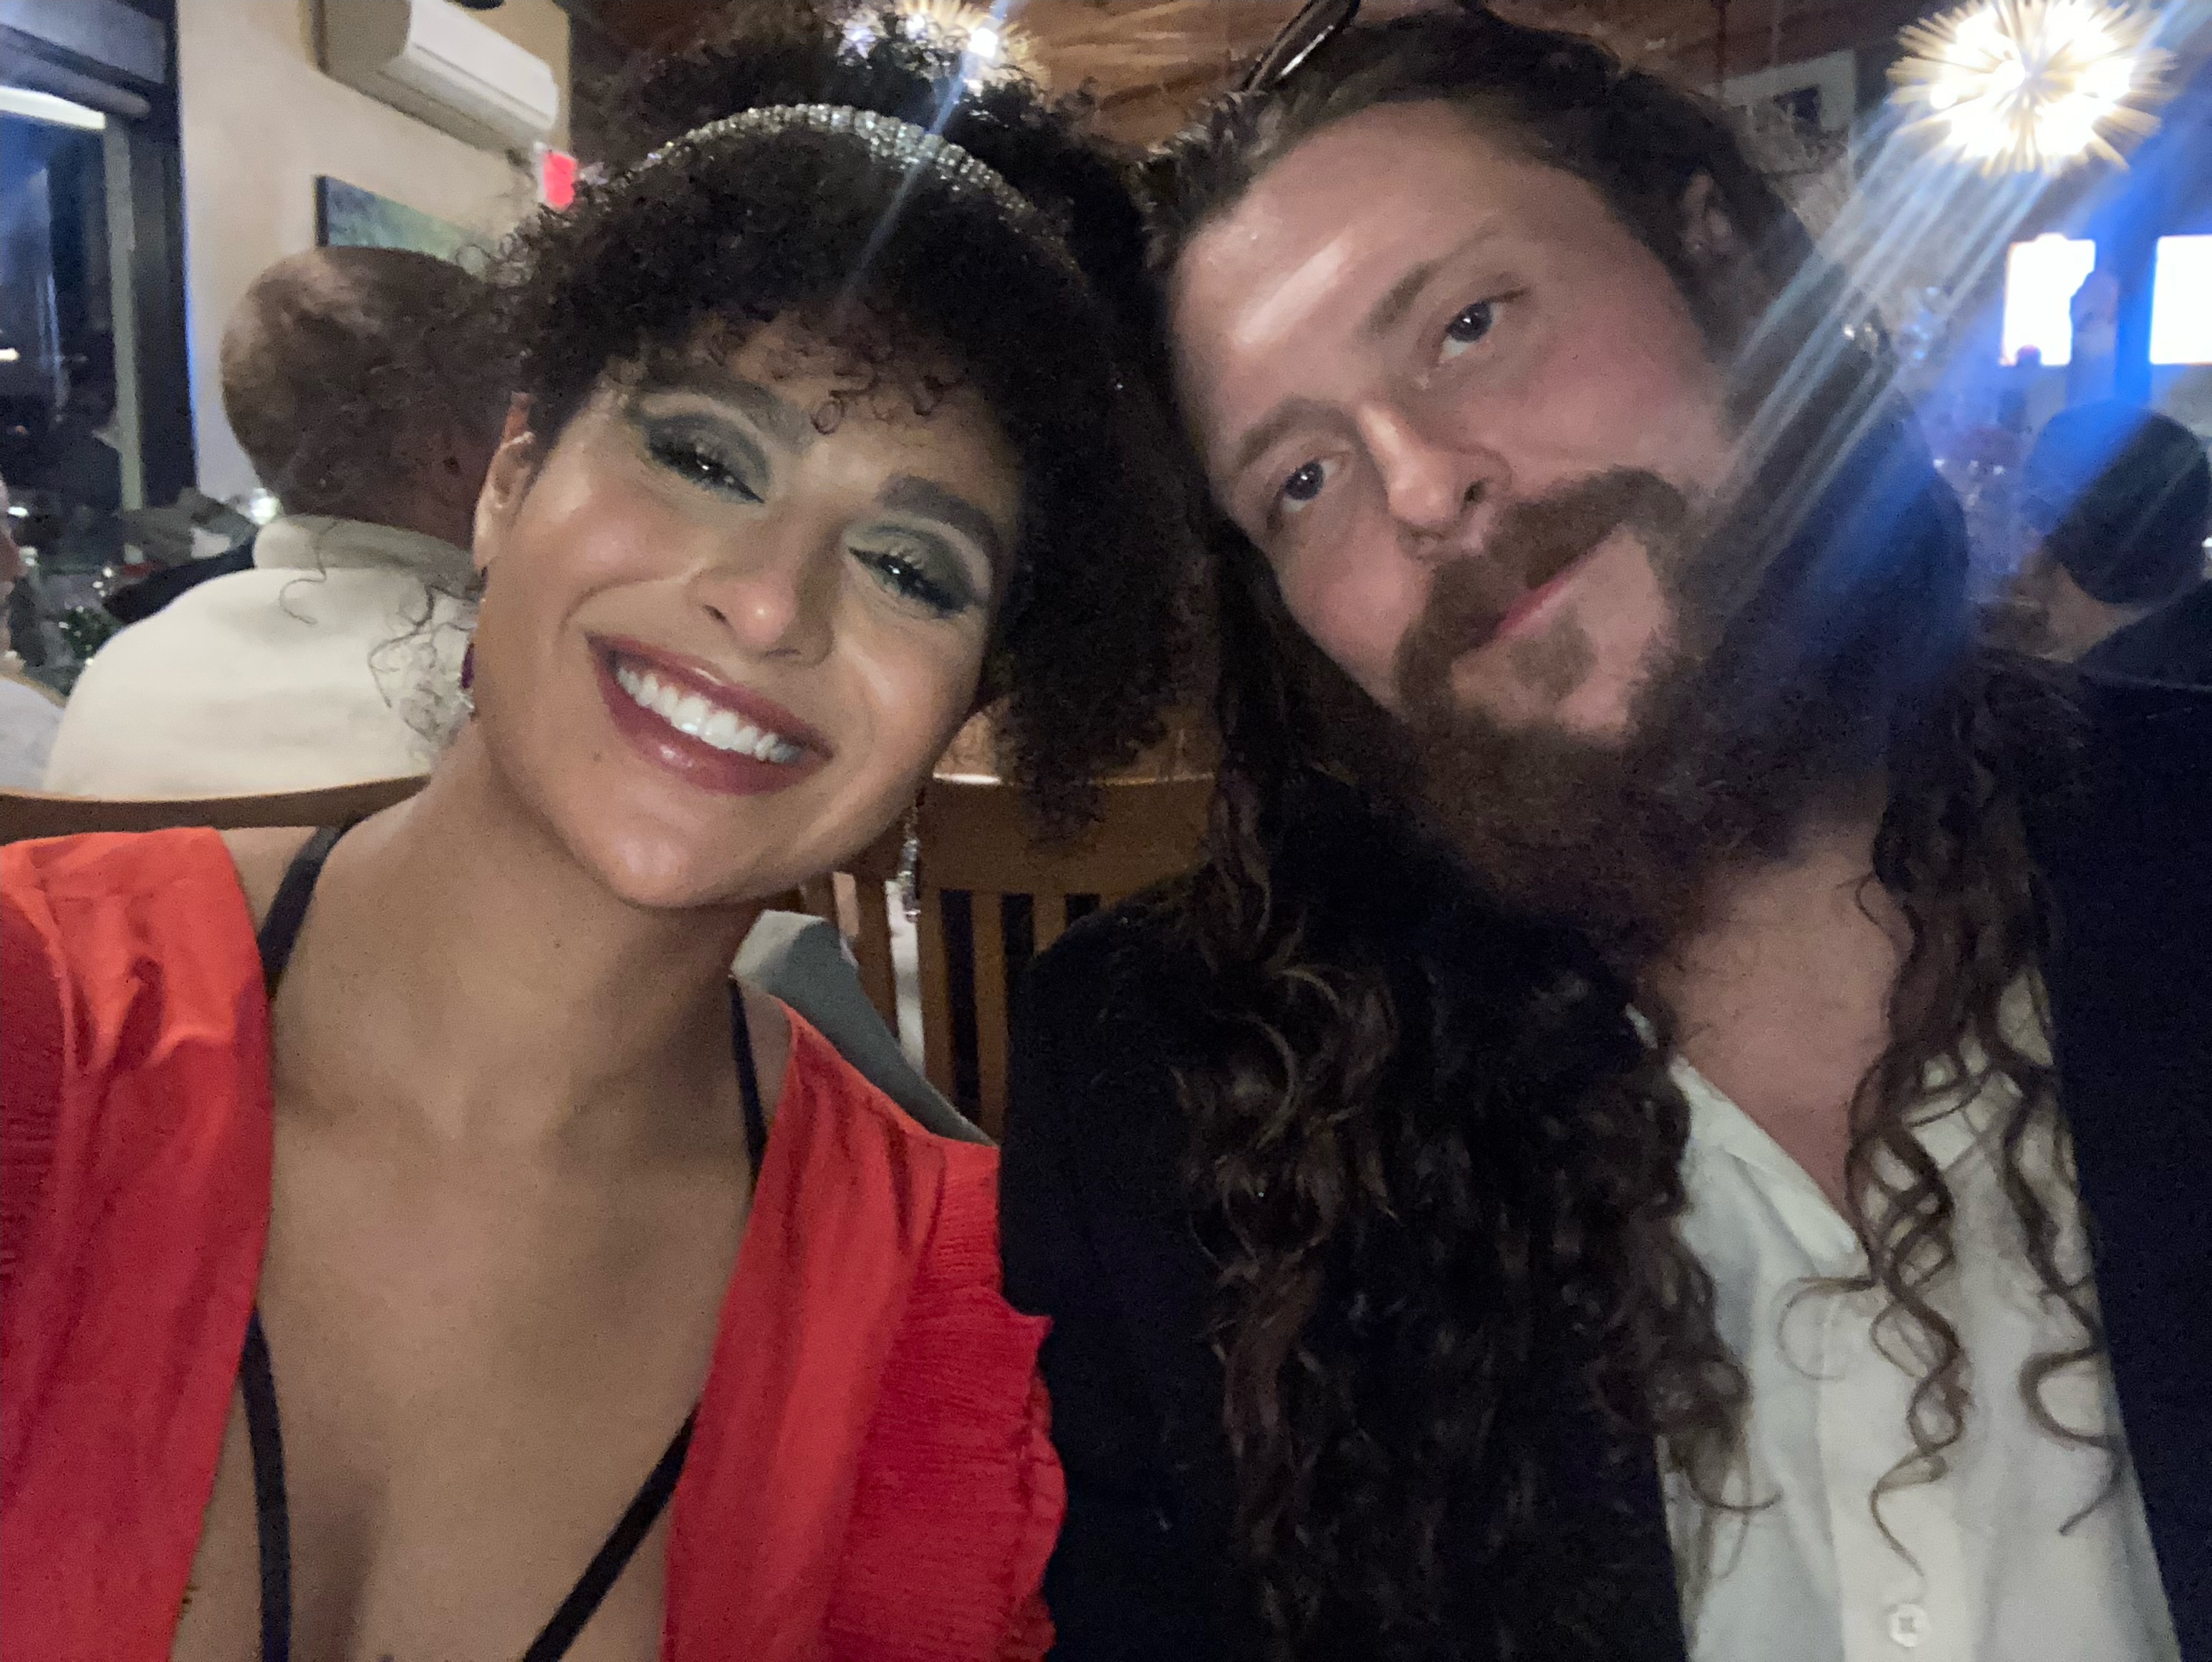
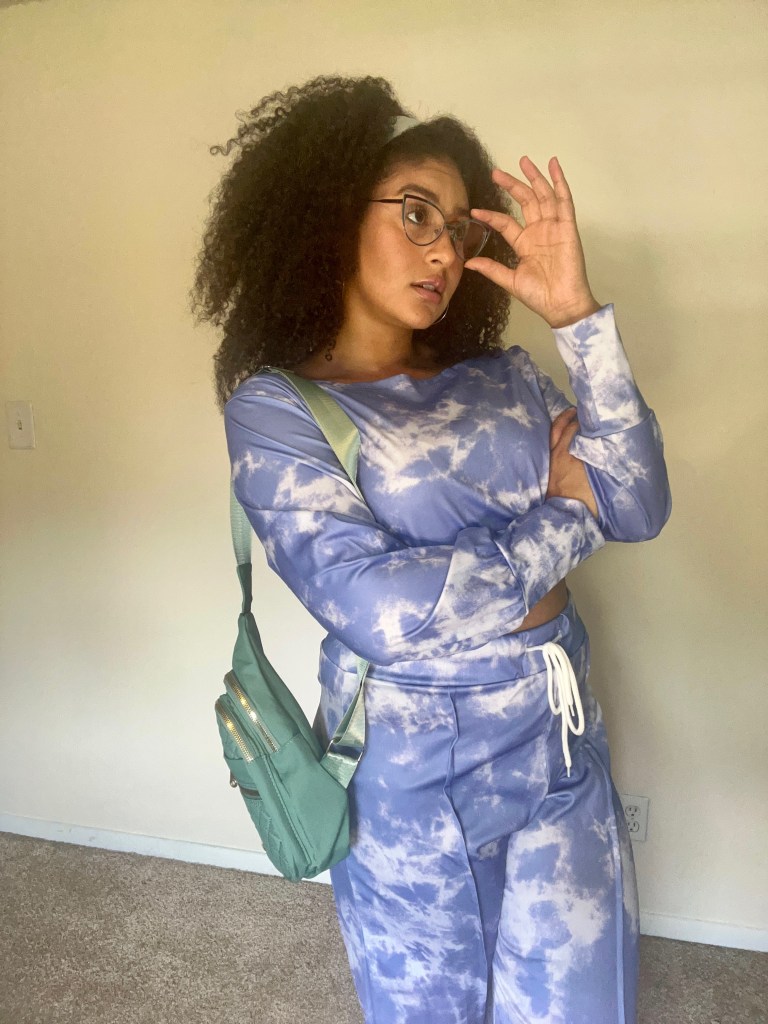
Faux Bangs
I haven’t created this look in about a year, but I love to switch things up by creating faux bangs! I like to pair my faux bangs with a giant bun, which will enable me to add some accessories, and to play around with how I plan to secure my bangs.
To start, I’ll separate the section that is going to become the bangs from the rest of my hair. Depending on how long your hair is, you may want to secure the small pre-bangs section with a braiding band before pinning it back and in place. When it comes to pinning this section in place, that will depend on what style bangs you’re going for – in you want more of a curtain or shag style bang, you’ll want to ensure that the pieces framing the sides of your face fall longer than the pieces across your forehead. After pinning my bangs in place, I like to secure (and hide) the pins by adding some sort of accessory, such as a bandana – like the first time I crafted this look – or a headband, like I did last year for Hubby’s work holiday party!
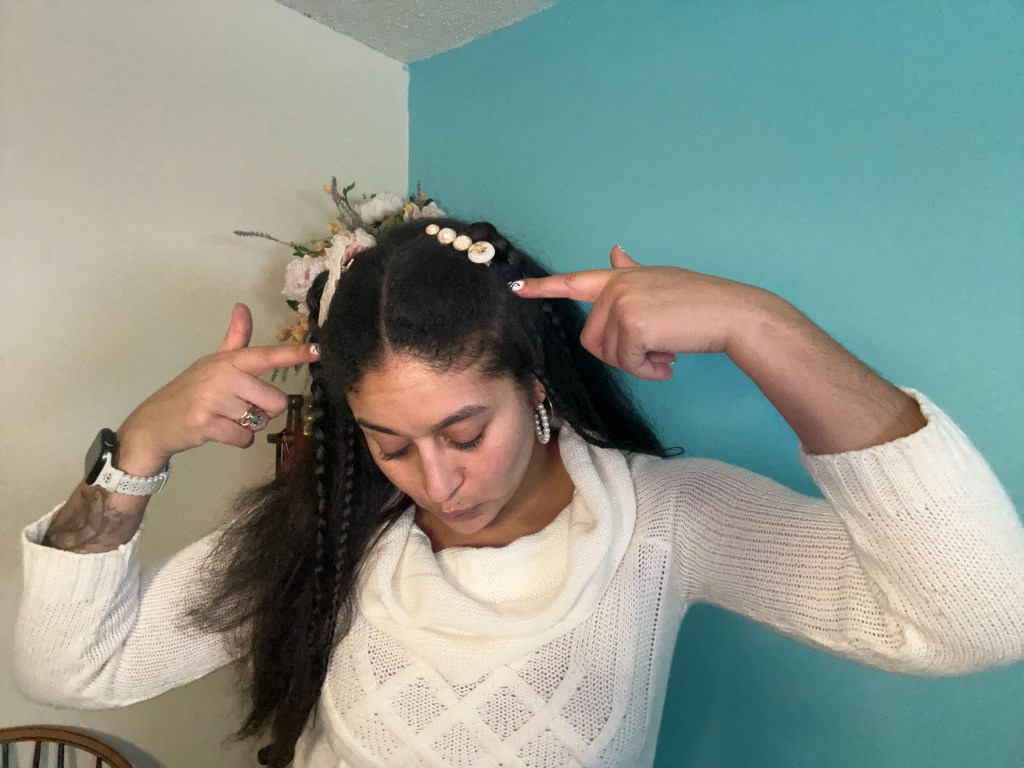
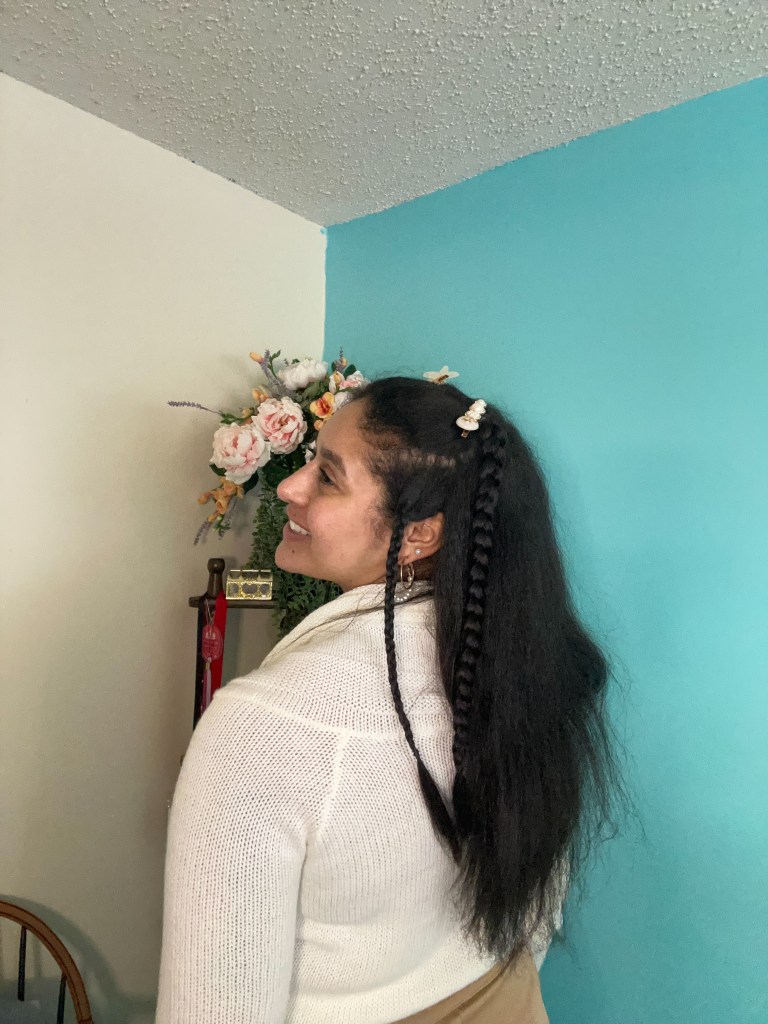
Straightened Hair with Braided Pieces and clips
The last time my hair was straight I tried to be more creative while styling it; I started by pulling the crown of my hair back as though I was going to create a pig-tail-half-up-half-down, but then I braided each pig-tail, and attached a clip at the top. At this point the look still needed something, so I braided the sections between my temples and my ears as well.

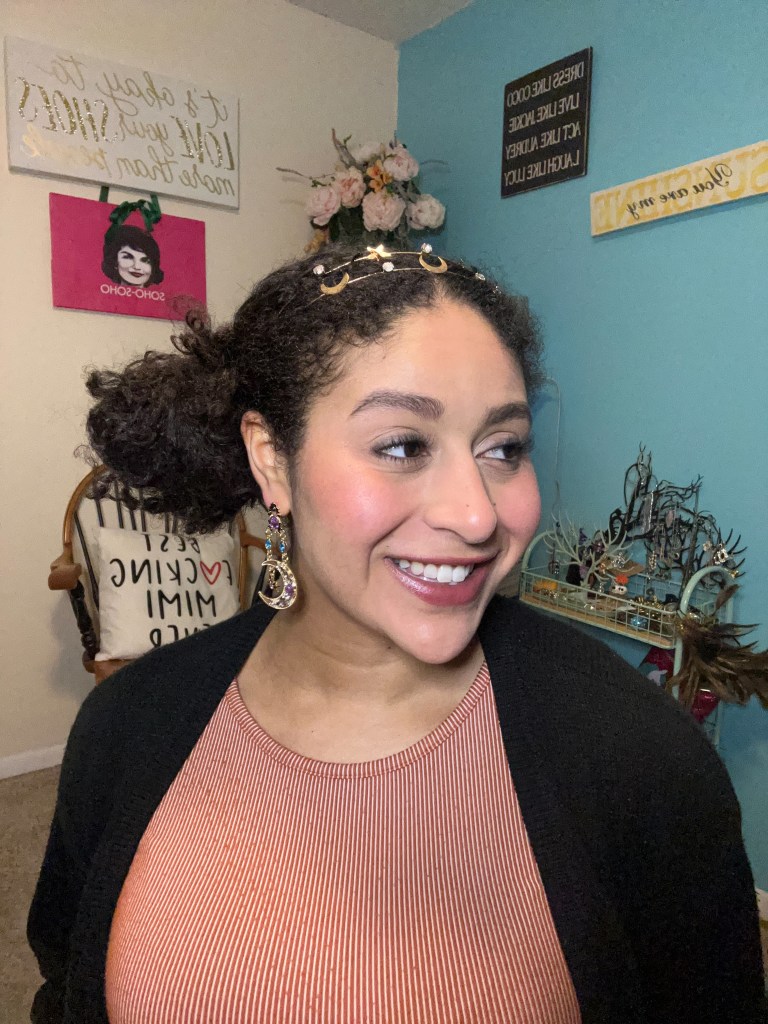
Adding Accessories
This has become one of my go-to ways to spruce up my hair without having to stress out about styling or running out of time in the mornings. Over the years I have acquired several barrettes, decorative clips, and headbands in order to spruce up any style!

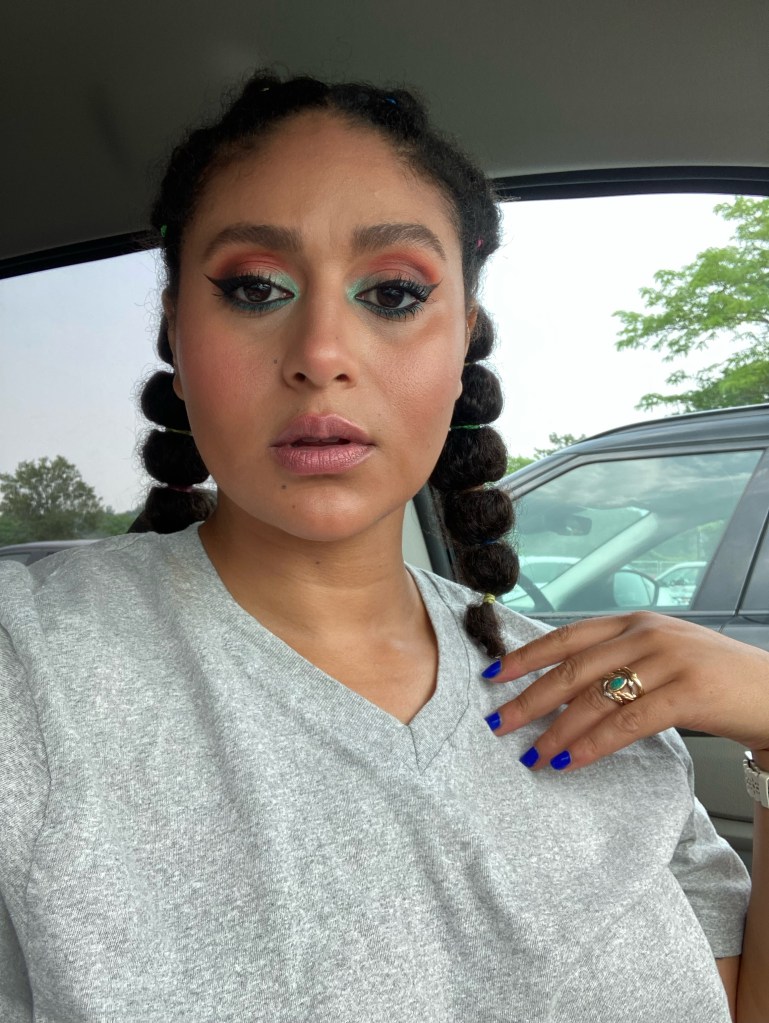
Princess Jasmine Pigtails
I found it easiest to achieve this style by working with damp-to-wet hair. I started by sectioning my hair with a center part, and began adding braiding bands to create a faux-french braid effect. After working my faux-braid effect down to the back of my head, I started adding braiding bands at about half-inch intervals. Once I had gone as far down as I could with hair bands, I finger coiled the ends to keep them from frizzing.

I’d Love to Hear Your Thoughts!
What are some of your go-to hairstyles? Let me know in the comments below! I’ll be back next week to discuss my secret weapon for picking the perfect foundation match every time – the Temptalia Foundation Matrix!
Have a great rest of your week, and remember to SLAY!


Leave a comment