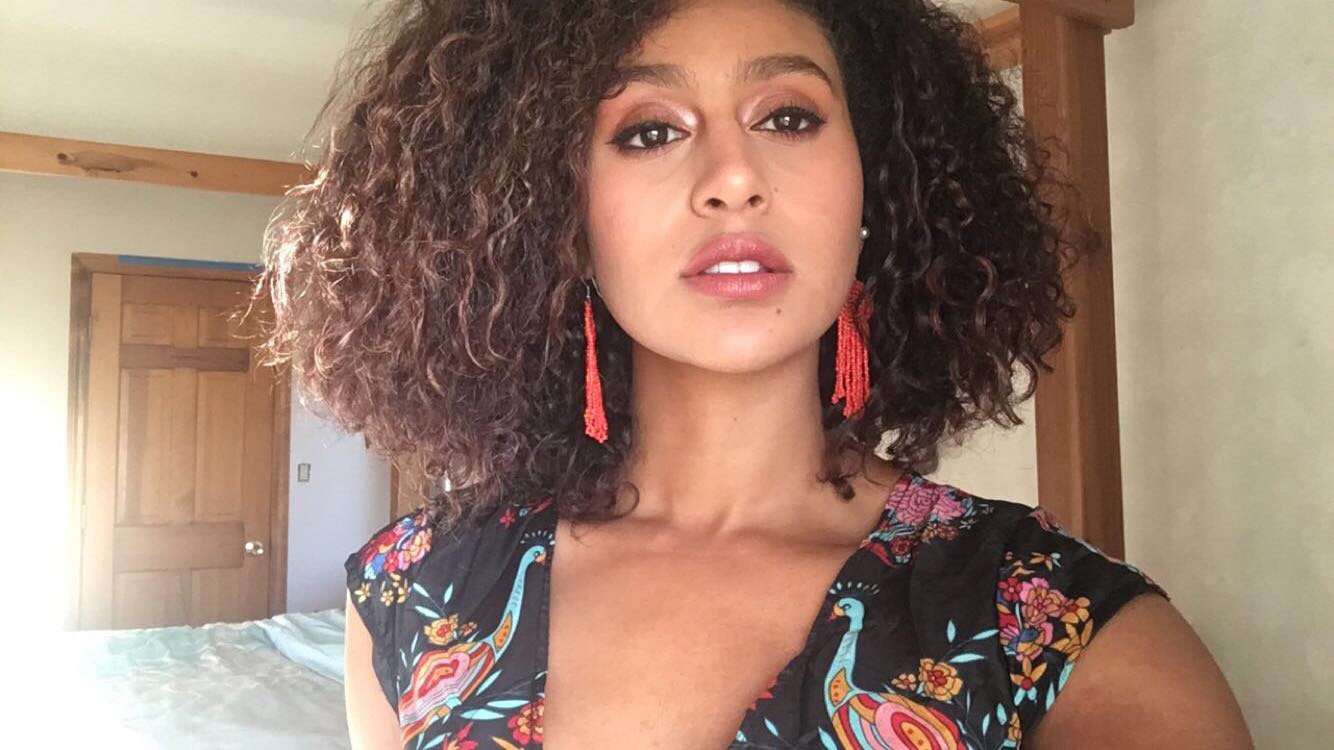
While creating a look for another blog post (my 4th of July look) I decided to create a post about how I apply a full face of makeup (stay tuned for how I apply my everyday look)!
As always, I start with a cleansed and moisturized face, and I will be posting my updated skin care routine shortly!
Then I begin to build my base, starting with the Maybelline FaceStudio Master Prime Blur + Pore Minimize Primer. Next I use Clinique’s Beyond Perfecting Super Concealer Camouflage + 24 Hour Wear. I squirt the product from the tube onto my ring finger, pat those fingers together then apply the concealer underneath my eyes, and on any blemishes I’m hoping to diminish. Similarly to how I’d apply eye cream, I use my ring fingers to pat the product in – I find this helps to warm the product, allowing it to blend into the skin more evenly.
Something that I just tried for the first time is color correcting. This technique utilizes a concealer-like product that comes in colors such as lavender, green, or orange, to name a few. Similar to an artists color wheel and the idea that opposite colors “compete” for visual attention, you pick a color corrector in the opposing color to what you’re trying to cover. For example, I have dark under eye circles that have more of greenish-purple hue. I’d use an orange color corrector to neutralize the dark circle, then apply my concealer on top.
Then I apply my favorite foundation: the Urban Decay Naked Skin One + Done Hybrid Complexion Perfector” in shade Medium Dark, with a Real Techniques Buffing Brush – which came in a set of four – making sure to blend into the hair line, back towards the ears, and underneath the chin, so there are no visible lines to differentiate the foundation from your skin.
With my main base applied, I begin the first round of an uncountable series of blending,

starting with the Real Techniques Miracle Complexion Sponge. When blending with a sponge, I start by wetting the sponge, then ringing it out completely, so that it’s only mildly wet. This helps to eliminate product transfer.
Then I set my base with the Coty Airspun Loose Setting Powder, apply blush – Tarte’s Amazonian Clay 12 Hour Blush in shade Quirky – and apply highlighter – Urban Decay Naked Illuminated Shimmering Powder for Face and Body in shade Aura.
After I apply the powder all over my face, I use my blending sponge to bake my under eyes. I first mentioned the baking technique in my 2017 New Years Eve Get Ready With Me post. It’s not something that I do frequently, but every time I do I’m impressed. Baking is really very simple – once you have a fair amount of product on the slender end of your sponge, lightly pat it over the under eye area (and even your T-zone) to literally “bake” your foundation/concealer into your skin.
Occasionally, I’ll use my blending sponge to help set my blush and highlighter. To do so, I use the wide side of the sponge and bounce it in an upward motion along the area where my blush and highlight meet.

Next I begin my eyes and honestly, I think the eyes makes a look. I like to start with my eyebrows, so that my eyeshadows and liner look more complete as I’m working – but that may be my own little way of doing things. I’m still using the Nyx Wicked Dreams palette because of one perfect brow shade, but I’m on the look out for an espresso brown, matte eyeshadow or brow powder, if you have any suggestions! I prefer to fill in my brows with a powder, as I think it makes for a more natural looking brow.
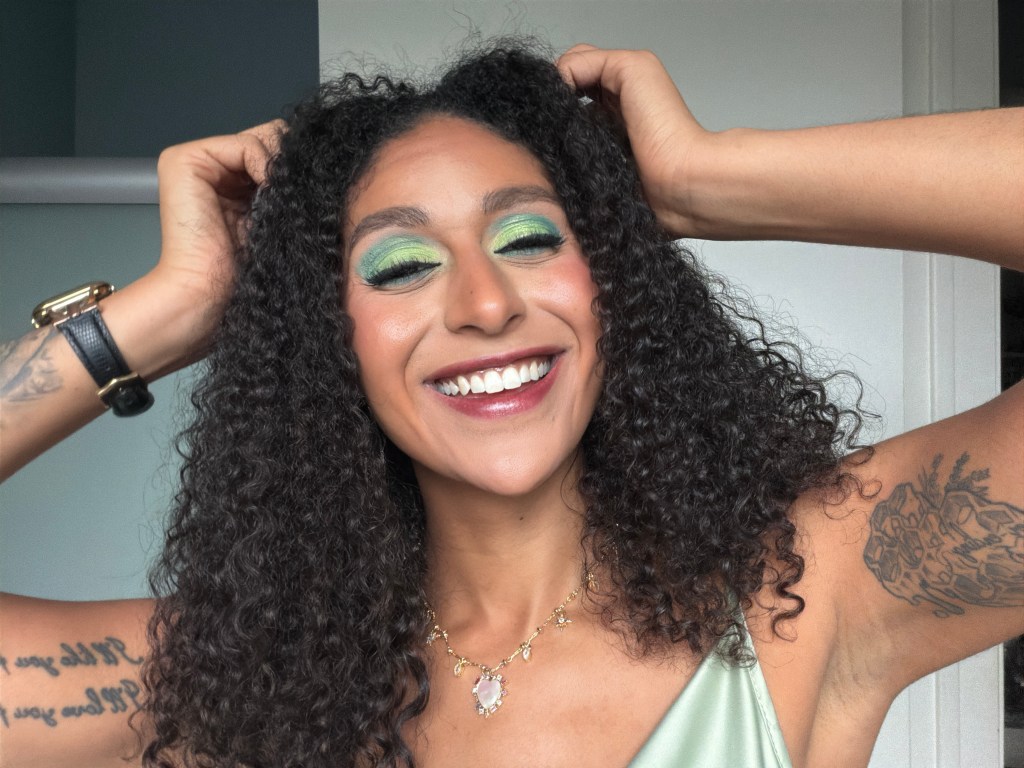
Sometimes I even build whole looks – right down to coordinating my accessories – around my eye makeup. This is especially true when I purchase a new palette (make sure to keep an eye out for a few eye look posts, as I’ve just purchased a new palette *heart eyes emoji*).
Currently, the eyeshadow palettes that are in my arsenal are: the Pony Effect That Girl Seoul, Nyx Wicked Dreams (though I don’t use these colors as much in eye looks), the
Kylie Cosmetics Blue Honey, Alamar Cosmetics Reina Del Caribe, and The Nubian by Juvia’s. These palettes are all listed throughout this blog, so you can find them to try!
I love these palettes, but somehow I always find myself purchasing palettes with similar color stories. There may be one or two “different” colors, but they typically consist of neutral reddish-browns and other similar shades. Hence why I purchased a new palette, a much bigger palette, consisting of 35 shades (*screams in glitter*), most of which will be new to my collection! I’m really looking forward to creating some different looks for you guys!
I’ll finish an eye look with liner and mascara. Recently I stopped using the Too Faced Better Than Sex Mascara to return to my high school favorite – the Maybelline Lash Stiletto. I found that the Better Than Sex was a bit drier, which means it won’t transfer as easily, but also means that it will clump more quickly. When using the Lash Stiletto I recommend using a piece of bath tissue to remove some of the excess product from the wand before applying.
Liner can get a little funky. If I’m doing a more smokey eye, I’ll start with a black pencil and smoke it out with a bit of black or gray eyeshadow. If I’m creating a cat eye or
winged liner look, I’ll use a liquid liner felt tip pen – such as the Tarte duel ended one I reviewed in this haul, or the Maybelline Precision liner, which I’m currently using. And even farther, some days I don’t use liner at all, or I’ll get kind of funky and use an eyeshadow in a color that compliments the look.
Typically I keep my lips simple and just use my favorite chapstick, the Burt’s Bees cucumber mint. If I’m doing a look with lipstick, I’ll begin by lining my lips with a neutral tone, such as the Urban Decay 24/7 Glide-on Lip Pencil in shade ‘Uptight’. Sometimes I’ll layer a lipstick and a gloss over the liner to create a unique shade, and sometimes I’ll set the center of the lip by dabbing on (with the ring finger) a bit of a shimmery powder.
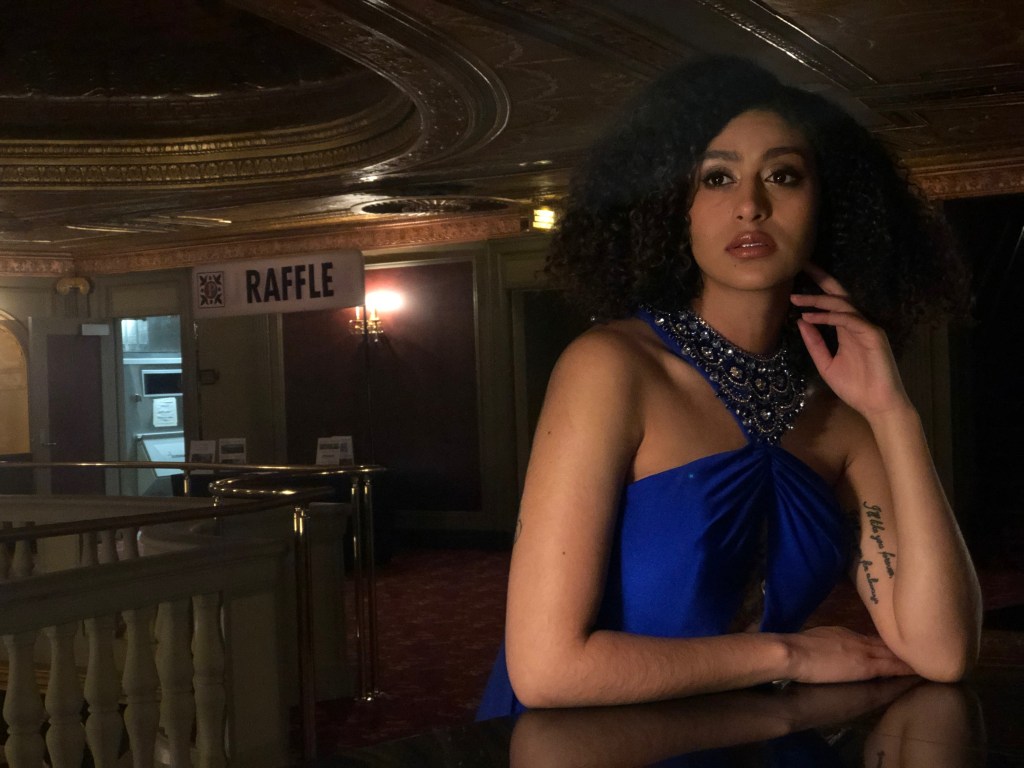
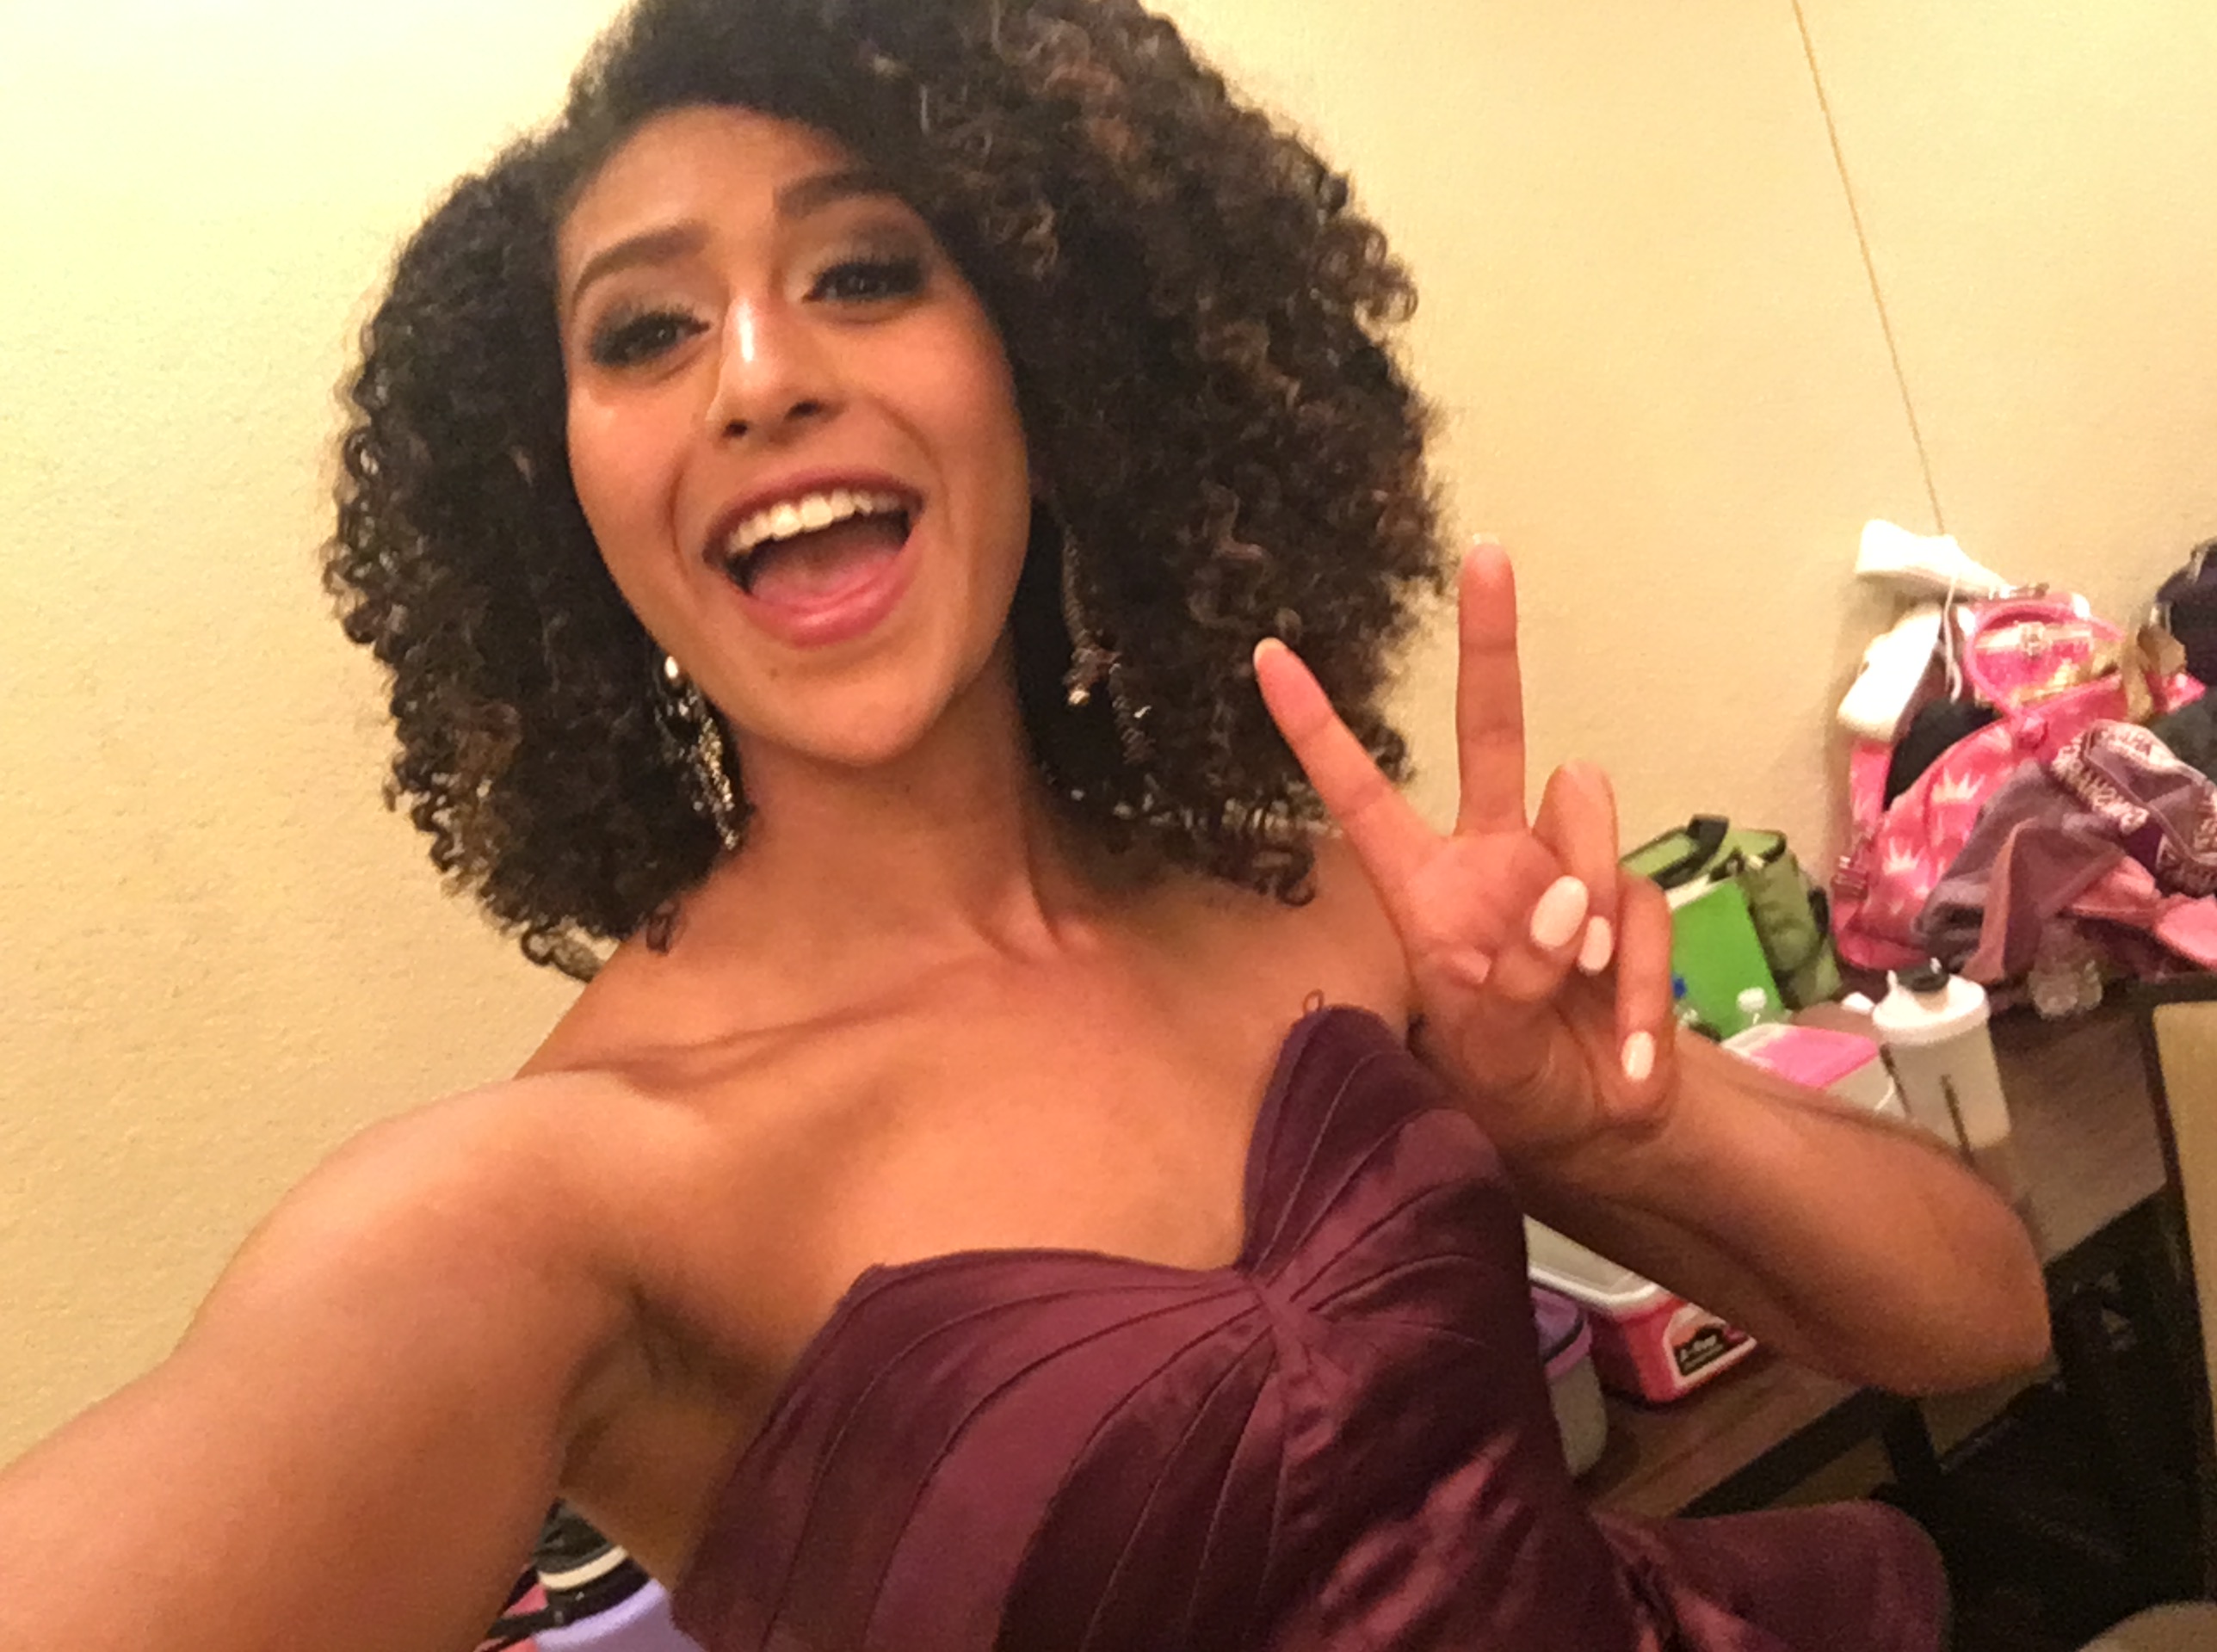
And that is how I apply my typical full face of makeup, perfect for a night out, a fancier event, or simply to feel fabulous!
I hope you all have a great rest of your week, and remember, everyday is an opportunity to SLAY!


Leave a comment